Wednesday, 29 November 2017

December Daily Photo Challenge is back

The December daily photo challenge is back for it's 4th year. Can you believe that! Wow! It doesn't seem like 4 years but it it. The very first challenege was way back in 2014. That's nuts. So here is all the scoop and prompts for this year, 2017!

REMEMBER as with all of my daily photo challenges I have designed the prompts to be interpreted in a way that suits you, loosely based on the things that I love: Planners (and planner decoration), Stationery, Journals, Art, Books, food, the season etc. You interpret them however you like but most importantly have fun with it. They are just prompts to help you. Ideally I would like to see the Facebook group filled with seasonal photos of your planners and journals so try and challenge yourself! Take them literally if you like or be imaginative. Use them as photo prompts or use them as journalling prompts. Anything goes! It's totally for fun so just share a photo every day. You don't have to enter to win the prize, you can just play along with the prompts for fun, entirely up to you, the more the merrier! 

If you want to play along for fun then start posting your photos from 1st December. Remember to use the hashtag: #mrsbrimblesdecdaily so that we can find your photos and see what you are up to. You can post anywhere on social media but if you want to be in with a chance of winning the prize it needs to be on instagram or in the Mrs Brimbles Happy Place group on Facebook (or both of course). If you are playing along with this in order win the prize please do make sure that you read all guidelines on how to enter and the rules below oh and if you want to be in with winning the prize you will need to register on the giveaway widget below too! 


What is the prize? £25 store credit for www.mrsbrimbles.co.uk/shop
So for the prompts...


Please do feel free to share the above photo on instagram, Pinterest, your blog etc or print out to put into your planner or journal.

The Rules for the instagram challenge... 

I know, so boring that there needs to be rules but there does so that everyone is clear on what they need to do and to keep it fair to everyone participating!
  • You must post all 31 photos on instagram using the hashtag for the challenge you are taking part in. You may also want to use #mrsbrimblesdecdaily2017 (although not compulsory) as the challenge is now in it's 4th year!
  • You need to be following me on instagram: @mrsbrimbles please do not tag me in your photos as I will get lots of notifications. I will see your photos on the hashtag!
  • The prompts are just that, prompts, interpret them as you will, or if you are stuck for inspiration just post a photo anyway! If it is easier you can do a different prompt on that day as long as by the end of the challenge you have done all 31. Do two on one day if you need to, don't worry about missing days as long as you post all 31. Have a break, come back again. You just need to post 31 photos in the time frame given.
  • You have until 7am GMT on 5th January 2018 to register for the giveaway on the widget below AND to complete the photo challenge on instagram.
  • If you haven't registered on the widget you won't be elligible to win the prize so you will just be doing the challenge for fun which is totally fine with me if it is with you.You can register at any time from now but photo posting on instagram and in the Facebook group starts on 1st December 2017.
  • You DO NOT have to post everyday but you do have to post all 31 photos by 7am GMT on 5th January 2018. You DO NOT have to post in numerical order, you can post any prompt on any day and any number of photos on any day.
  • Once the competition has closed a winner will be drawn by random using the giveaway widget, and emailed. I will ask you to confirm / prove that you have posted all 31 photos in the time frame 1st December 2017 - 5th January 2018, if not another winner will be chosen. The winners name will appear on the giveaway widget once closed.
  • The winner will be emailed by me to arrange receipt of the prize. 

By submitting an entry to this giveaway you agree to the following Terms & Conditions: 


  • Your email address will be added to my newsletter database - I will not sell this to anyone else nor will I constantly be spamming you and you can unsubscribe at any time! 
  • Open internationally
  • You must be over eighteen years of age or have parental / guardian permission.
  • The prizes stated above are the only prize(s) - no cash alternative.
  • One winner will be chosen at random and notified by email. Winner(s) will be announced on this page on the rafflecopter widget after the closing date.
  • If the winner(s) do not respond to my email within 48 hours a new winner(s) will be chosen


Thursday, 23 November 2017

How I prep for December Daily (In my Travelers Notebook)

In this chatty video I talk you through how I prepare for Decemeber Daily although I prefer 'Christmas Memory Keeping' as I go beyond just every day in December.  Most of the items I show you in terms of stickers, paper and die cuts are in stock (or have been at some point) in my own online shop: https://www.mrsbrimbles.co.uk/product-category/seasonal/christmas-winter/

I get asked a lot about my Travelers Notebook and it is from: https://www.etsy.com/uk/shop/Geekydori?ref=ss_profile and the mint A5 one is from: http://www.itspaperdear.com/

If you would like tutorials on how to make your own inserts you can watch my two videos: https://www.youtube.com/watch?v=xN8dhsplp-c&t=734s and: https://www.youtube.com/watch?v=mR93VS7kWQQ&t=598s


Wednesday, 22 November 2017

Blooming Planner Pages


Hello, Crafty Friends!

This week I have a collage layout in my A5 planner to share with you, using the wonderful collage sheets from Anna's Patreon account. Each month she shares wonderful printables that can be used and adapted in many different ways, including in planners.
If you haven't already visited her Patreon page, you should definitely check it out!


This layout was all about being colourful and bold. I don't normally decorate my planner this way, but it seemed like a good opportunity to try something new.

The printable I used was actually a complete art piece that I cut into smaller pieces and then put together in an order of my choice, creating this weird and wonderful floral garden that really stands out.


The washi strip is something I've had in my collection for a while, but provides a nice, smaller floral print. There's a lovely contrast in the size and style of the floral prints that really appeals to me, as well as the contrast between the black and white and colours.


Finally, I used a large chisel-tip Sharpie to create a border and do some lettering on my page. I love how it turned out.

You can view the process video here:


As always, I hope this has inspired you to get creative in your classroom: be bold and bright and joyful!

You can view my other planner pages on Instagram and Youtube.

Stef xx


Sunday, 19 November 2017

Travelers Notebook Kit from Craftin Chaos

I am sharing with you a Travelers Notebook kit from the lovely Deb at Craftin' Chaos. International peeps...she is based in the US BUT does ship internationally, you just have to email her so she can work out how much it will cost.

https://www.etsy.com/shop/craftinchaos

PLEASE NOTE: I was given this / these product(s) in exchange for my honest review and opinion, the fact that I was given these does not alter my opinion in anyway. This review is my own personal opionion on the product / company, given in good faith and has not be sponsored or endorsed. None of the links are affiliate links. Unless otherwise stated, all photography is my own.


Thursday, 16 November 2017

Making your own Christmas decorations with the Marblous Marble class


Recently I attended a workshop at Hobbycraft on Advent Calendars and made this:


While I was there, and was in the festive creative spirit, I picked up some ceramic baubles, decorations as well as a ceramic vase with Anna's Marblous Marble course in mind.  I thought they might make nice Christmas presents along with a box of chocolates for those people I buy something little for.  I'd done the Marblous Marbling class a while ago but I'd only created my Marble creations on paper (I found deli paper to be amazing) and I shared a page in this link where I'd combined my marble paper with one of Anna's Patreon lessons.


My plan was to marble them and then use embossing powder and stamps to add images onto the decorations and vase.  This wasn't very successful though, the embossing powder didn't really want to melt on the ceramic and getting a clean image on top of the marbling was difficult.  I did manage it on this star decoration though: 


 For the vase I marbled my pattern in blue, black and white and then just added embossing powder in silver in a random splodging around the middle and the top.  It took quite a bit of heating using the heat gun but I think the vase could handle it better than the flat decorations:


 For the baubles and remaining decorations I just used the marbling inks to decorate, for some, like the red and green ones I dipped them a couple of times to get more coverage.


 Check out the other classes Anna has in her shop here and please share in the Happy Place Facebook group if you've created something with the Marbling lesson.


Don't forget to check out Anna's Patreon and you can find more of my art here, or on my blog, or on Instagram.


Monday, 13 November 2017

Memory Keeping and Creative Journaling for November


Hello everyone. Wow, November is here and Bonfire Night has been and gone...crazy! Today I am creating a Bonfire Night themed memory keeping page in my creative journal. I have used the October collage sheets and printables from Mrs Brimbles Patreon page and wow we were spoiled for choice with last months goodies. As part of the layout, I have turned some of the printables in to die cut pieces.

Making Die Cuts for Ephemera


To make the die cuts, I printed out the smaller collage sheets on to glossy thick paper (which actually came with my Jane Davenport Butterfly Book). After they were printed, I carefully cut around them, then used a corner rounder to make the edges smooth. Below are my finished die cuts from the printable collage sheets, they are so cute!


Creative Journal Page Process:

Firstly I printed out one of the large painted backgrounds from the collage sheets and then stuck this to a double page spread using pritt stick. You can see that I had some trouble and a massive crease appeared on the page. I didn't let this bother me too much as I was going to be sticking over it. The background I chose is so vibrant, the pink and yellow really pop on the page, perfect for my Bonfire Night page.


Next I chose a photo from a fireworks party I had attended and used that as a focal image (and to mask the crease a bit).


The colours of the page really do provide a vivid contrast to the photo and really make the photo stand out against the colours.

Adding Gold Foil Lettering


As part of a workshop by Prima at Plannercon Europe called Sparkle and Shine, we learnt to create lettering using gold foil and rub on transfer sheets. Prima provided all the materials and it was so easy to do, literally rub the transfer onto your page, layer over the foil and rub down to the page, then peel off. As you can see I need a bit more practice, but I love how it is messy as it really is in keeping with my theme. I may also have bought some more gold foil from their stand. I then went around the foil with a black felt tip.


Finally, I added another photo and stuck down some of the ephemera die cuts I made earlier and a bit of text using stickers and a gold Sharpie. I had still to use my stickers from one of the Brimbles Box kits (the space theme), so added a few of these to the page too. I love the finished look. The collage sheets and printables have really bought the page and layout together.


I've really enjoyed putting this page together, I haven't really made a page before using a full page printable, but it is something I will definitely do again. Thanks for reading. Be sure to check out Mrs Brimbles Patreon Page, even more goodies are being offered now, more videos, more collage sheets and even a 20% discount code to her shop.

​Take Care, Kerry xx


​Follow me on  social media:

​Instagram  |  You Tube  |  Pinterest |  
Twitter |  ​ ​​FB Art Journaling Group


Saturday, 11 November 2017

Discovering your style


Hi everyone, I hope everyone is doing well, it's Rose here again with a post about how I am discovering my art style.  This month so far I've been catching up on October art posts.  I got sick in October and it meant I couldn't face doing much, so it's been nice to feel well enough to create.  And, if I'm honest, pushing myself to art has probably added to me feeling better within myself.

I have been working through October's Patreon class with Anna.  Last month's video was Anna working on a painting of a fox.  There was a watercolour fox and an acrylic version.  I loved both, but because I really find watercolour difficult I decided to concentrate on that.

First I worked through a version with Anna and created this:


I really enjoyed using the autumnal colours and was really happy with how he turned out.  Then last week as I was walking home from picking my little girl up from nursery, Mr Fox crossed our path.  He saw us and we all watched each other.  So when I got home I thought I would have another go at sketching and painting him, again in watercolour.  This is what I produced:


I don't really know what my style of art is, but taking art classes and working in other people's style really helps me to understand what my own style is not.  I know that my style is not loose and I struggle with painting loosely, so I wanted to push myself with the fox on the top to try to be a bit looser.  I'm not sure how successful I was but a few paint splatters makes it look looser than he was originally.  If you're struggling to find your own style, give it a go - copy some other artist's work and see what makes you feel uncomfortable, what colours do you struggle with? What mediums are difficult for you? Do you struggle with looseness or preciseness? From creating in someone else's style and working out what you like or struggle with, you can really start to understand your own art and your own style.  Even the art you choose to recreate can tell you a lot about your style.

I know Anna has all these classes on her Patreon just waiting for you to join and create.  I like it when you can learn a technique in a class and then use it as inspiration to create in your own style, and Anna's classes are perfect for doing just that.  Why not join us if you haven't already, and if you have I'd love to see your fox paintings.

Don't forget to check out Anna's Patreon and you can find more of my art here, or on my blog, or on Instagram.


Tuesday, 7 November 2017

Making your own travelers notebook and journals

As you know I was recently sent the big shot machine from Sizzix and dies to make a small book and a travelers notebook with. In these videos I show you how to make the books but also give you an in depth chat about the issues I had and my tips on making it.


I was very kindly sent a box of goodies from Sizzix to share with you all and to make and share as a result. The itesa you see are available to purchase from: https://www.sizzix.co.uk/ and https://www.hochanda.com/or https://www.sizzix.com/ if you are in the US as well as other scrapbook companies.

PLEASE NOTE: I was given this / these product(s) in exchange for my honest review and opinion, the fact that I was given these does not alter my opinion in anyway. This review is my own personal opionion on the product / company, given in good faith and has not be sponsored or endorsed. None of the links are affiliate links. Unless otherwise stated, all photography is my own.


Monday, 6 November 2017

Making travellers notebook inserts

Hiya folks!

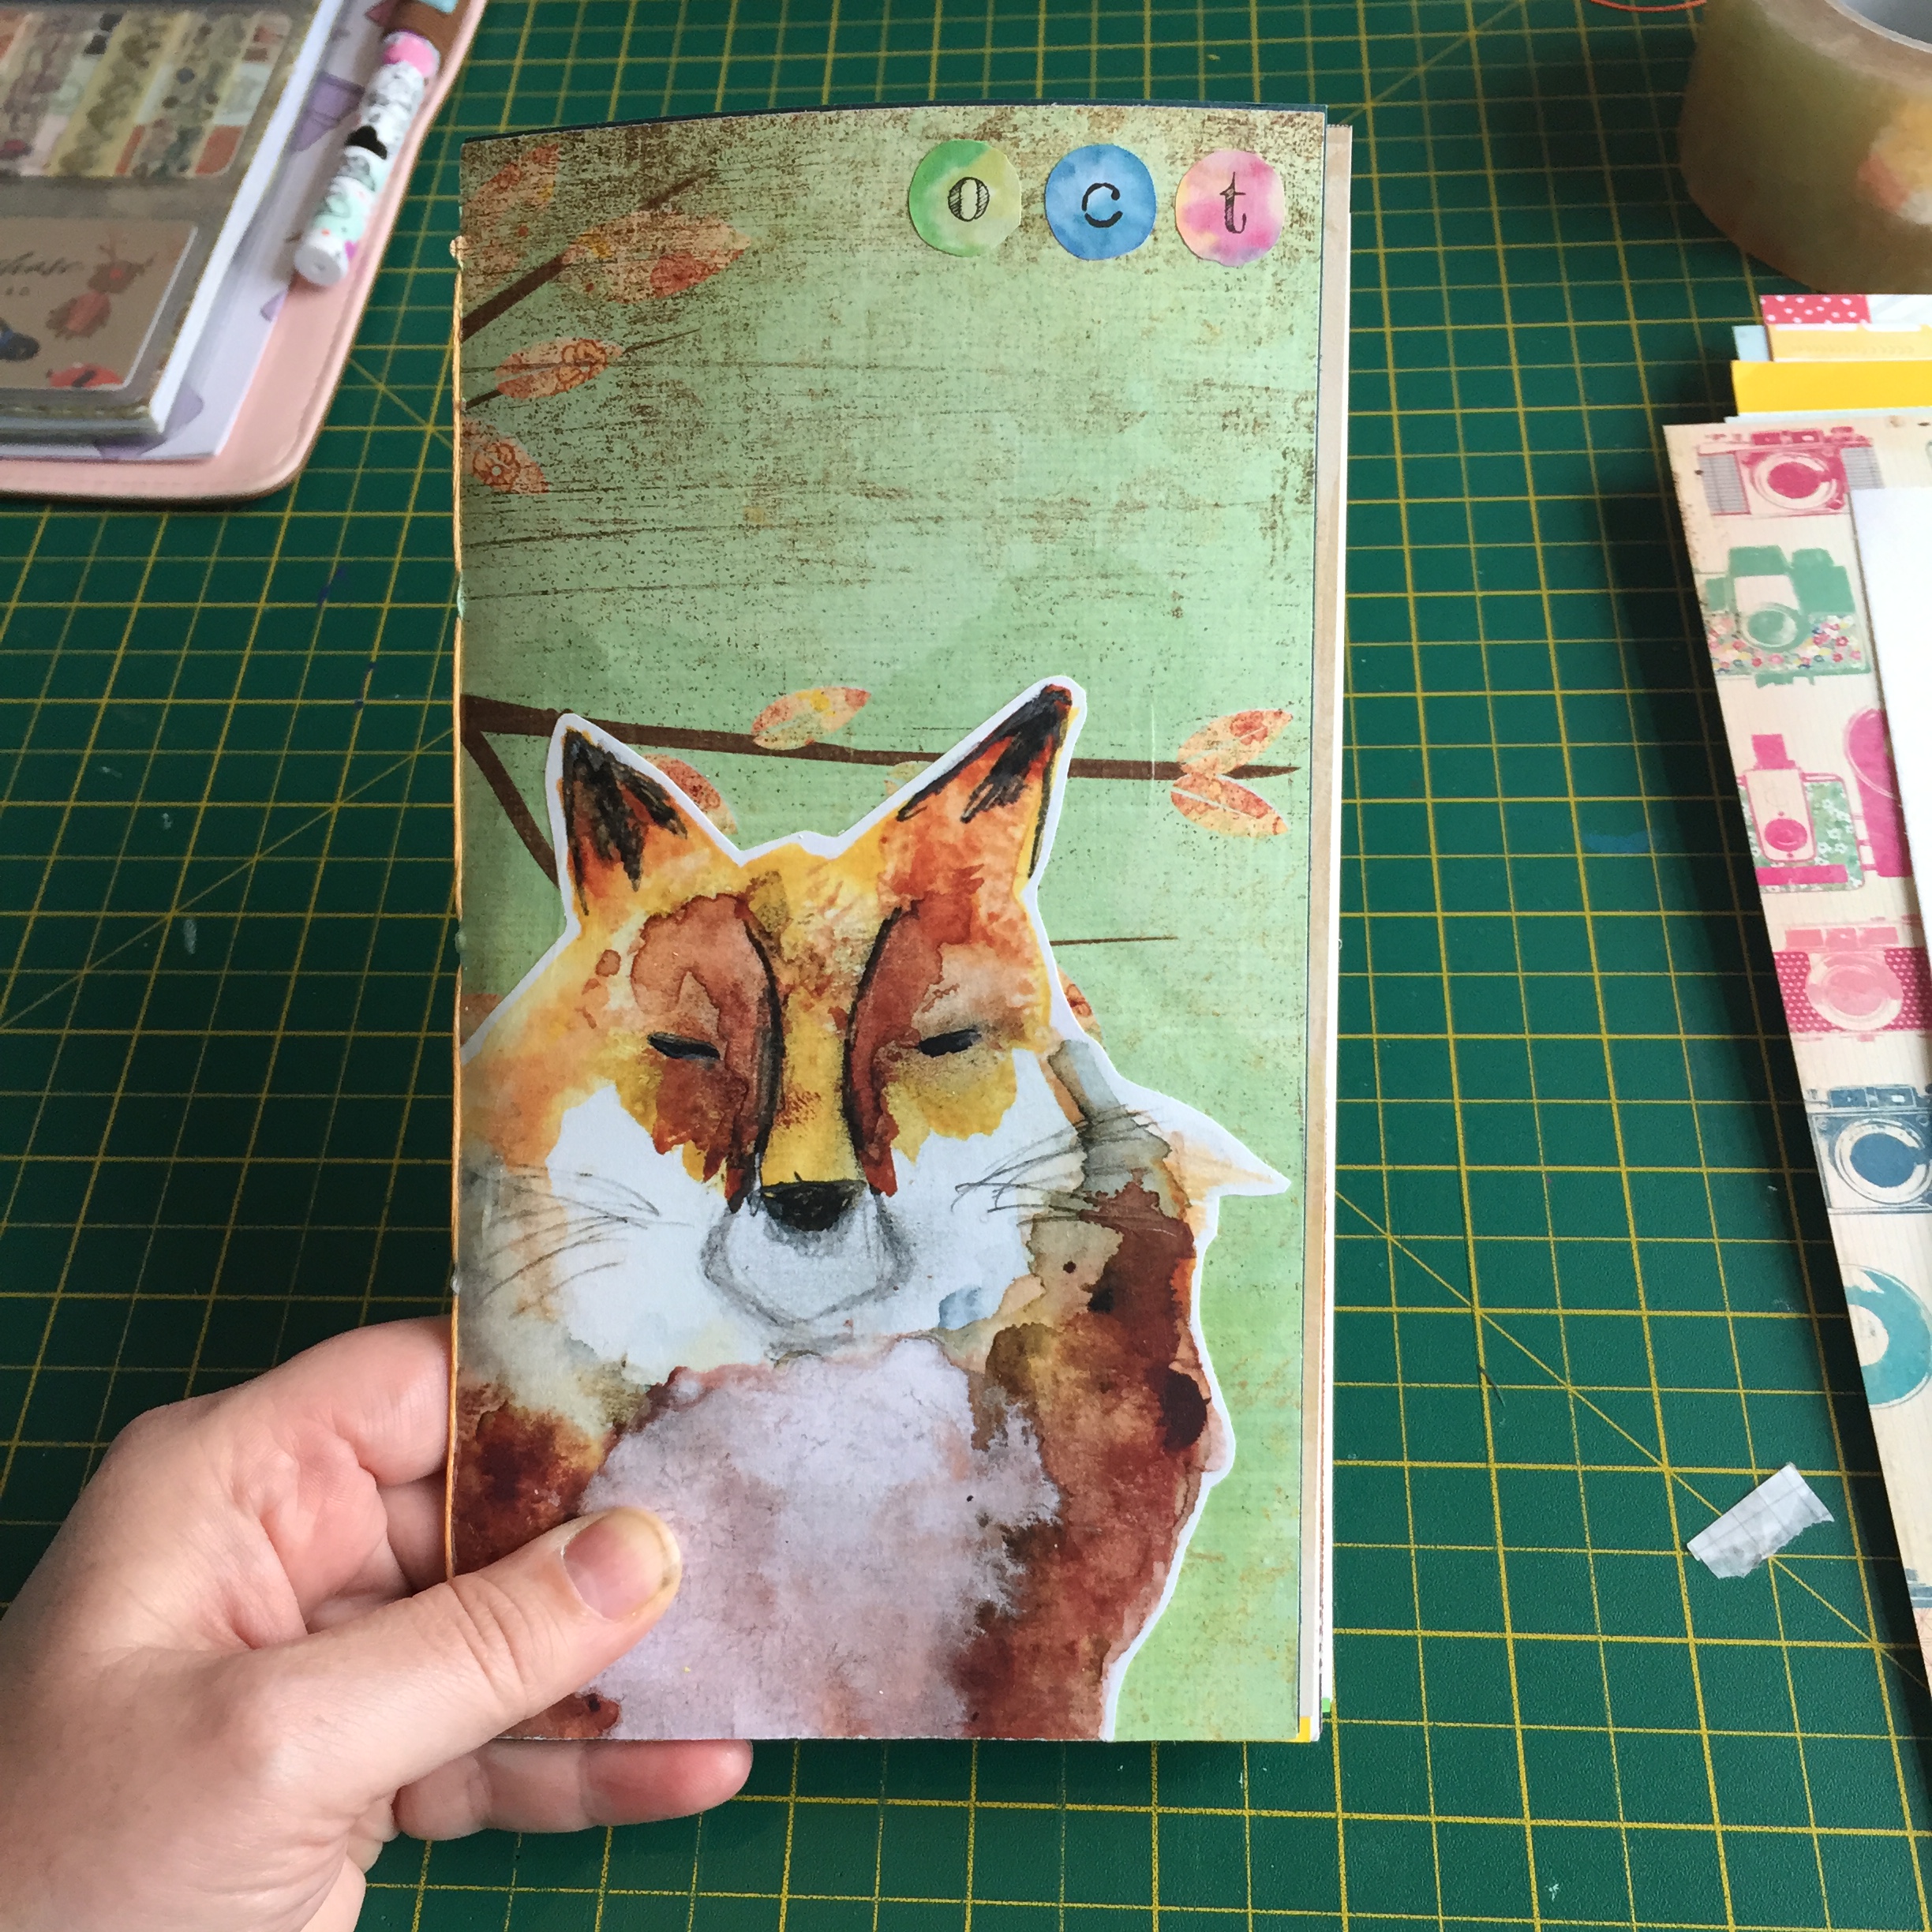
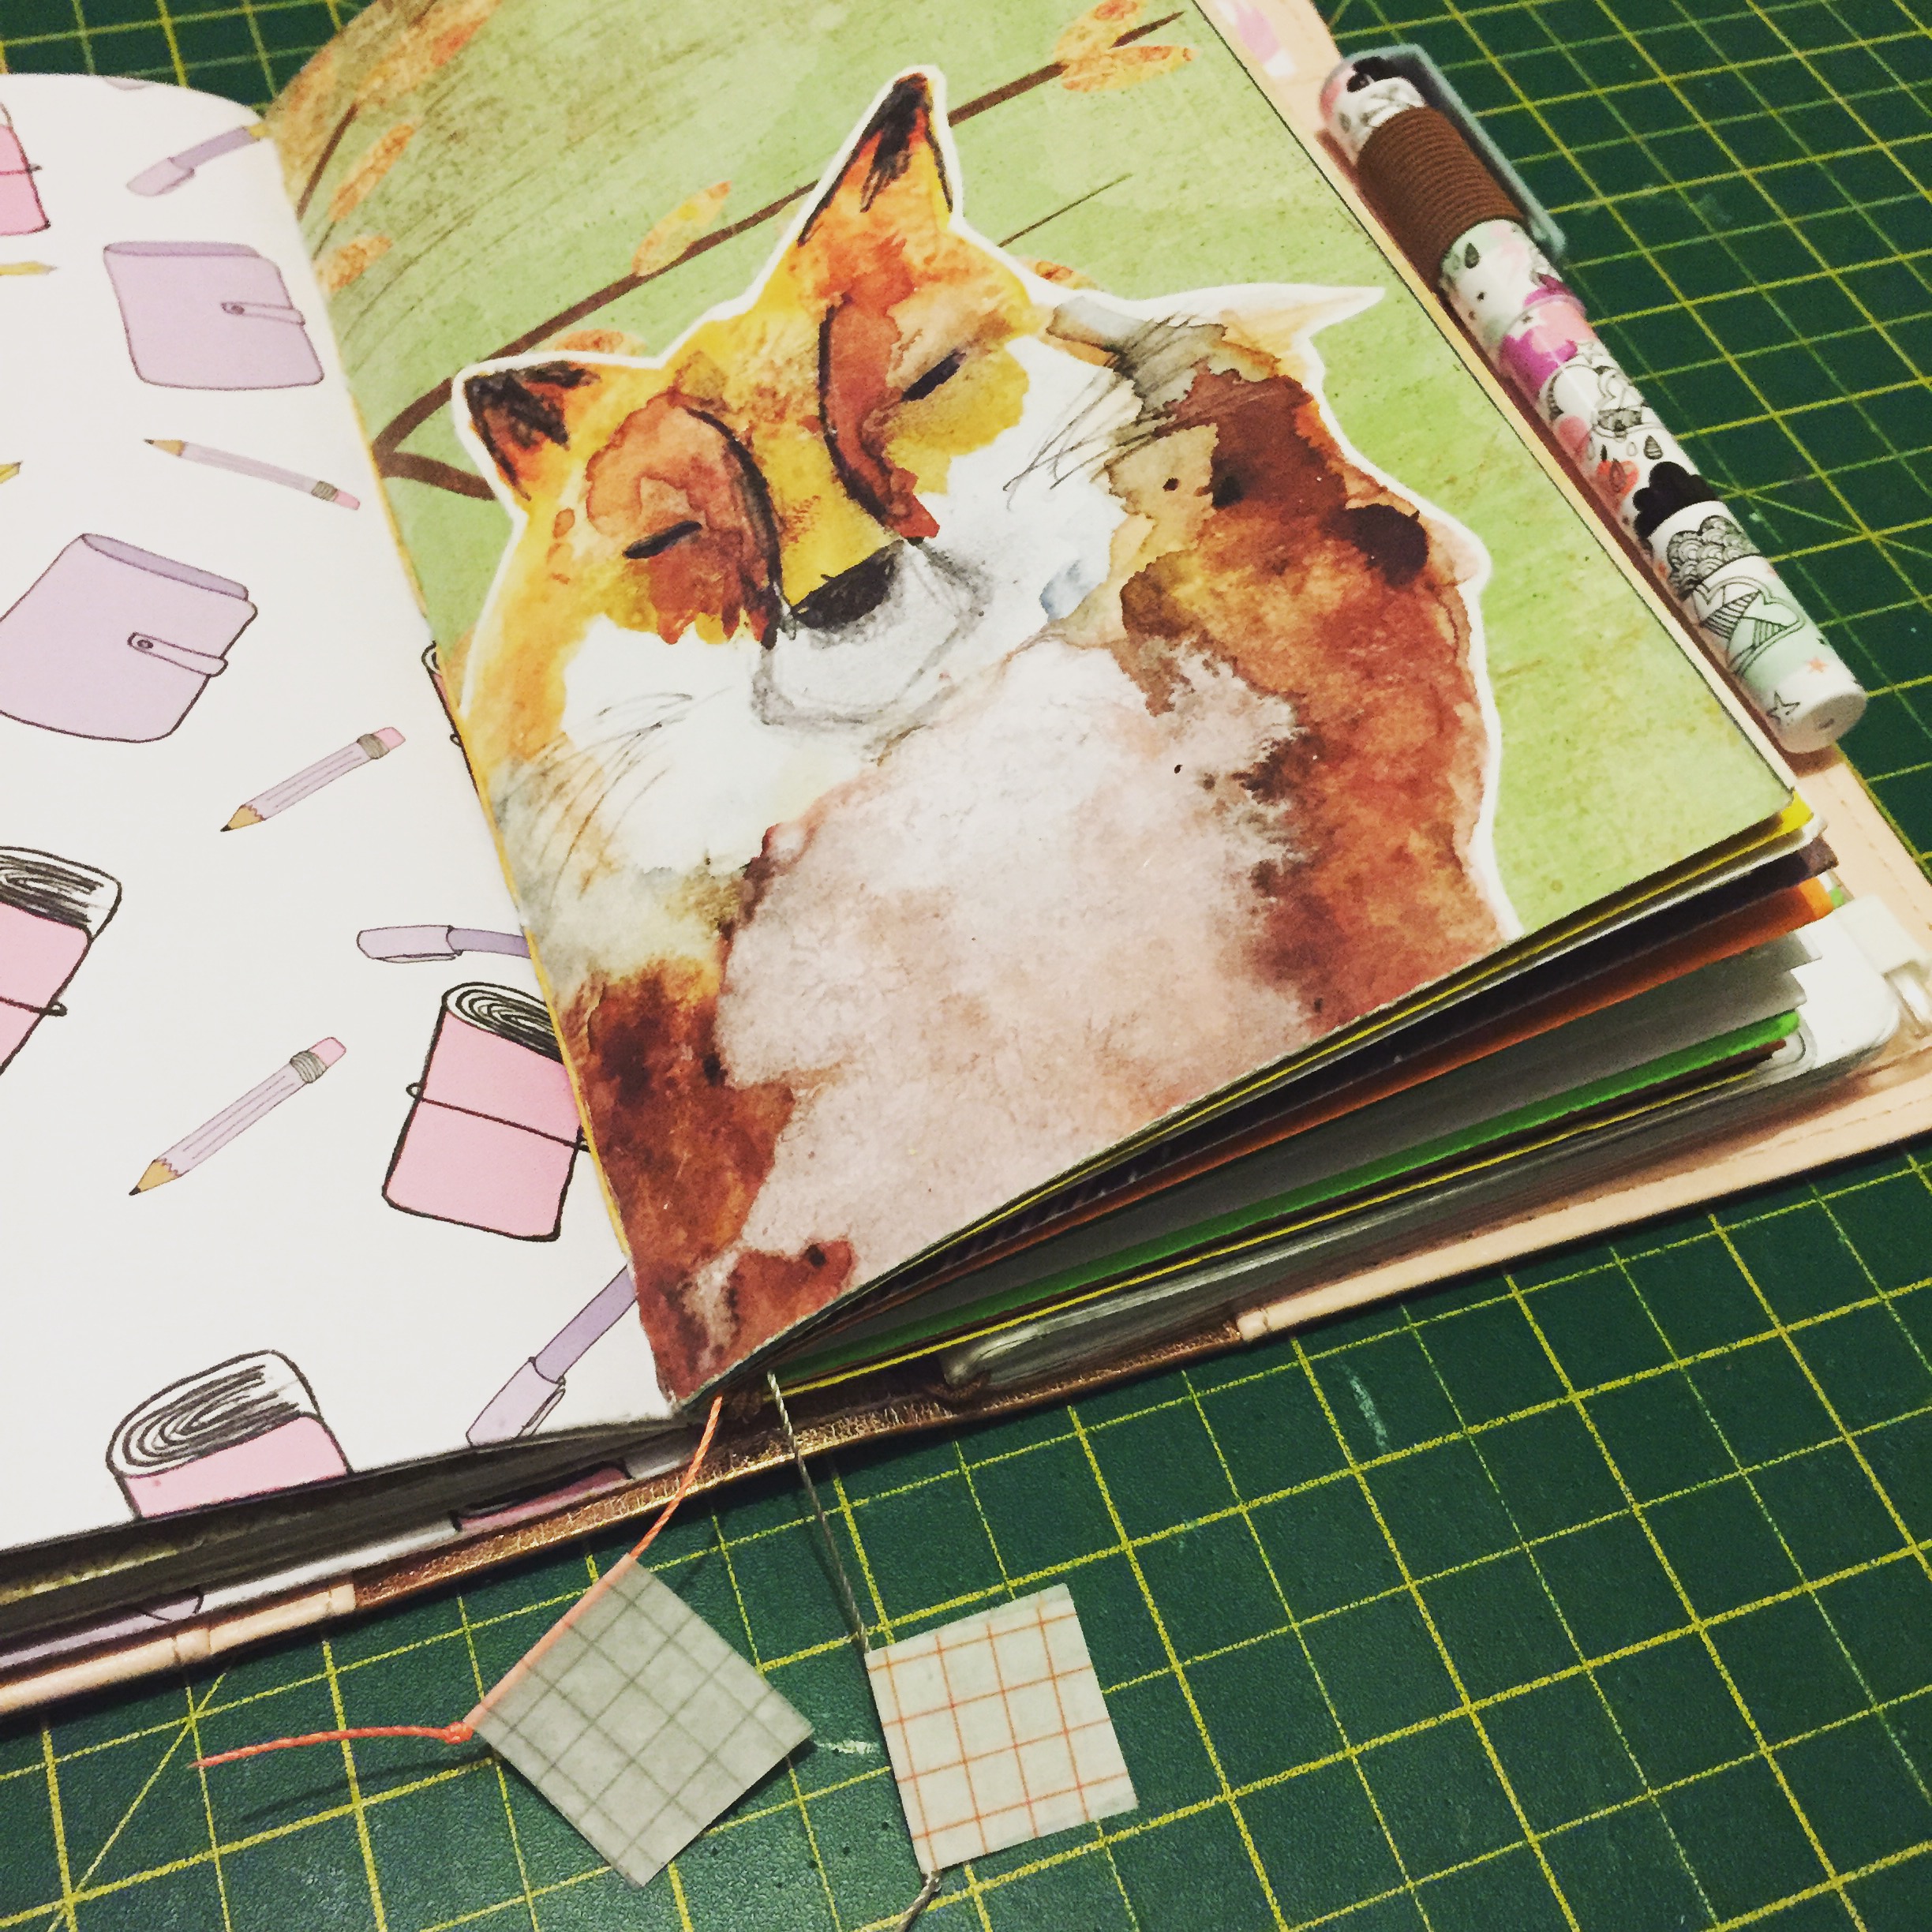
At the end of September I was full of determination to take part in October Daily and journal regularly in a special traveller's notebook insert to celebrate the change in season. Unfortunately I was not able to do the project justice and failed to keep up with writing every day, as October became an extremely busy month for me. One of the reasons for distraction was a wonderful holiday to New York that I took with my fella, the documentation of which has its very own journal that I will be showing you folks at some point soon. However, I did bind together a fun insert and I am excited to show you some of it today. The cover is made from some autumnal scrapbook paper that I have been hanging on to for absolutely ages decorated with Anna's watercolour fox from her September Patreon collection of collage elements that are still available to you should you sign up now - how great is that?!

  IMG_9077

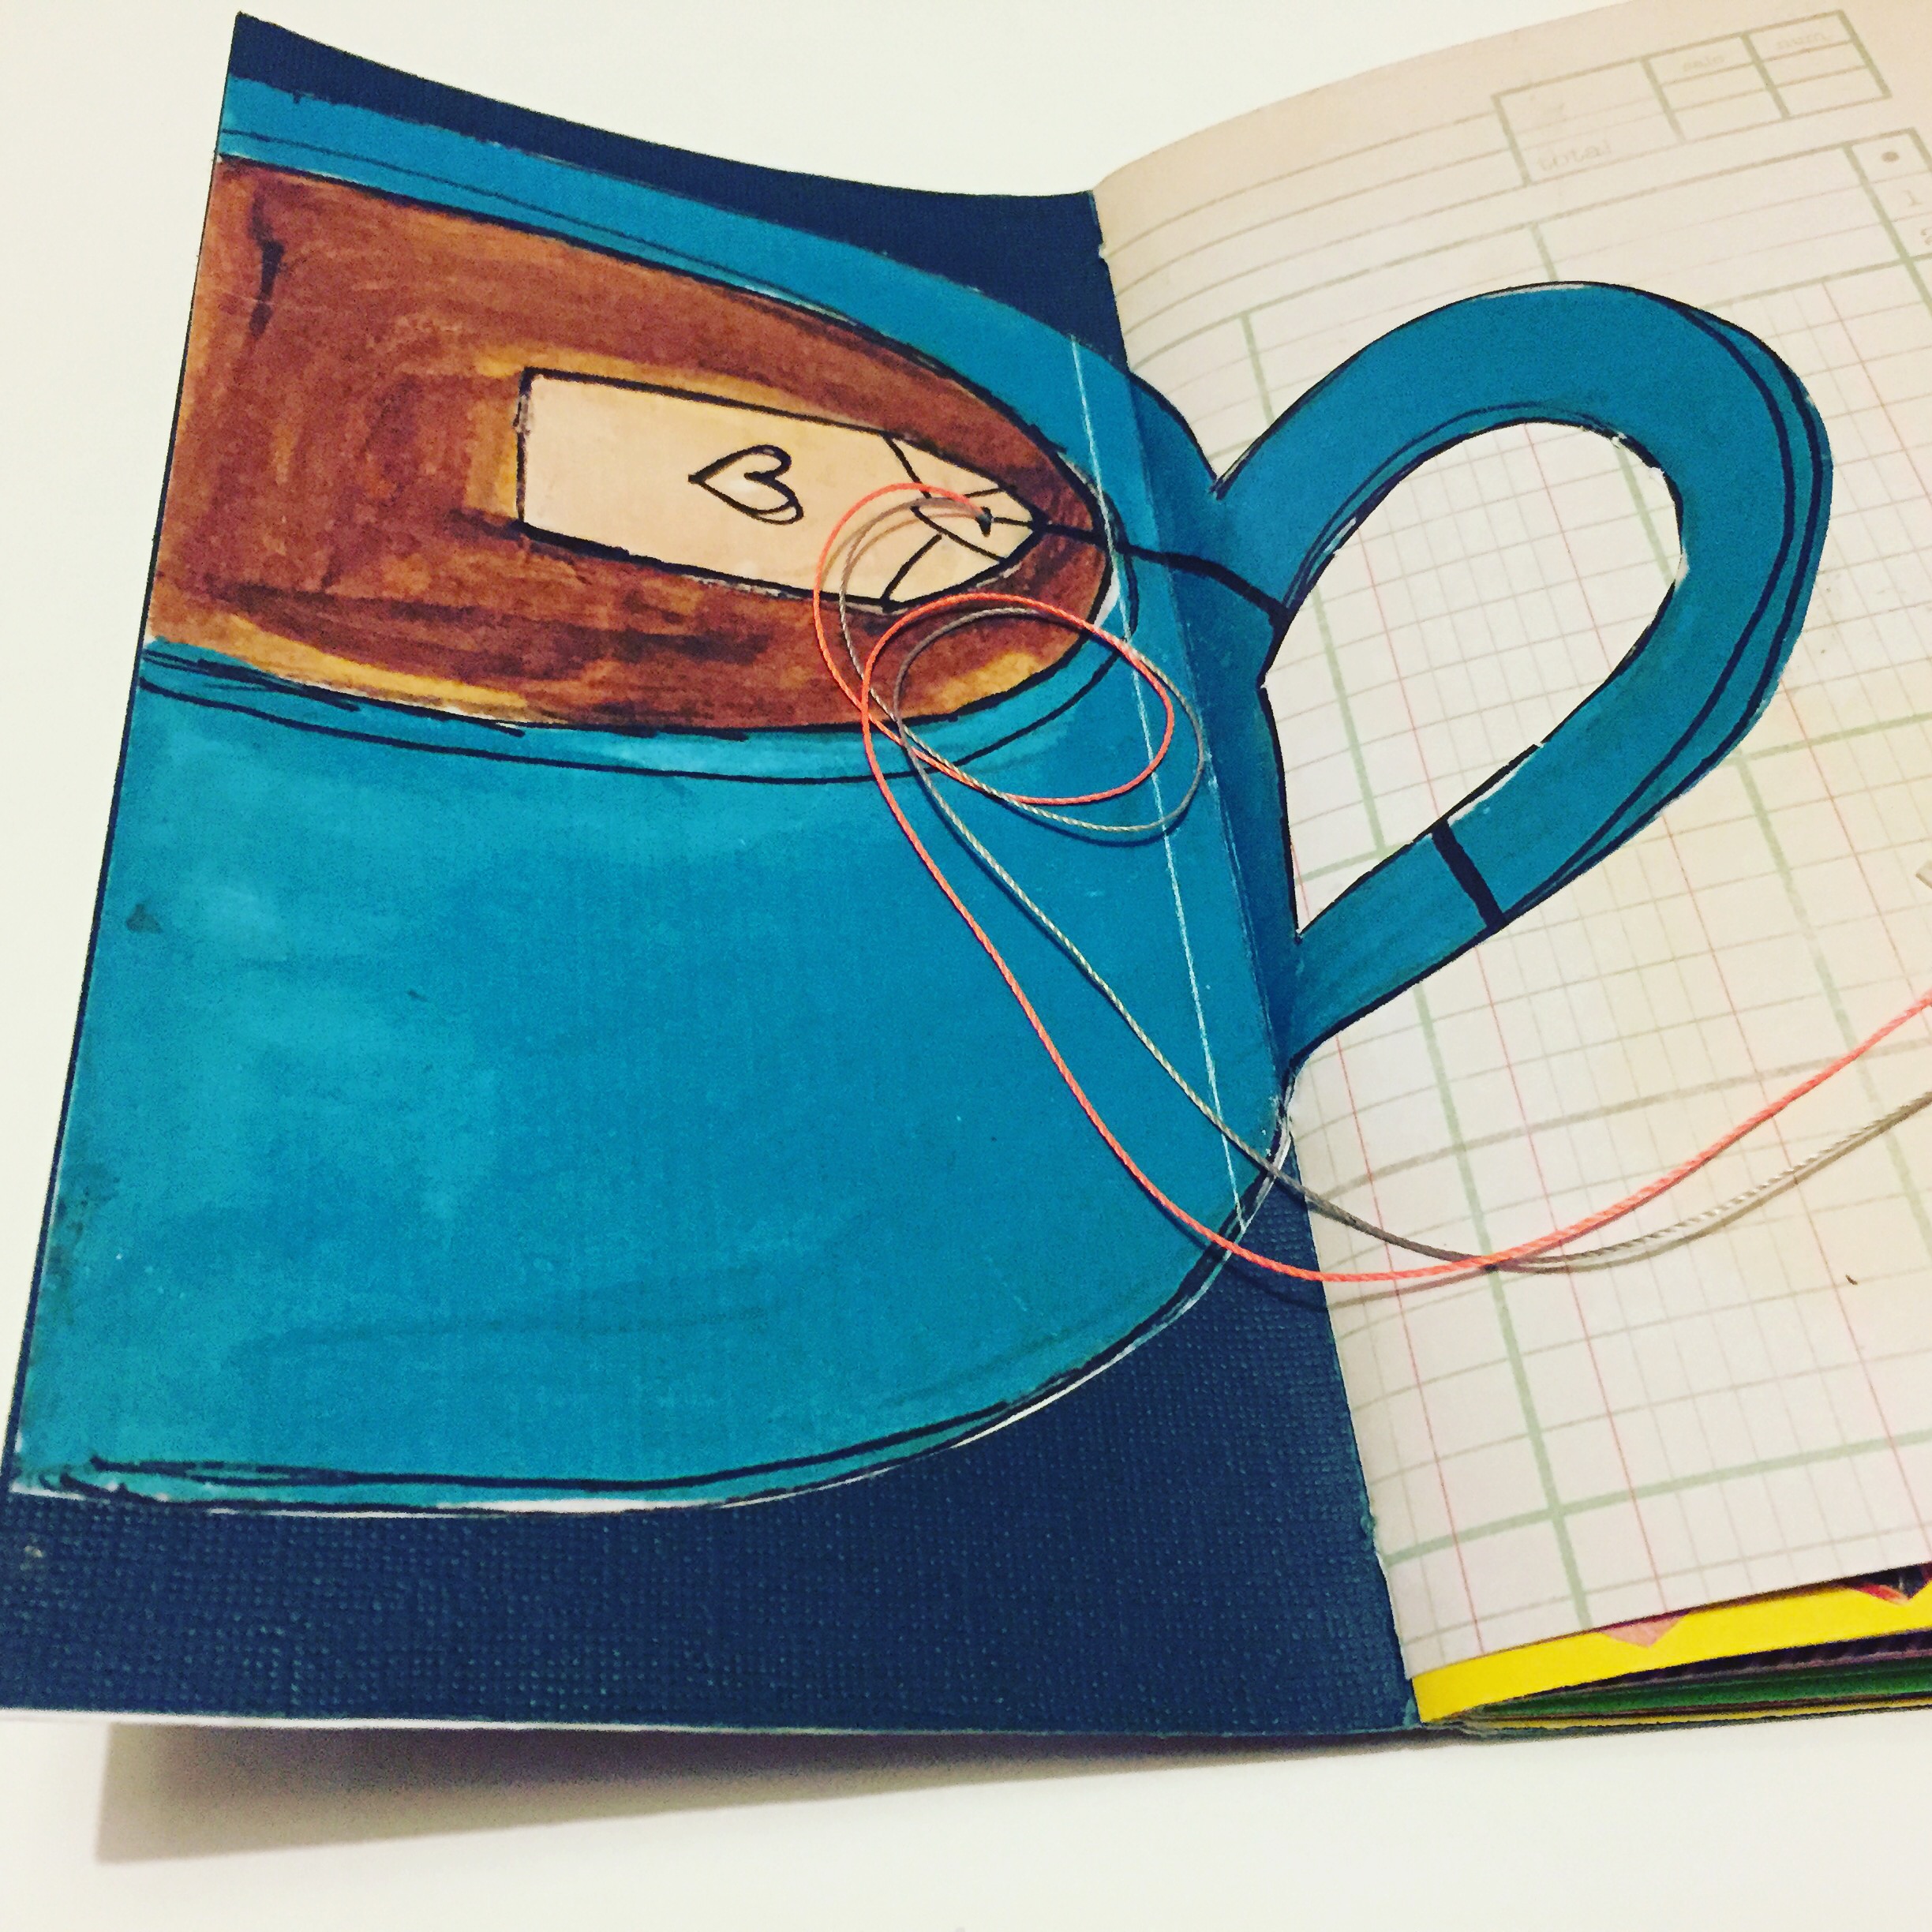
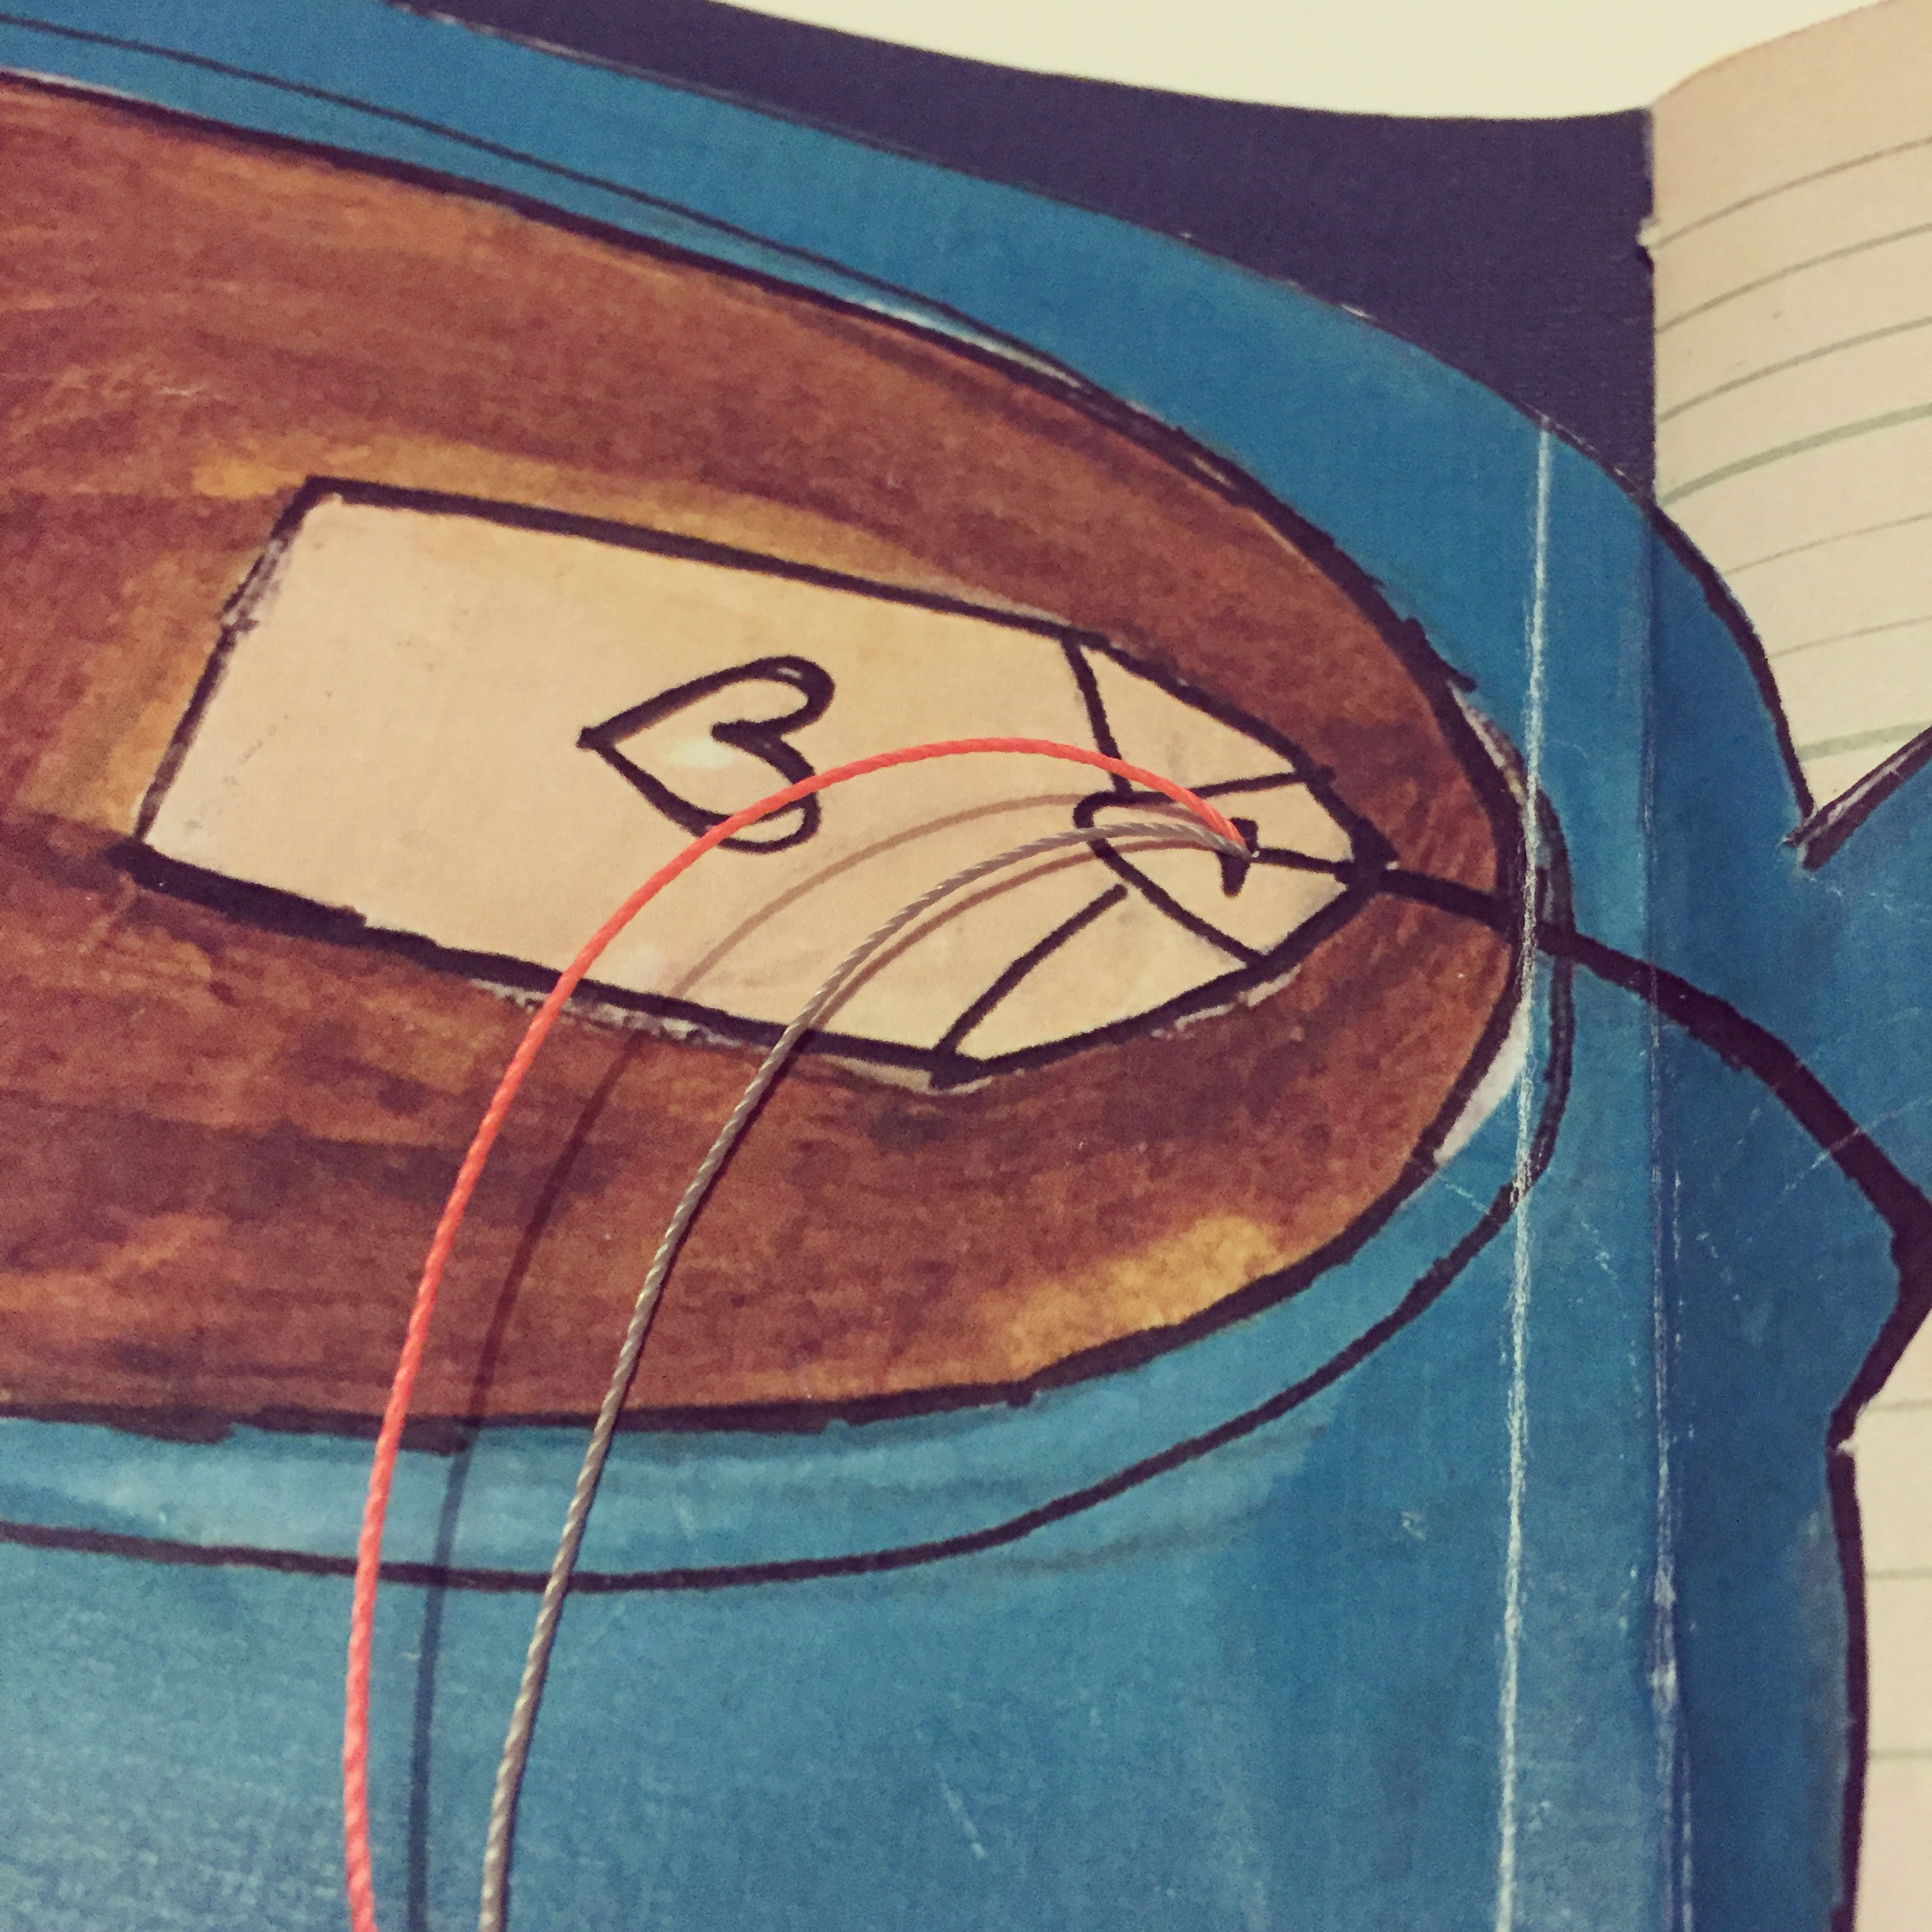
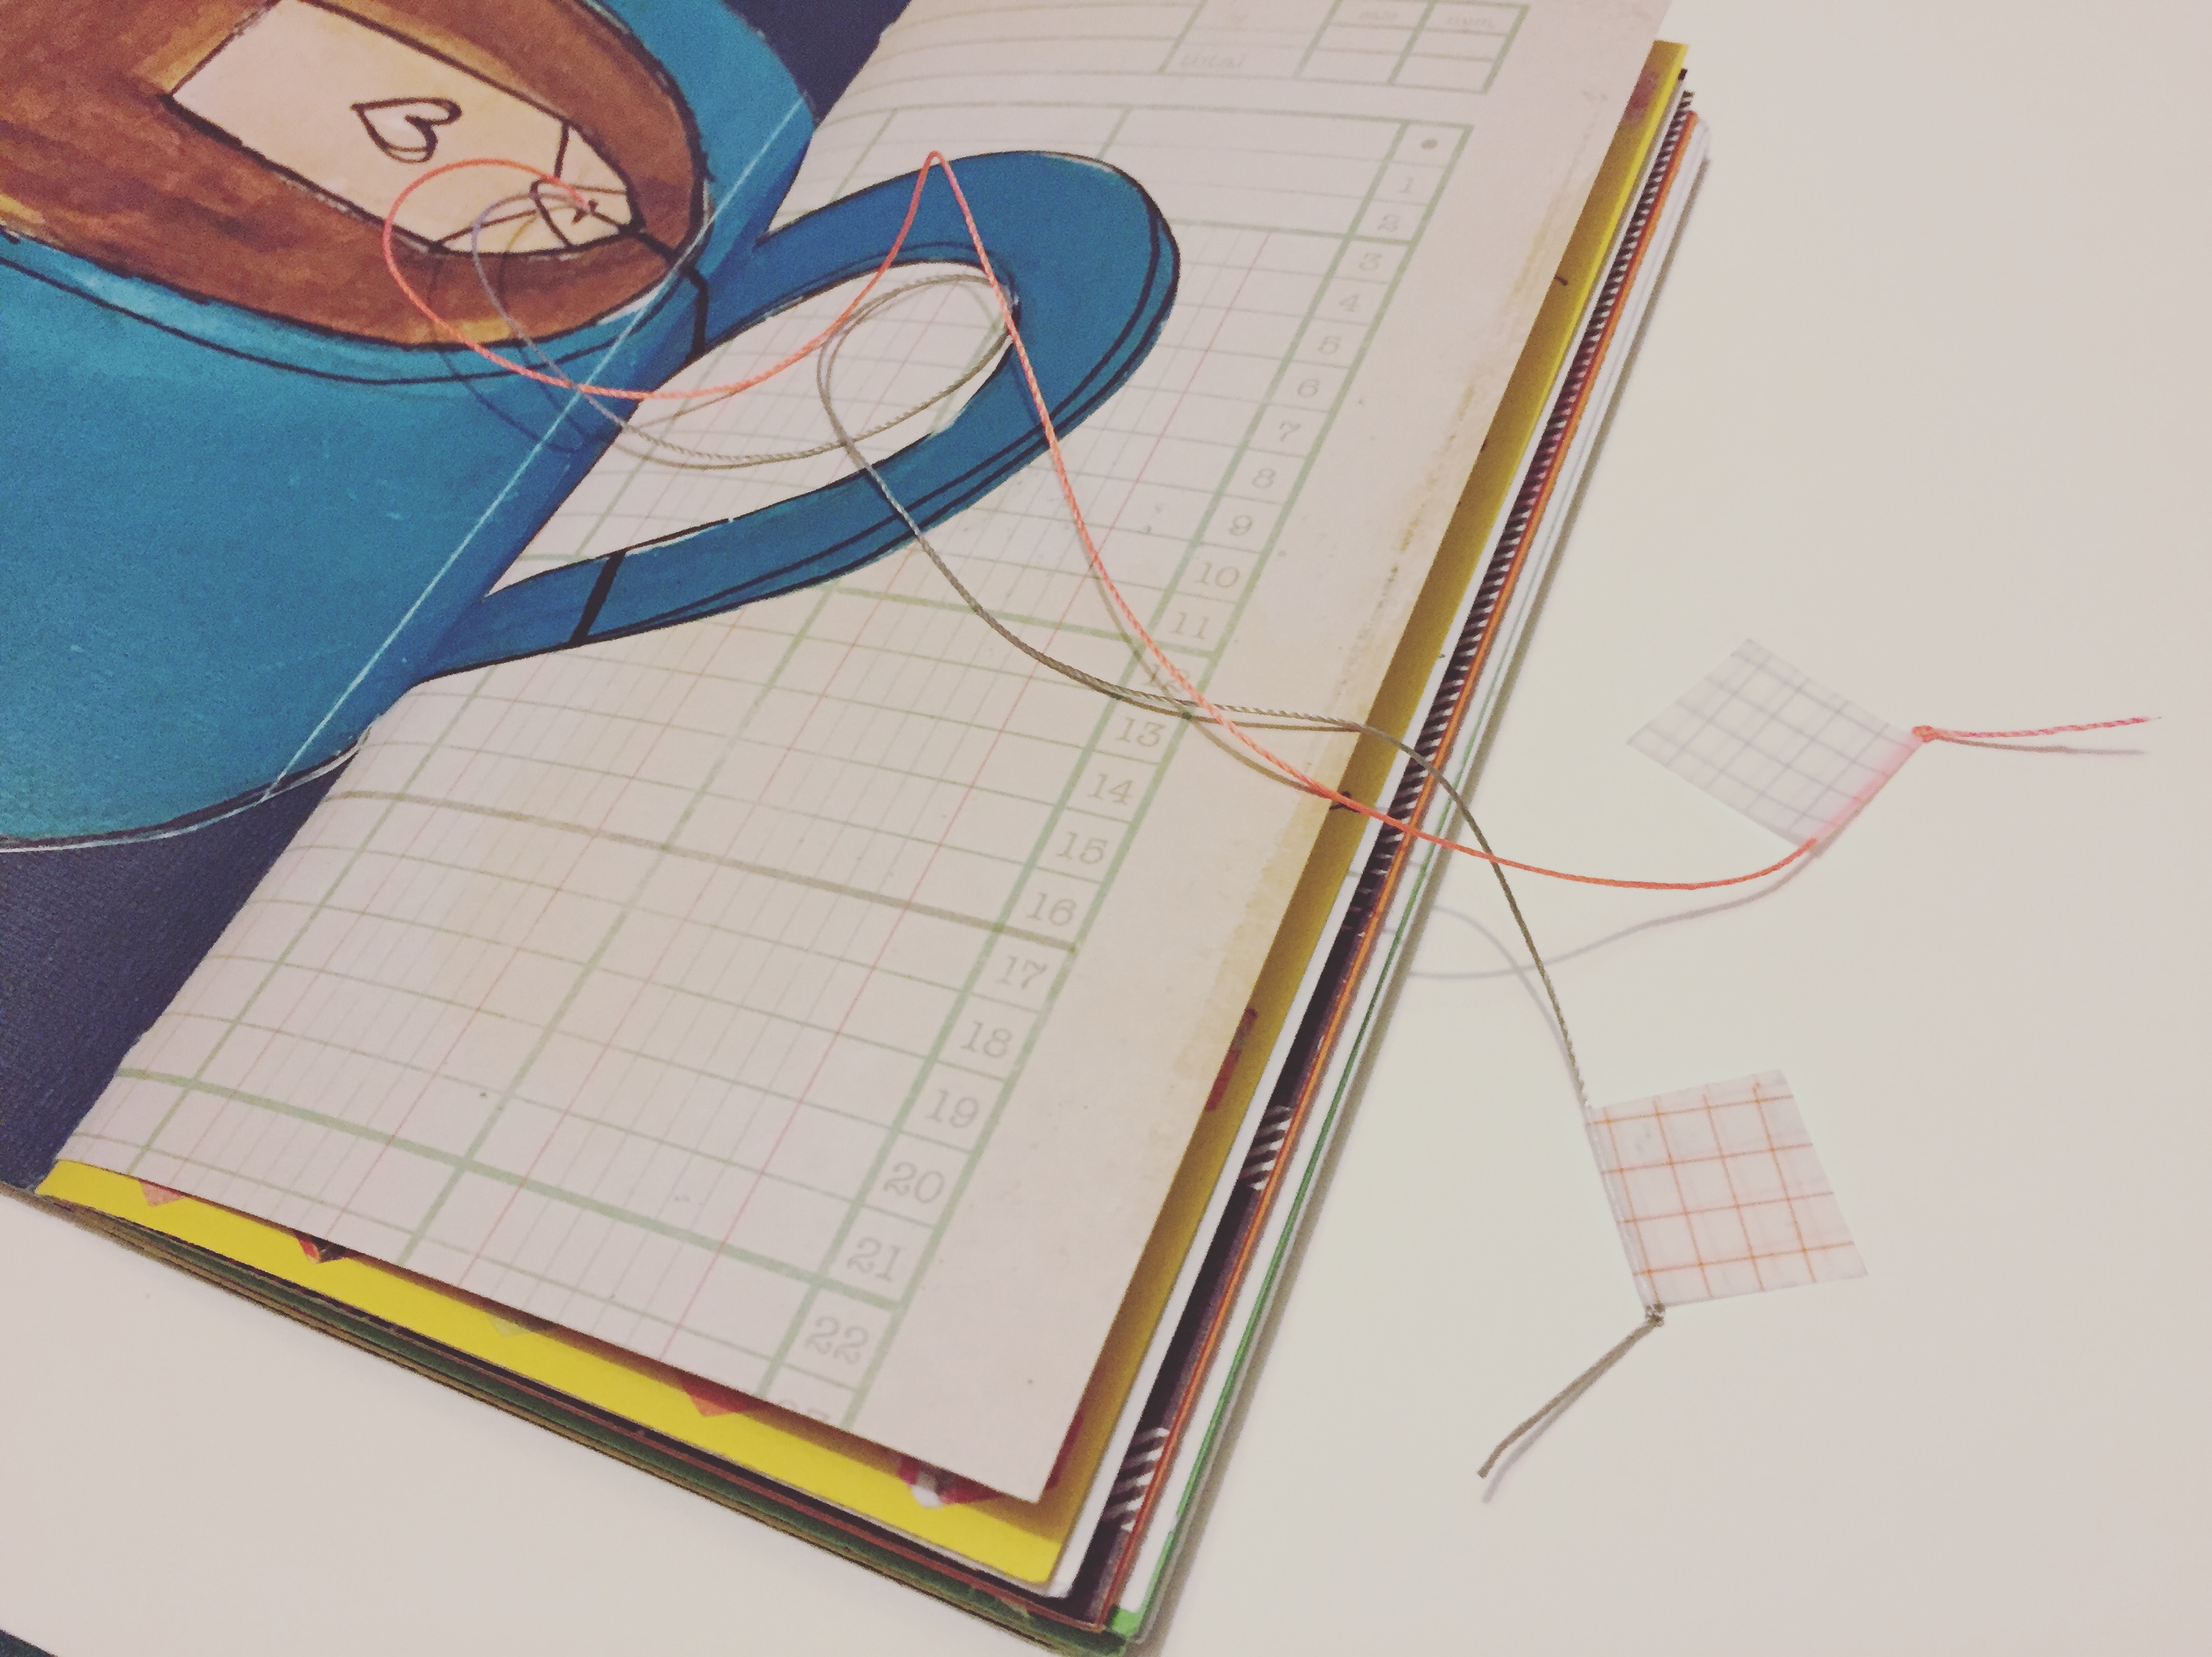
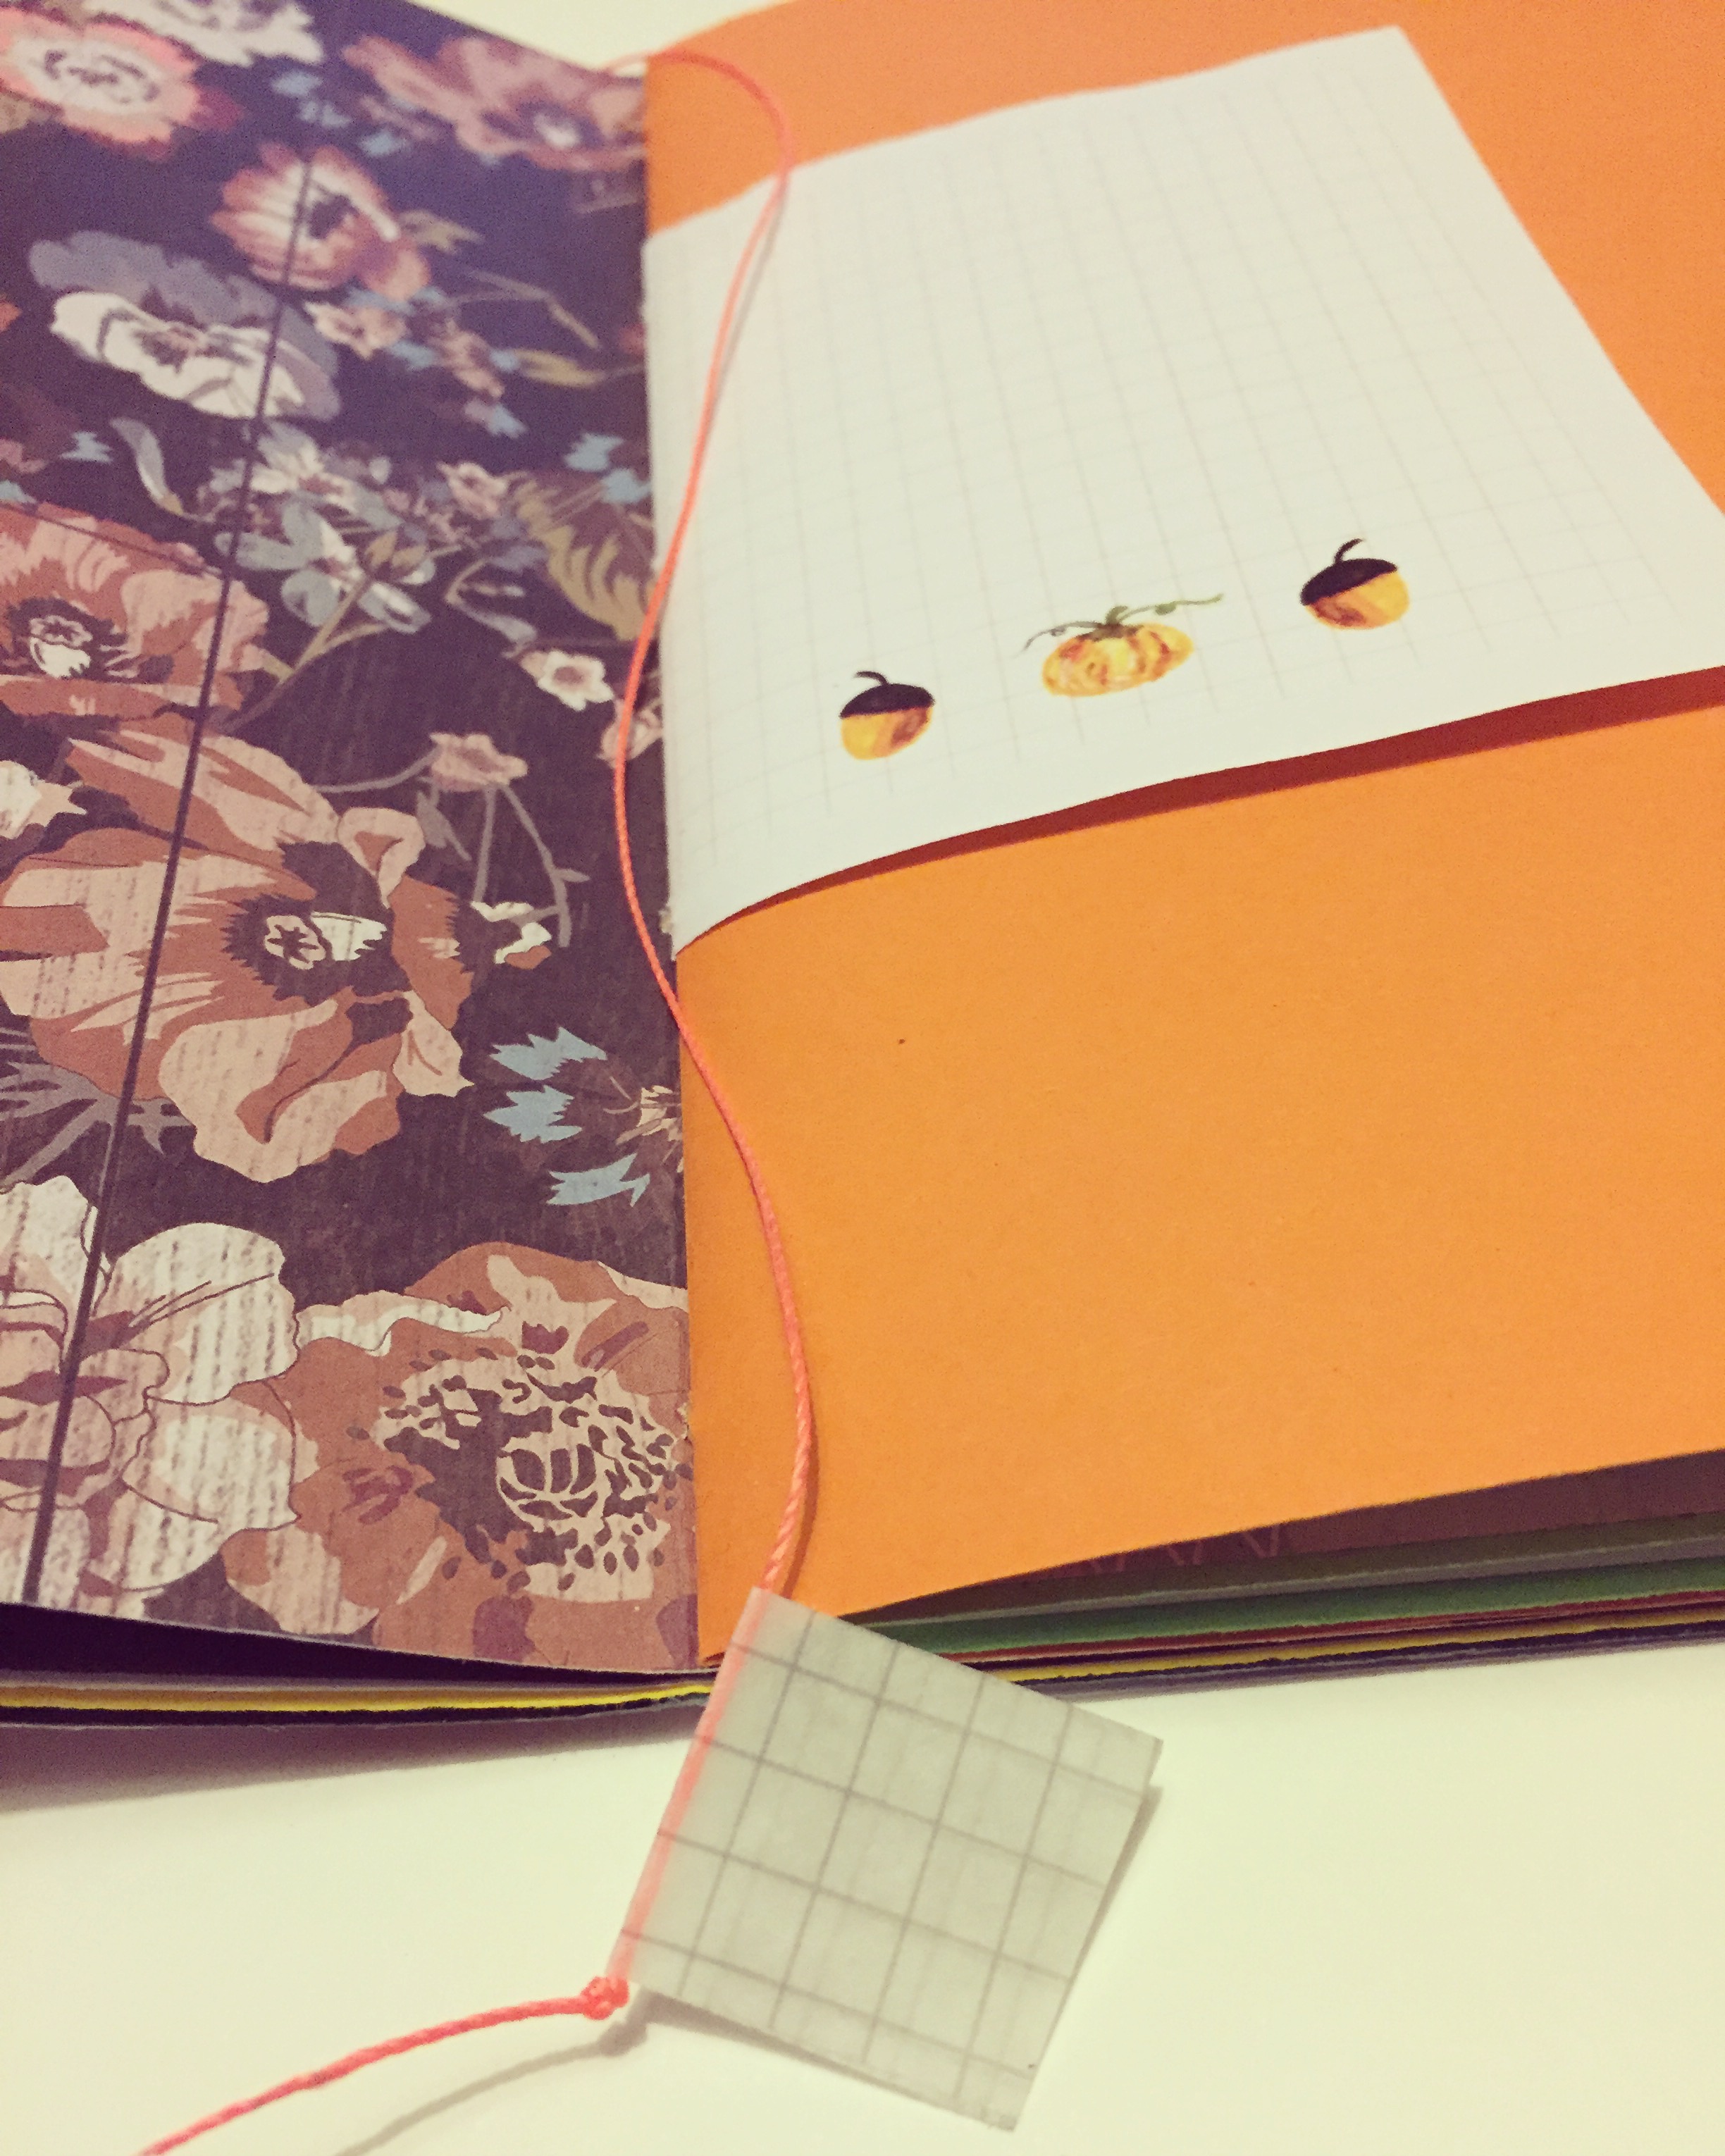
I fell in love with Anna's inviting mug of hot tea as soon as I saw it and it was a given that it would take pride of place at the beginning of the journal. But by the time I had all my craft supplies out for the task I had had a supersonic idea! I decided to create the tag for the teabag, that until now was drawn on but lost when I cut out the cup from the page, and turn it into a bookmark for the journal. In fact I made two.

IMG_0082

IMG_0079

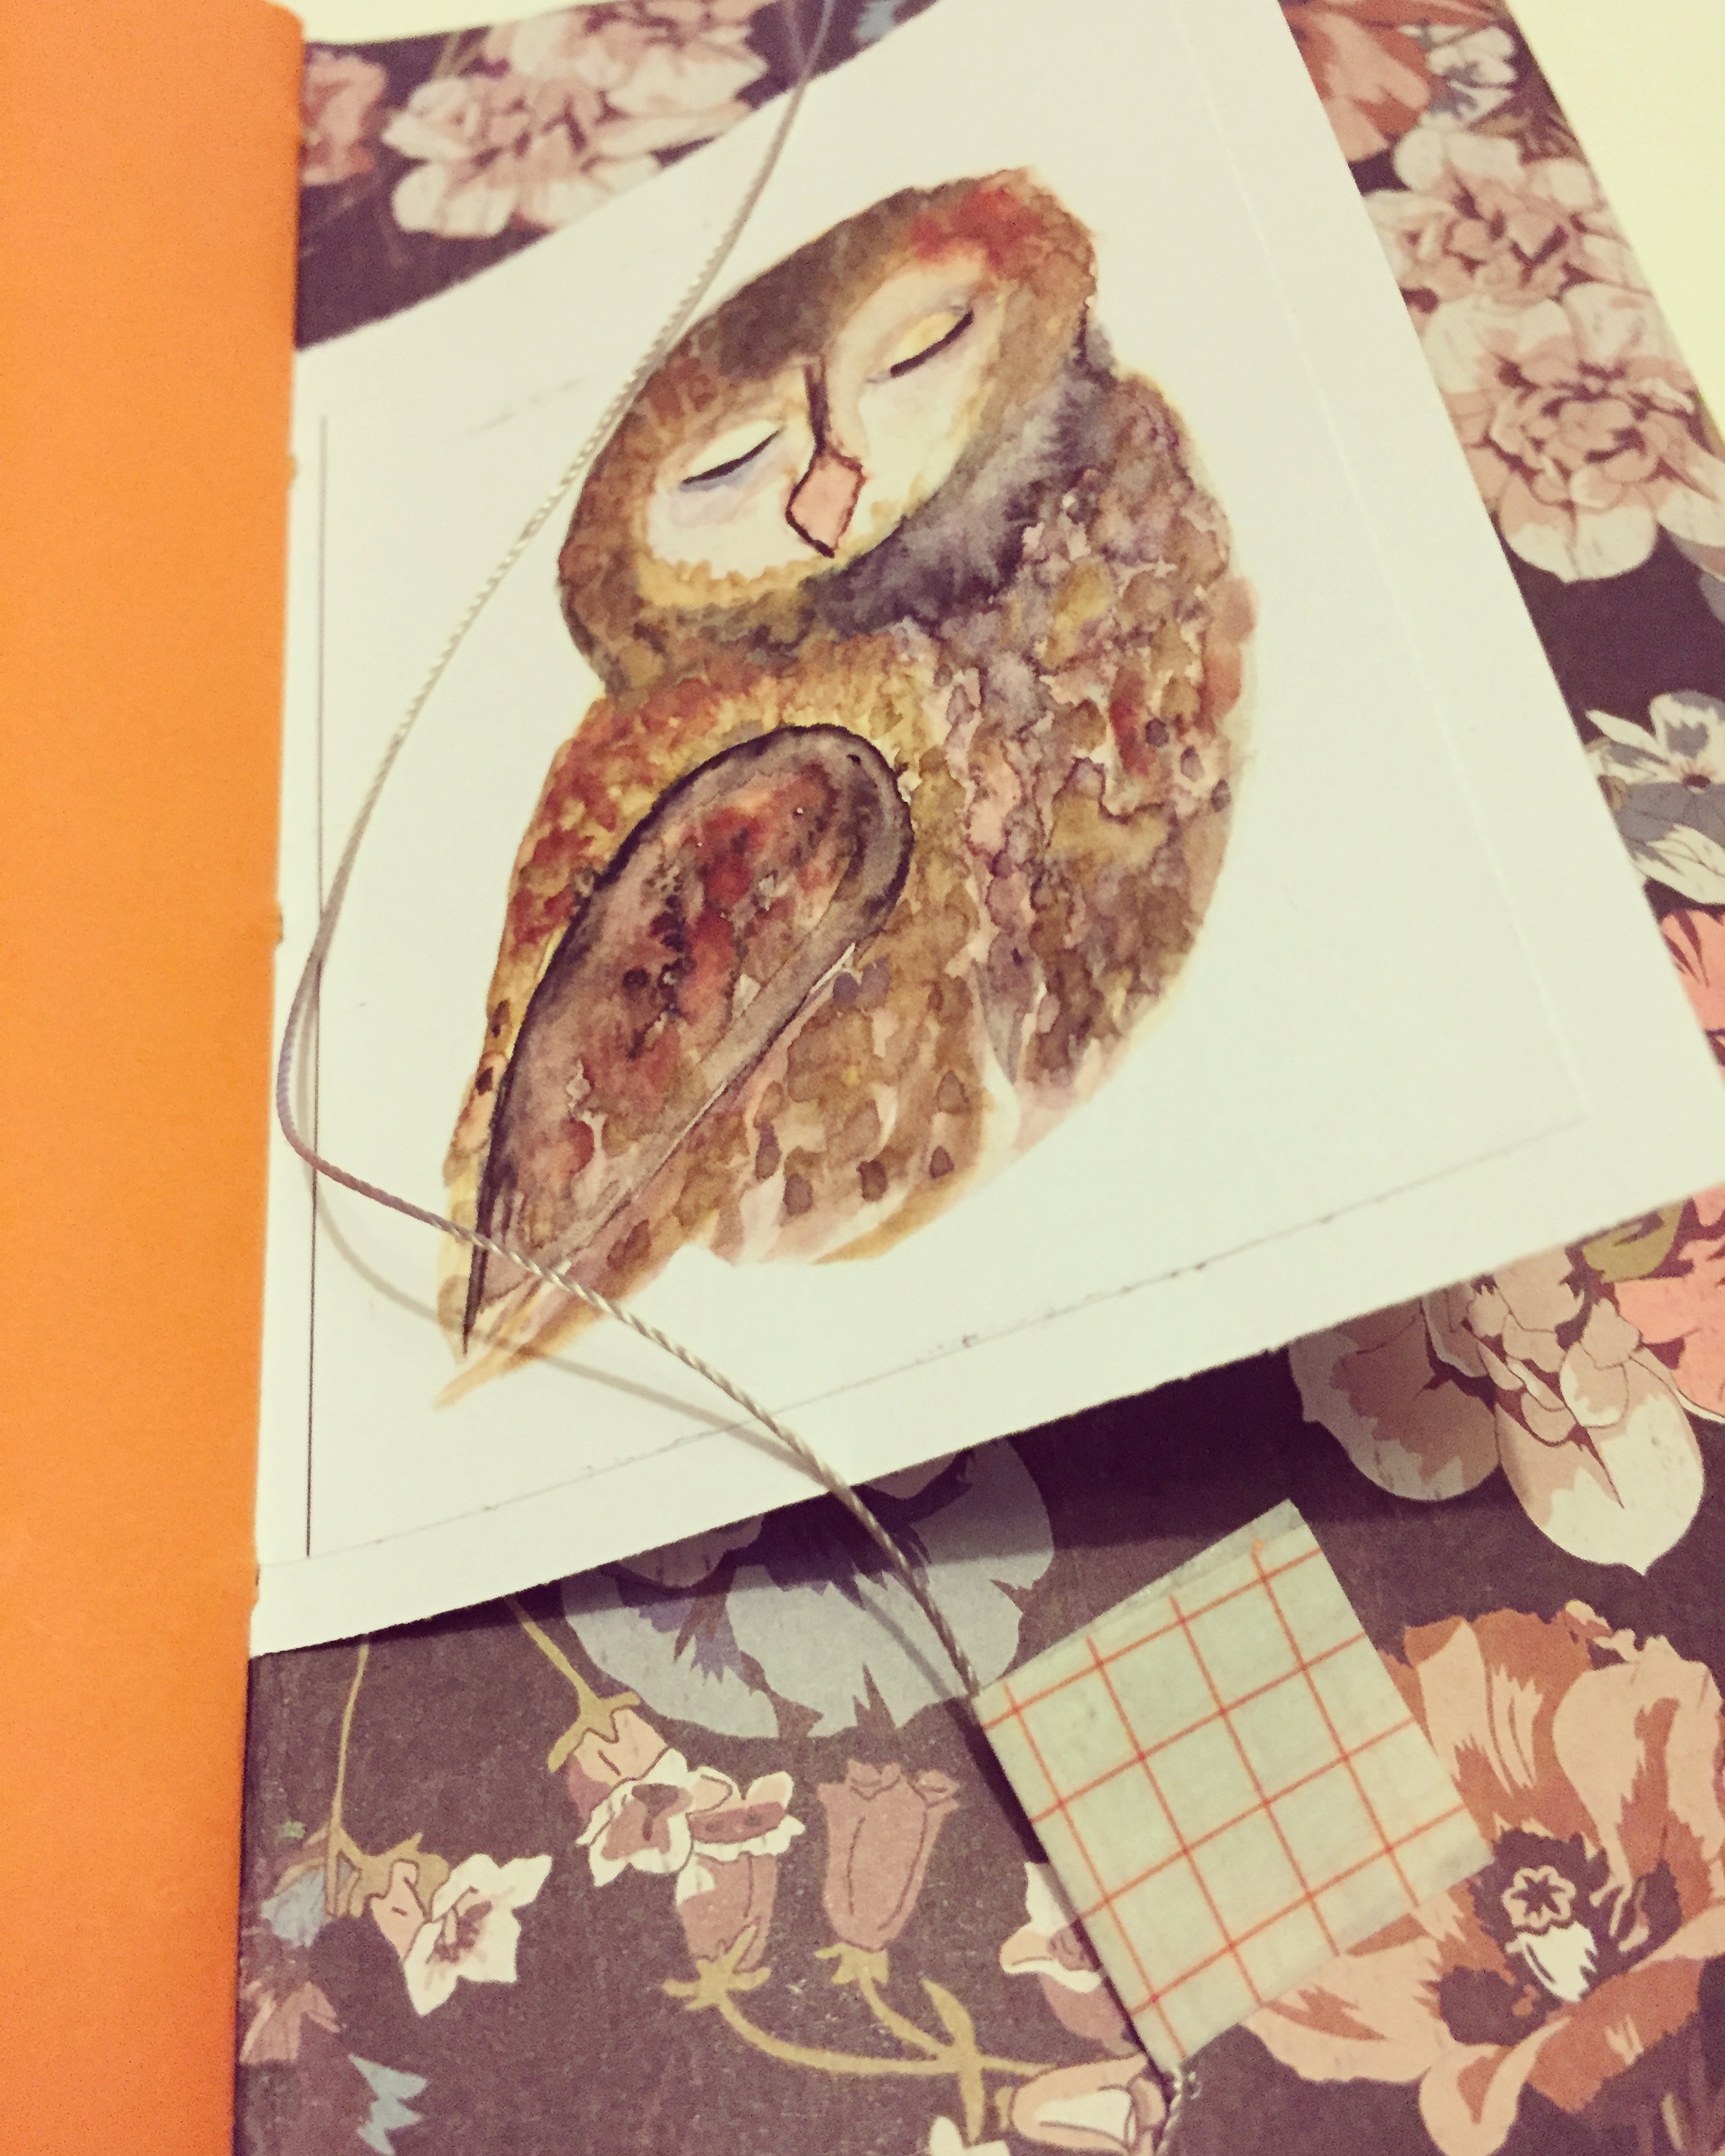
I backed the mug on some lovely blue card stock and used a bookbinding awl to make a precise hole in the teabag drawing. I threaded two different coloured threads through that hole and tied knots to secure them and taped them in place. To hide this I then stuck the cover of the journal in place, causing the image to be on the inside front cover of the insert. At the other ends of the threads I tied a knot and fixed some grid washi tape.

IMG_0080

Throughout the journal I have used autumnal papers and colours, including bits and bobs from Anna such as these adorable acorns, pumpkin and watercolour owl journal spots.

IMG_0078
IMG_0077

IMG_0084

Thanks, as ever, for reading. Until next time. Steph x x x


Sunday, 5 November 2017

Christmas Paper Wreath

ITSSSS CHRIIIISTMMMAAASSSSS!!

haha .. sorry I couldn't resist.

The  November brimbles sticker club kit this month is so full of Christmas spirit and I just couldn't wait to get into it.

I did an unboxing of It on my channel if you wanted to take a look. 

Theres one Christmas craft I really wanted to try, and that was make a paper Christmas wreath.


I used various papers from some Christmas paper pads I had in my stash.

I made a lot of paper rosettes I have a how to video on how I make these, and then glued then onto a cardboard ring I had cut out. 

I then stuck some of the decorative stickers from the kit onto some plain white card stock and fussy cut them out, I did this so they would sit nicely on top of the rosettes. 


I have really been loving my Dina Wakley Media Journal lately. I got it for my birthday from my lovely mum and I've pretty much been doing a page in it every day.

I loved the little Mouse stickers from the decorative sheet especially this little guy ( they do have names but the escape my mind) I painted the background with just some basic red acrylic paint then used some paper from the Christmas paper pads that came from the pound shop last year to make some card presents.
I then used my posca paint pen in white to write on my quote.
I punched out some stars with some of my star punches just to add some detail onto the background.

then I added some christmas phrase stickers from the mrs brimbles shop to finish the bottom of the page.


Gemma Silk


blog.     youtube.     instagram 


Saturday, 4 November 2017

Beginning a new Journey


Hi guys! It's been a couple of weeks since my last post and I'm feeling a little rusty! Today I thought I'd catch you all up on my progress with Anna's fantastic Adventure Journaling course. Just a little bit about the course before we get started, for those of you who may not have seen it. Anna takes us through what adventure journaling is and what it can be, quick jaunts out to the park to fabulous holidays away. Anna shares some great tips and tricks from which supplies to pack to how to create beautiful pages documenting the things you have done. 


What is adventure journaling to me? Well, because I journal most days, about the day to day goings on in the household I tend to view adventure journaling as something separate. Adventures, for me are any event or occasion that removes me from my everyday routine or where I find my myself in someplace new.

Sometimes, that'll be something big like a family holiday but mostly it's when my partner and I take the day to explore a new town or park or a road trip to visit friends or family. Although they are both adventures, I still view them differently, mini excursions for the latter is perhaps more appropriate as they happen more frequently. I also tend to journal when I am back home, in my cosy little (and messy) office. At the minute I don't have a dedicated adventure journal and these tend to go in my everyday journals.


Synchronicity at it's finest. The day I picked to make a start on the classes I  headed to the supermarket to pick up some bits for dinner. I couldn't face doing a 'big shop' so I headed to the little local one. I wandered over to the magazine section, generally speaking there is never much more than a couple of newspapers and the celebrity type magazine which are not my thing. However, that day they had a few copies of  Project Calm featuring travel, adventure and storytelling! Snapped that up quick. It is a really lovely magazine, full of all sorts of things, mostly craft related, writing and stunning photography. It is a little on the expensive side but it is definitely worth purchasing a copy if you see one. 


This year it is all change in my family for Christmas, my siblings are off to their respective inlaws for the festive period, we are having our roof reroofed (that sounds funny!) and so we are all in different places, usually we all head to my parents for Christmas Day but this year that's not possible. So J and I decided we'd take the opportunity to go away somewhere. With the pets holidays can be a little difficult, not impossible, but logistically it is added stress. We have also spent the last couple of summers working on doing up our house, so realistically over Christmas is the best opportunity for us to go somewhere together. Definitely a cold somewhere, can't be doing Christmas in a hot climate!!


As this will the first holiday away we've had together I wanted to go with something a little more special than my everyday journal. Then came the age old problem for a stationery addict....which notebook should I use? I had a rifle through my stack of unused journals and notebooks, which I'm a tad ashamed to admit is huge. I settled on the one below, which is rather fitting seeing as it is a handmade journal I picked up whilst on adventure earlier this year. J and I, after many years (and I'm talking about 8 years or so!) of driving past and me saying I'd like to go, finally visited the Imperial War Museum North on a very wet and miserable day! Ever since I was a wee thing I've always bought myself a pencil or pen from the gift shop. It is something that started when my parents would take us on outings and we'd always visit the gift shops after. I was allowed one small item, which would always, always be a pencil or a pen! I've hoarded these pencils..haha and I now have quite a collection in my pen pots.


I digress! I'm looking forward to cracking this beauty open and filling it with all the things I get up to on my holiday! I'm often nervous about starting on the first page and will often skip to the first double page spread. I'm going to follow some of Anna's tips, for example I love the idea of having a master To Do and To Pack list at the front and a list of places I'd love to visit! There are several signatures of recycled cotton rag paper, it'll be the first time I've used this kind of paper in a bound journal so that'll be an adventure in itself!

I'll be back to update you on my progress soon. But for now, thankyou for stopping by and getting to the end of the post! One of these days I will learn the art of being concise..haha. Don't forget to check out Anna's course if you haven't already!!

In a bit guys xx

You can also find me on Instagram and over on my own blog here.

Thursday, 2 November 2017

Kelly's Autumn & Halloween Journal Pages


This month on Anna's Patreon we have been spoilt again with beautiful artwork. We have been given a mixture of abstract mixed media and Anna's signature sketches. I carefully selected and printed the pieces that stood out to me. I never really know where I'm going to go with the artwork or what I will create. Instead I group imagery together and place it on the page. Then I add paints/pencils and slowly I begin to piece something together.

  IMG_5581

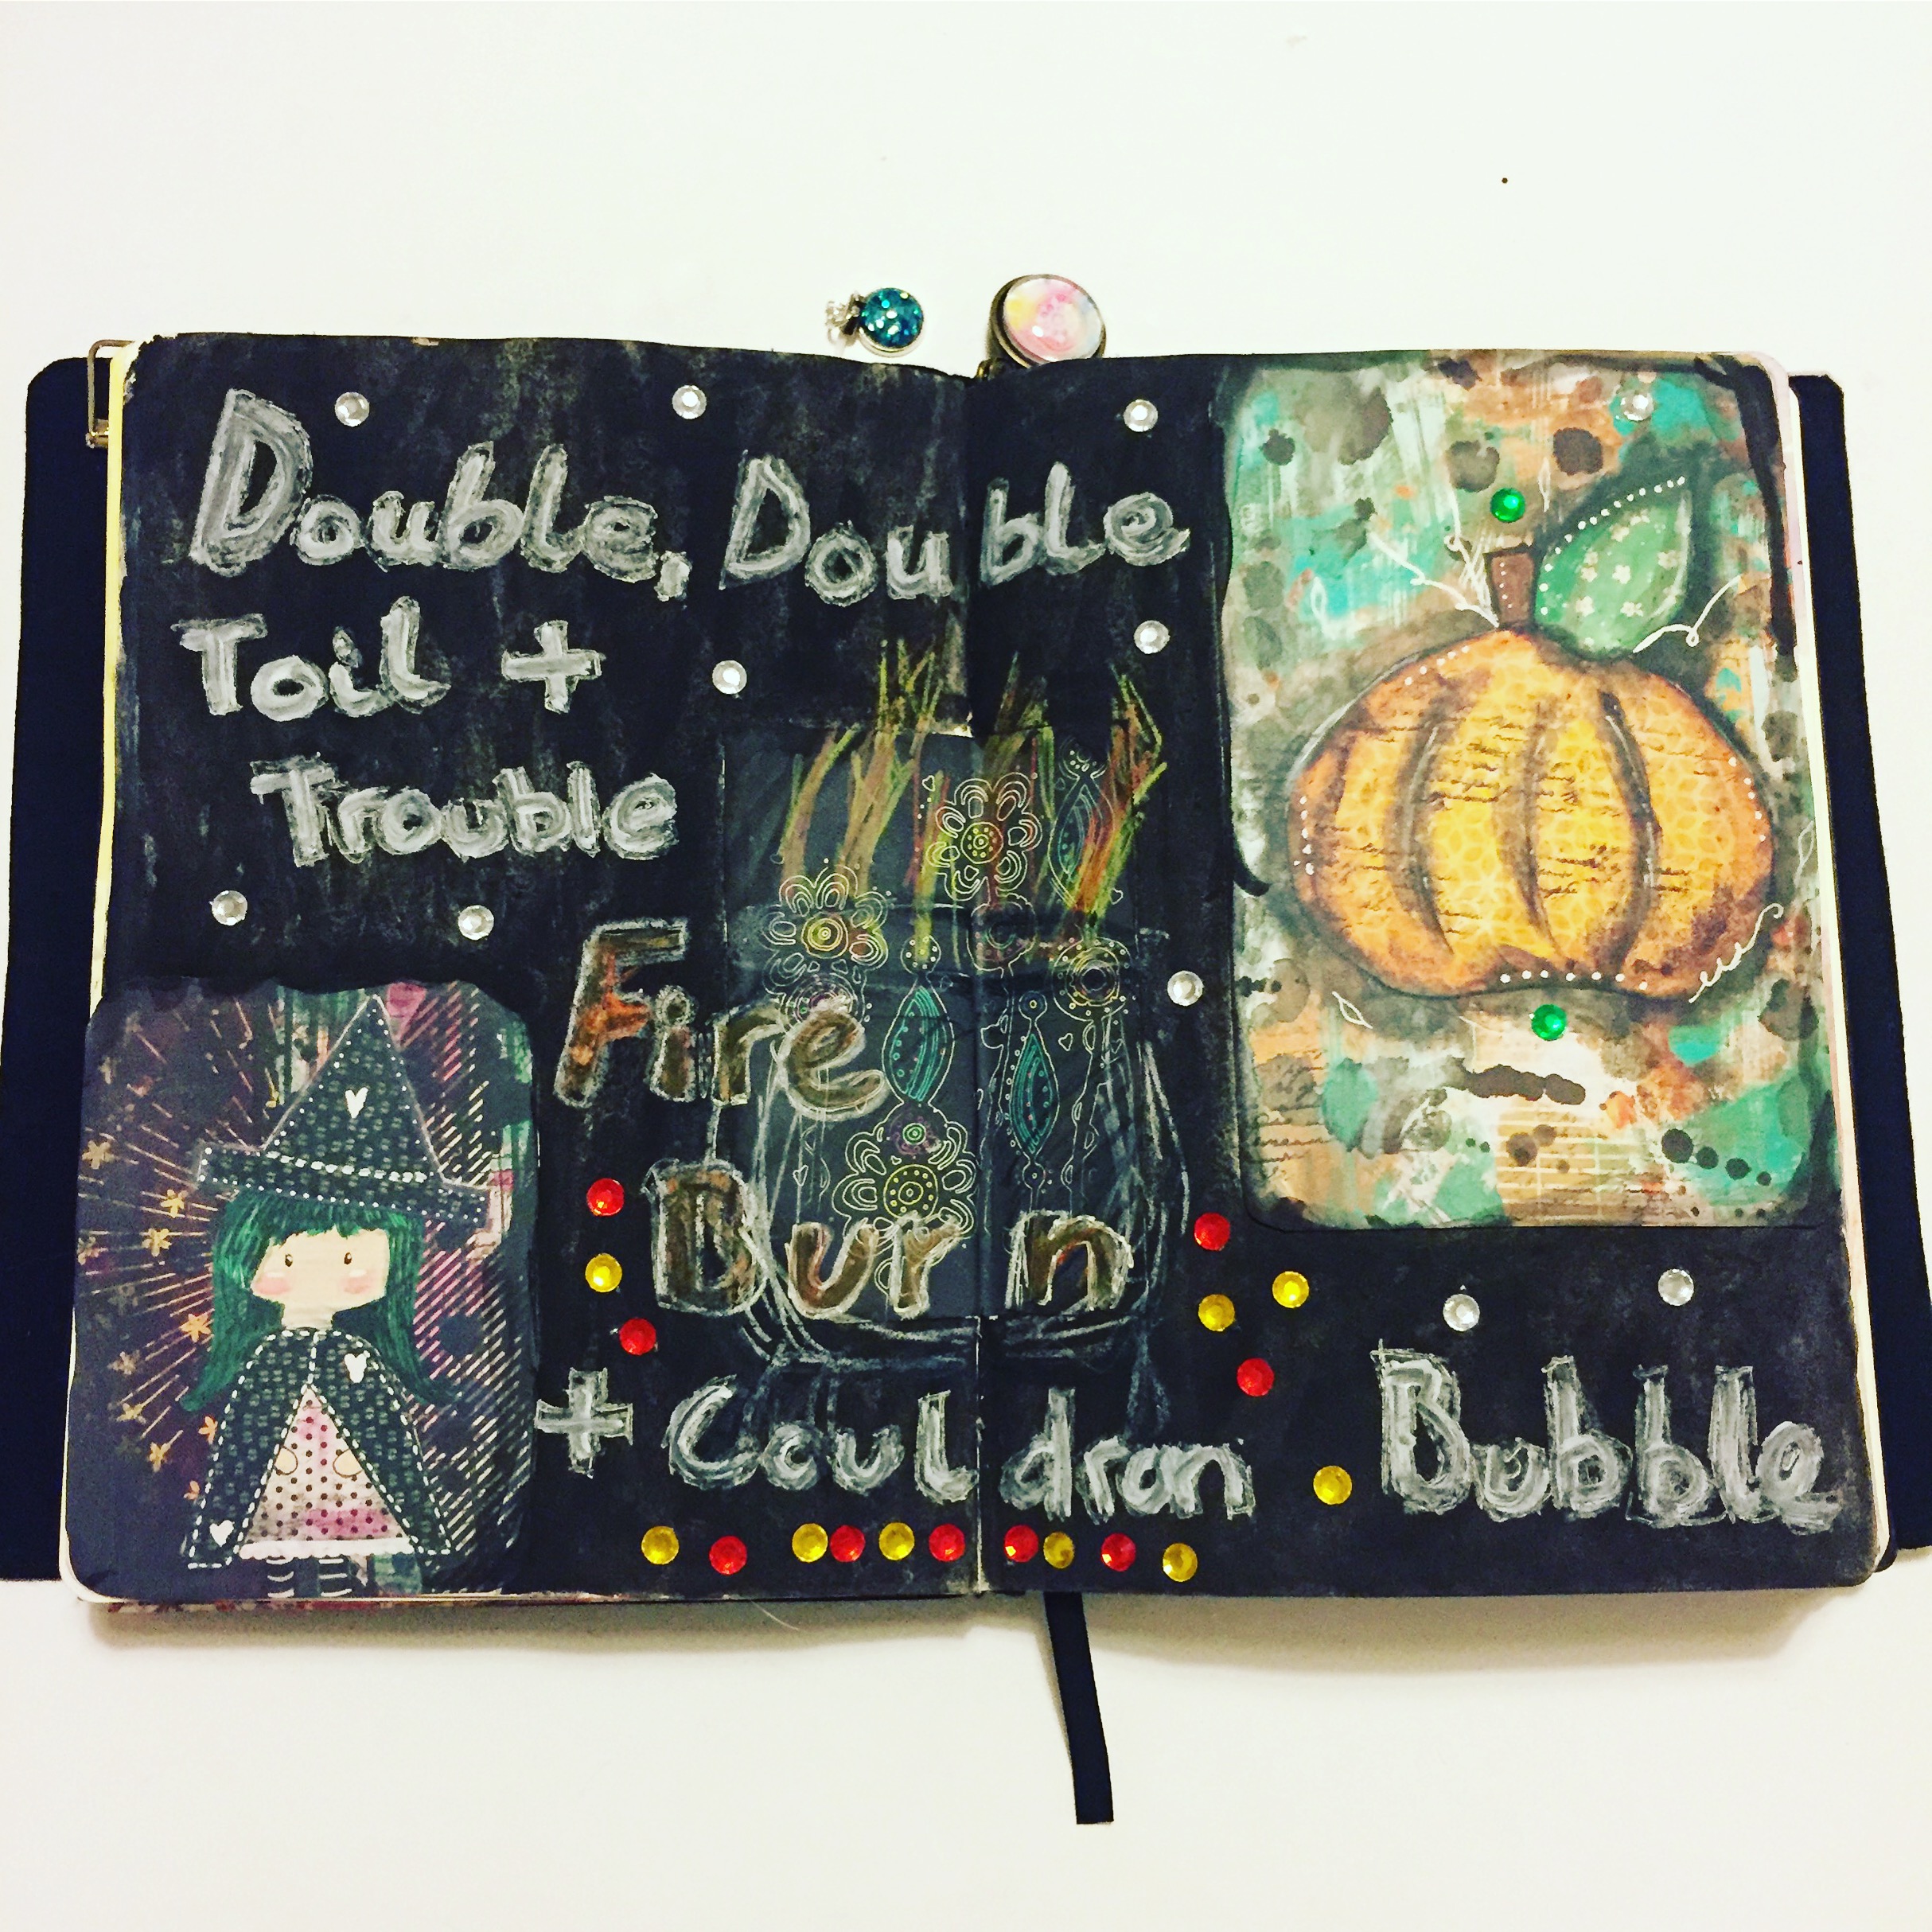
The first spread I created has a Halloween/Witchy feel. It had to be done! It's the month of Samhain! I love the Pumpkin that Anna has created, the page started with this. I then added the cute little Witch in the opposite corner and the black floral pattern to the centre. Then the quote "Double, double, toil and trouble, fire burn and Cauldron bubble" popped into my head. With this in mind I painted the whole spread black. I decided to outline a Cauldron sketch in the centre of the page over the flowers. The quote is written in large letters over the whole page, I had to use several different medias to get this text to appear! Lastly I've added little stick on gems I recently received in a swap.
  IMG_5579

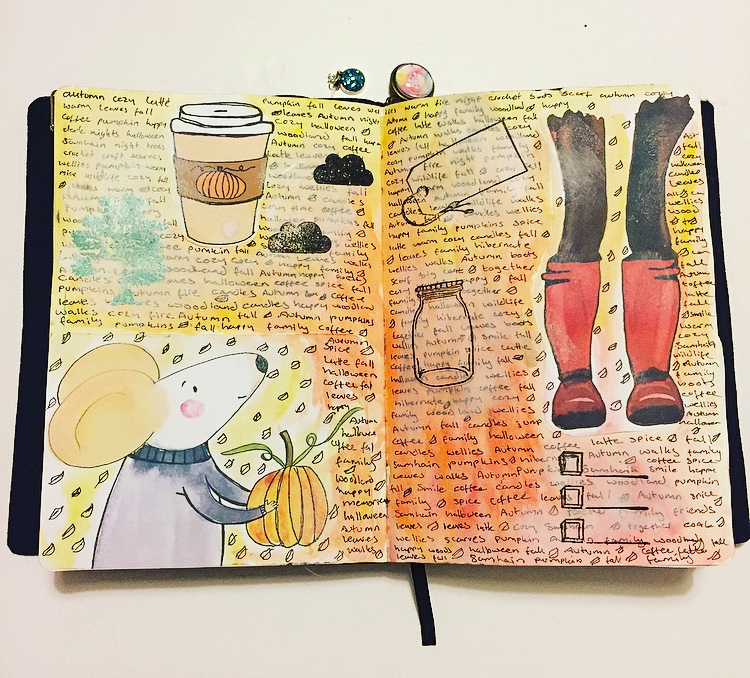
The second spread I created has an Autumnal feel. It was easy to create with Anna's artwork, as soon as I laid the images down I was getting ideas popping into my head. I had to use the Mouse as it is so cute! I love the Coffee cup with the Pumpkin and the Wellington Boots, so on they went! I then picked out a watercolour palette to match the page. I wanted to add something a little different so wrote words that remind me of Autumn repeatedly over the pages with little leaves between them and surrounding the images. To finish the pages I used a small amount of white Acrylic brushed on with a sponge and some stamps. The clouds, jar and tick boxes are from previous Brimbles boxes. I like that these are currently 'empty' so that I can add journal words later should I want to.

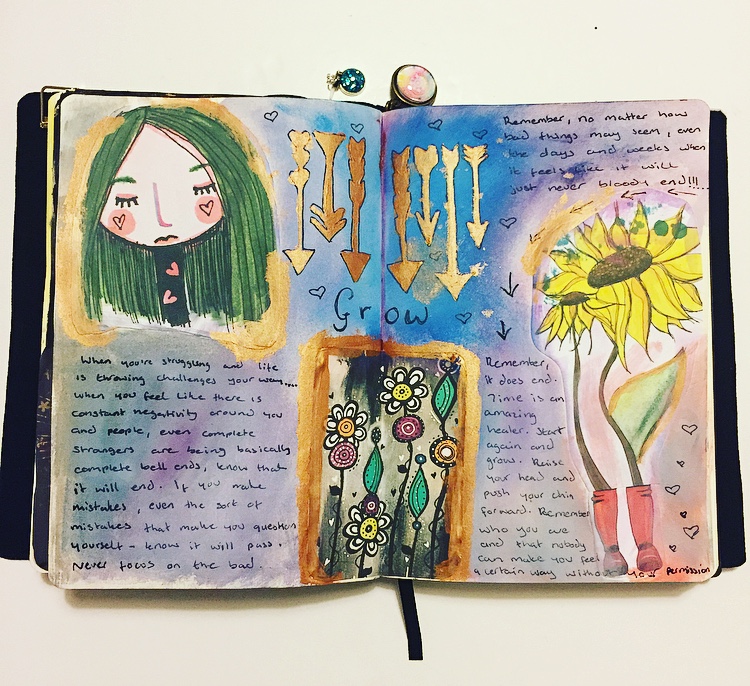
  IMG_5578

The third spread takes a different turn. Without going into specifics, I've had a few difficult weeks recently, it's been challenging. I saw the drawing of what looks like to me a sad character. She basically in that image showed how I'd been feeling. I paired this up with the flowers on the dark background and on the far right the Sunflower which I teamed up with more Wellington Boots. I created a background to show change, the gloomy colours on the left and brighter on the right. The word 'Grow' has been placed in the centre to show that this page reminds me that I can rise above bad situations. I have written some journal entries around the page in reflection to the time and as a reminder that I am strong. That's my three journal spreads for this month, thank you for stopping by, Kelly. Where else you can find me: Blog YouTube Instagram Etsy