Showing posts with label Design Team. Show all posts

Sunday, 1 July 2018

Why Mrs Brimbles?

I haven’t done a Mrs Brimbles post for a little while. This is because I currently have had so much going on and sitting down to create is few and far between. So instead of showing you what I’ve been up to, as there hasn’t really been a great deal of creativity, I thought instead I would list why I love Mrs Brimbles products. I’m forever starting my posts by saying the products are so easy to work and create with but I never elaborate on this point.


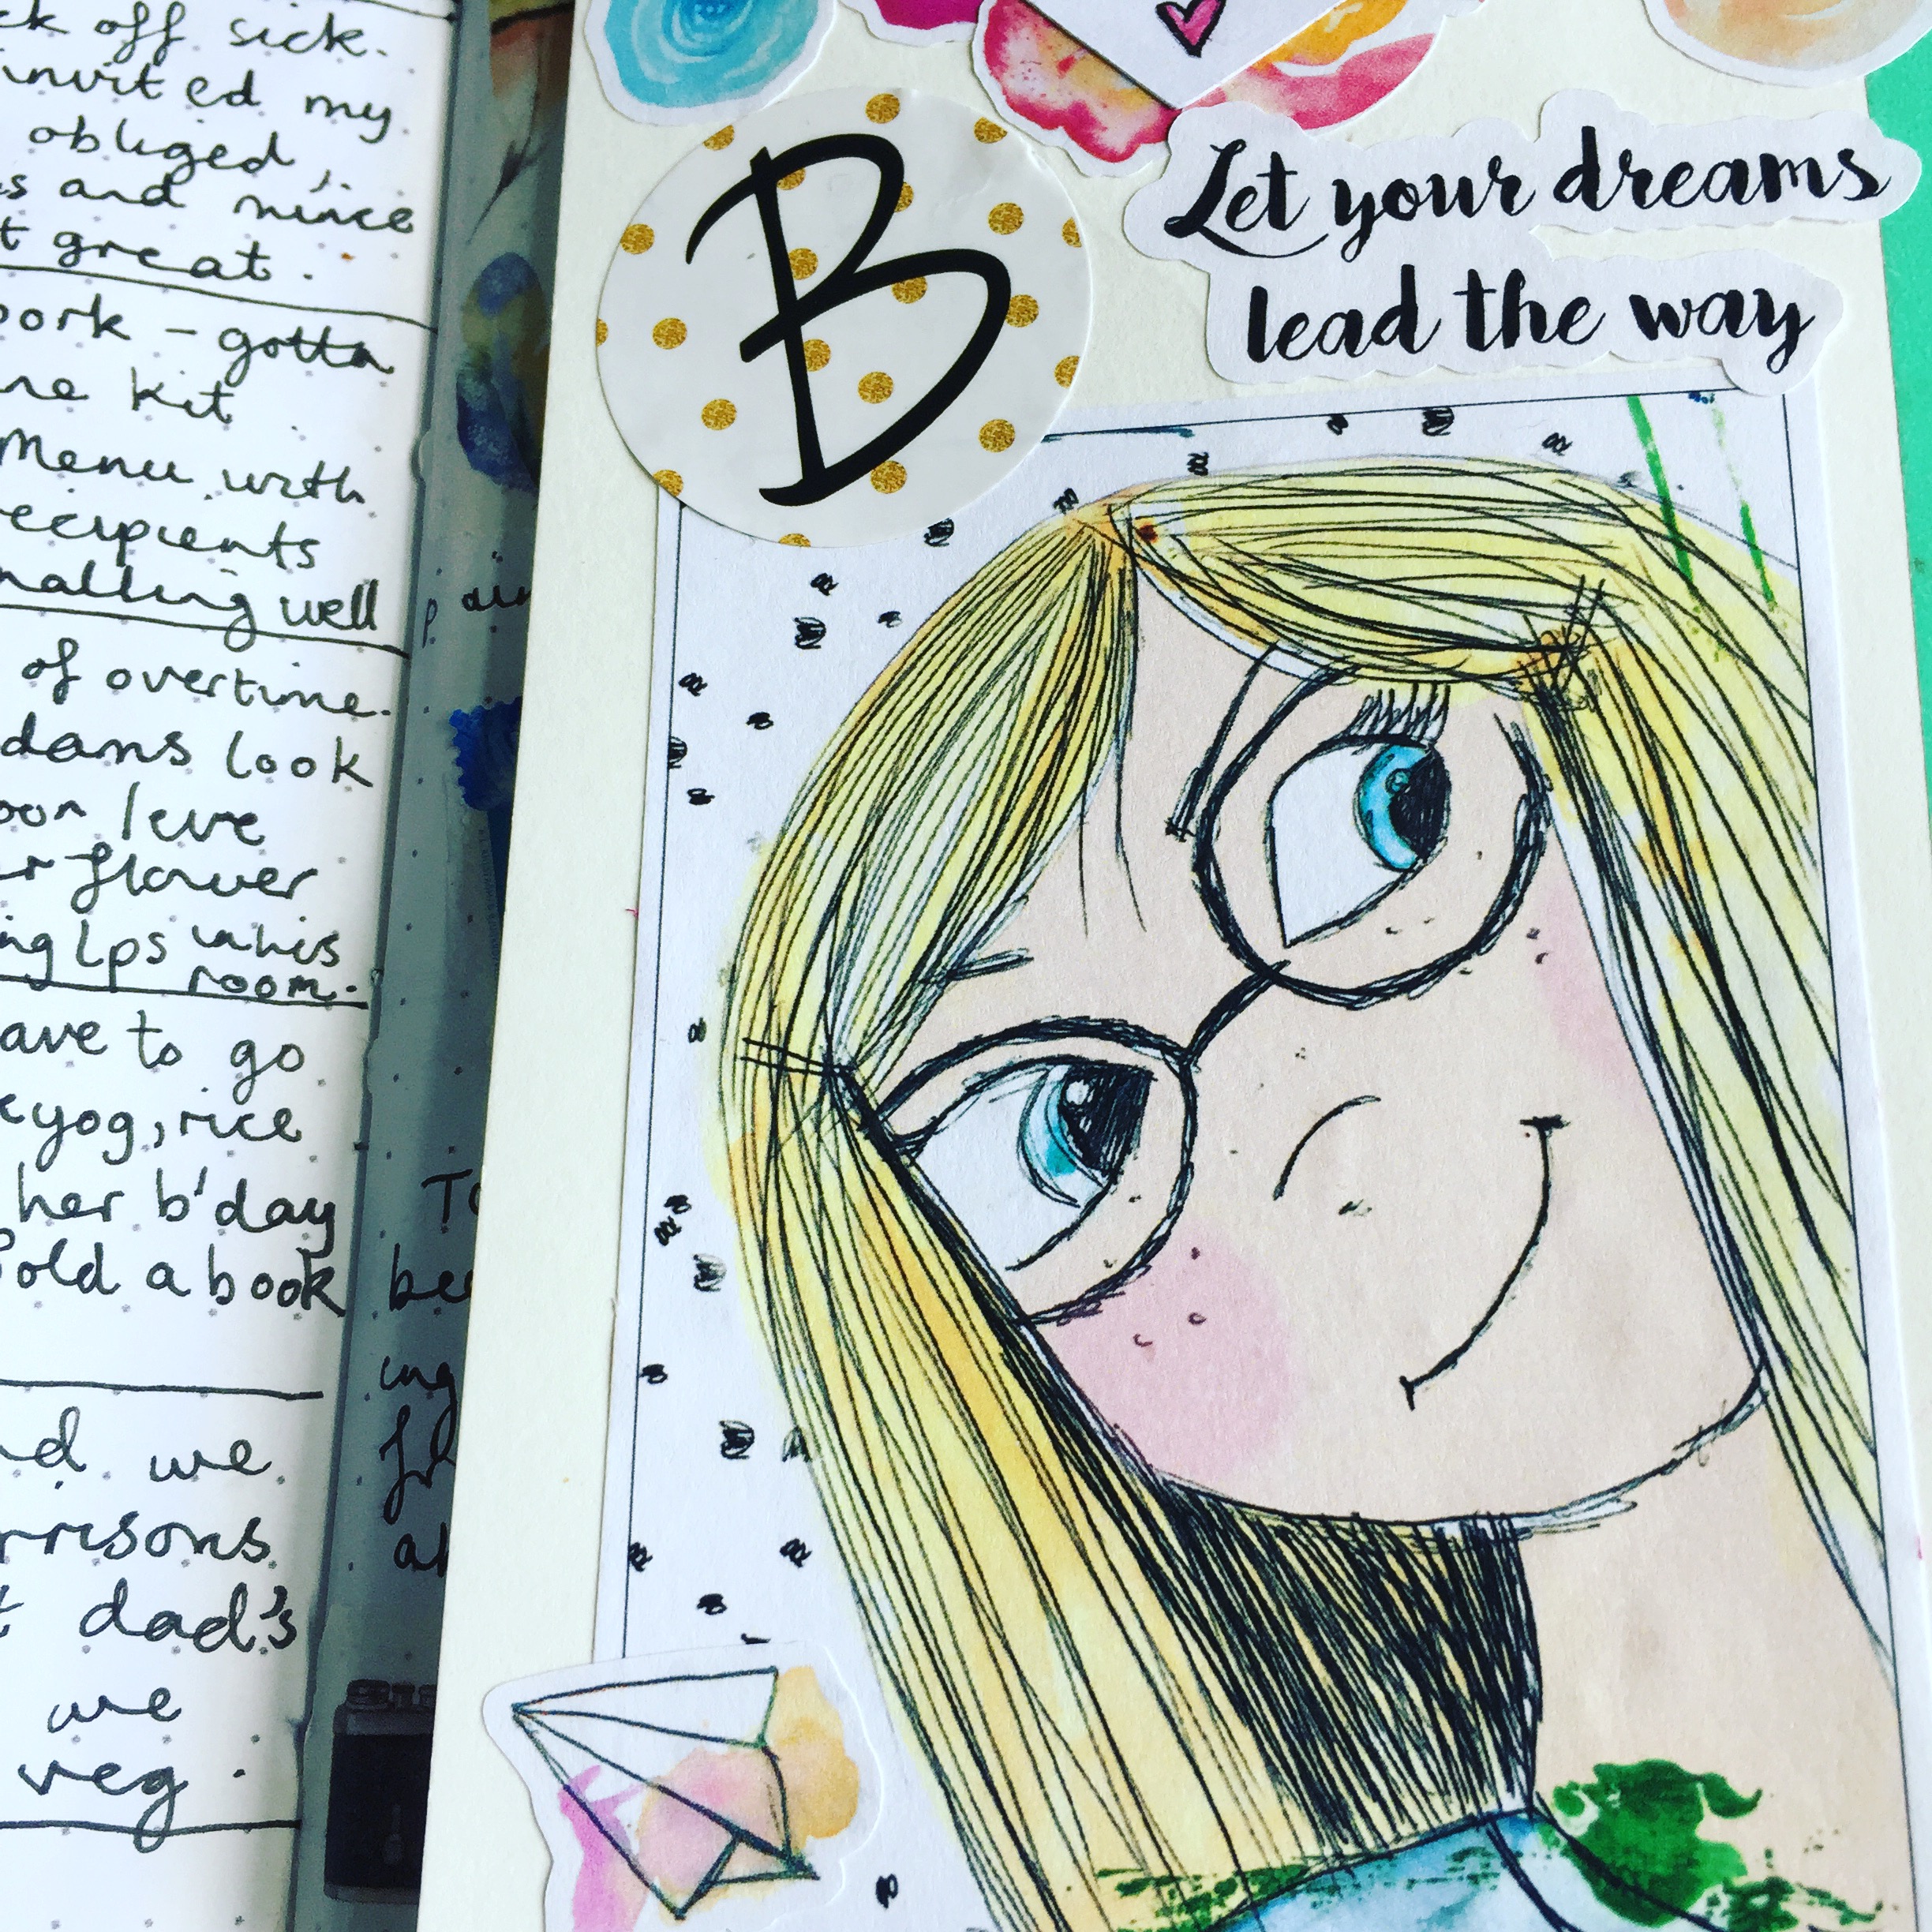
I fully stand by what I say, it’s really easy to get creative with Mrs Brimbles products. I recently attended the EBDUK meet up and Anna had her stall there. The nature of the day was to have a lot of crafting between talks and workshops. It was so nice to have Anna’s stall right there, if I had any inspiration or ideas, I would pop over to the stall and purchase stickers, vellum, scrapbook paper, ephemera, whatever I needed, it was there waiting to be bought and used. So from my point of view, this is why I think Mrs Brimbles products are amazing: Easy to work with The products are very versatile, they can be used for creative journaling, planning, happy mail, pocket letters, art journal work, the list goes on. For me personally, being in a creative journal slump this is where I really appreciate these products. Simply placing different elements on a page will stir my creativity, they’re that easy to work with. The inspiration is right there for you.


Colour schemes and size of artwork

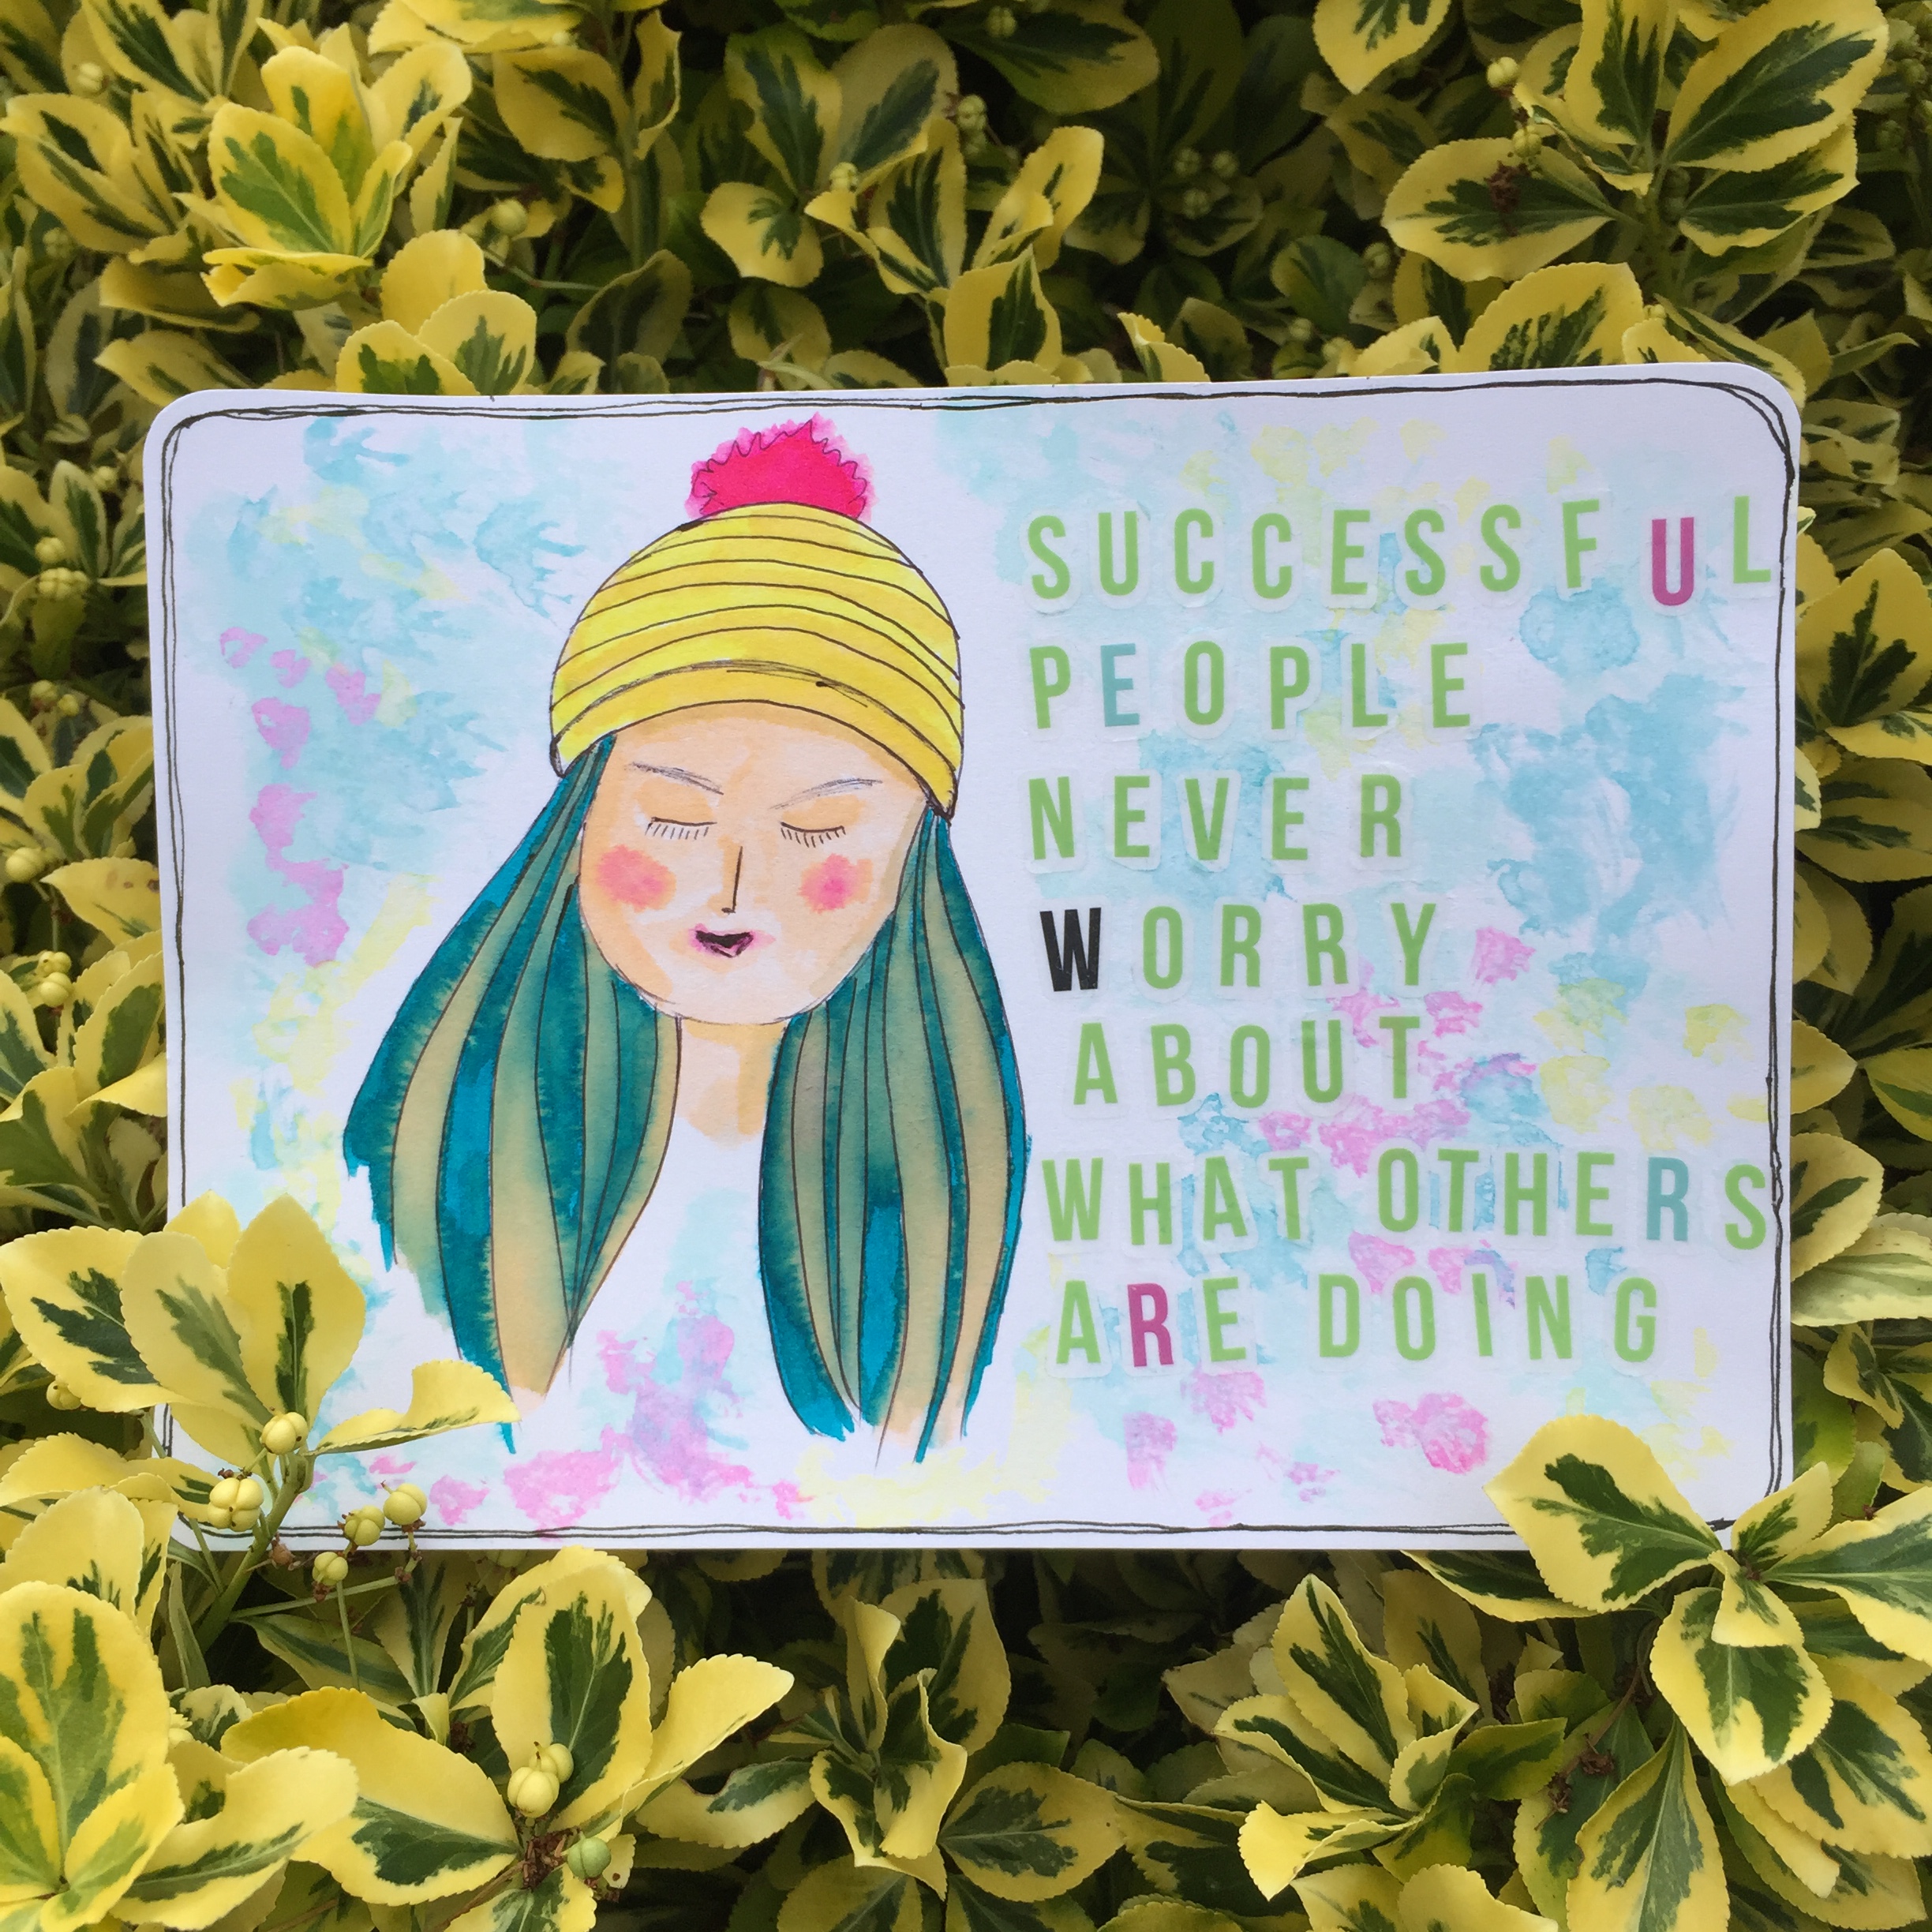
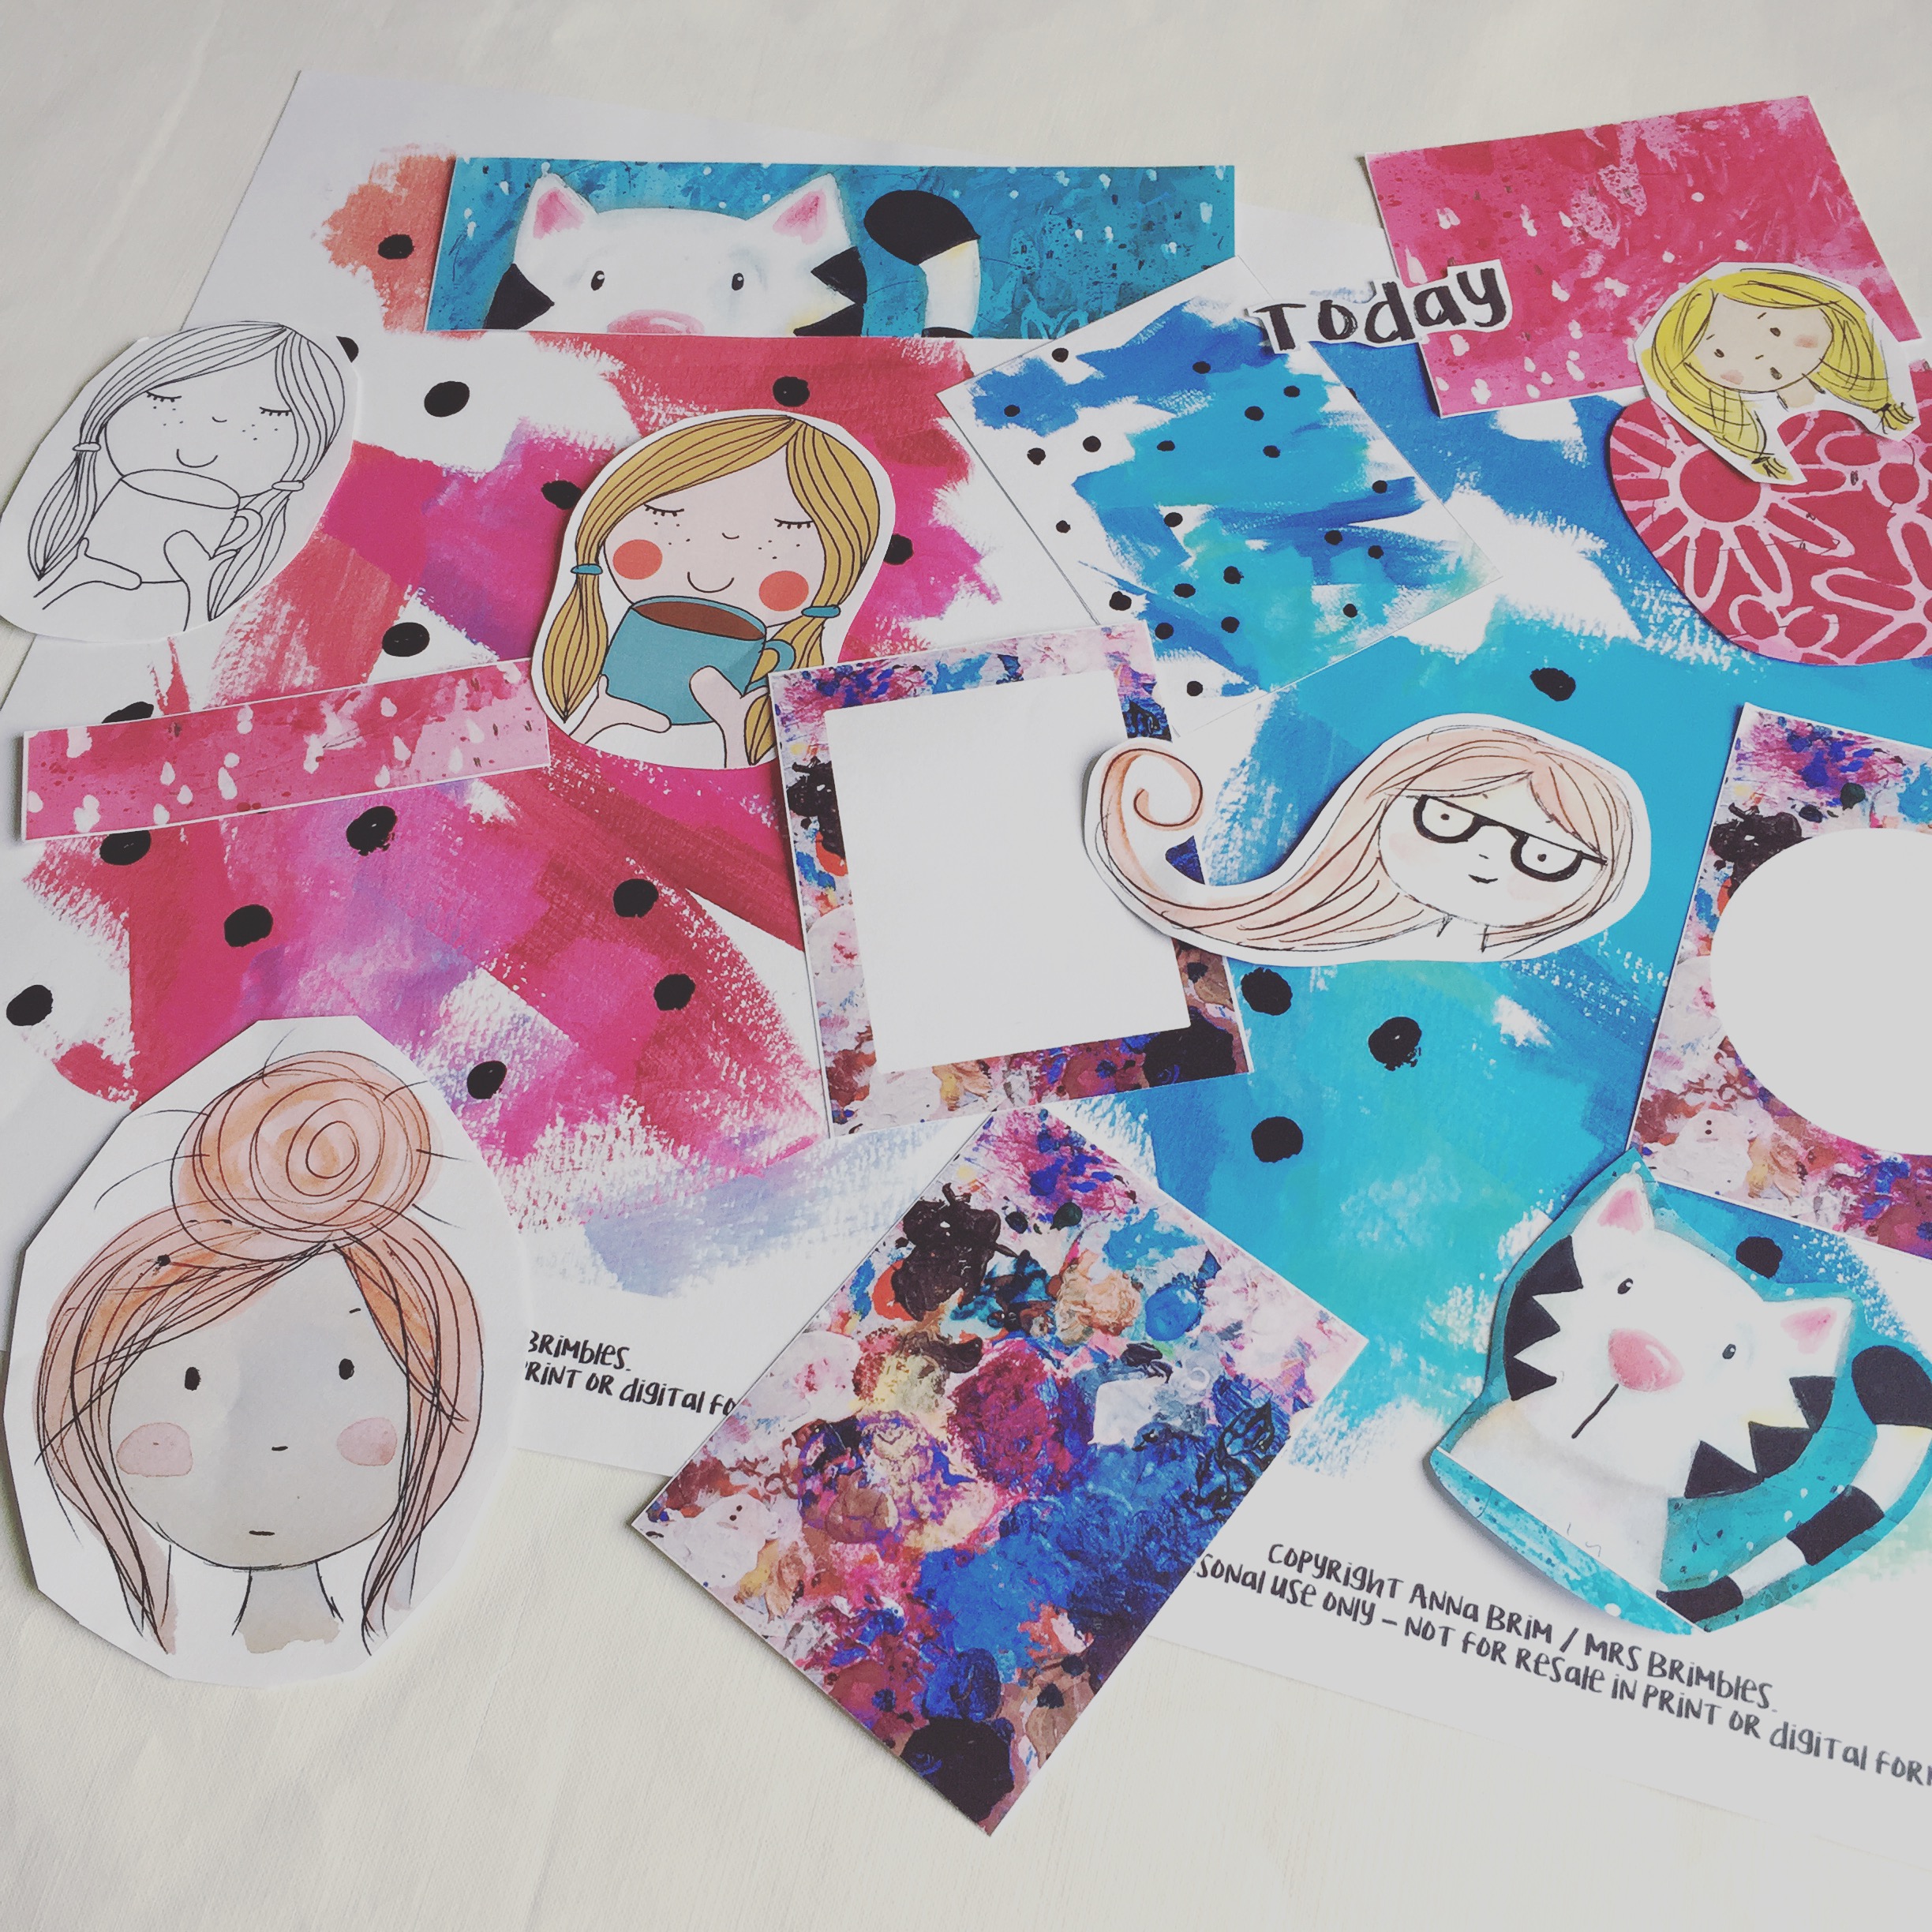
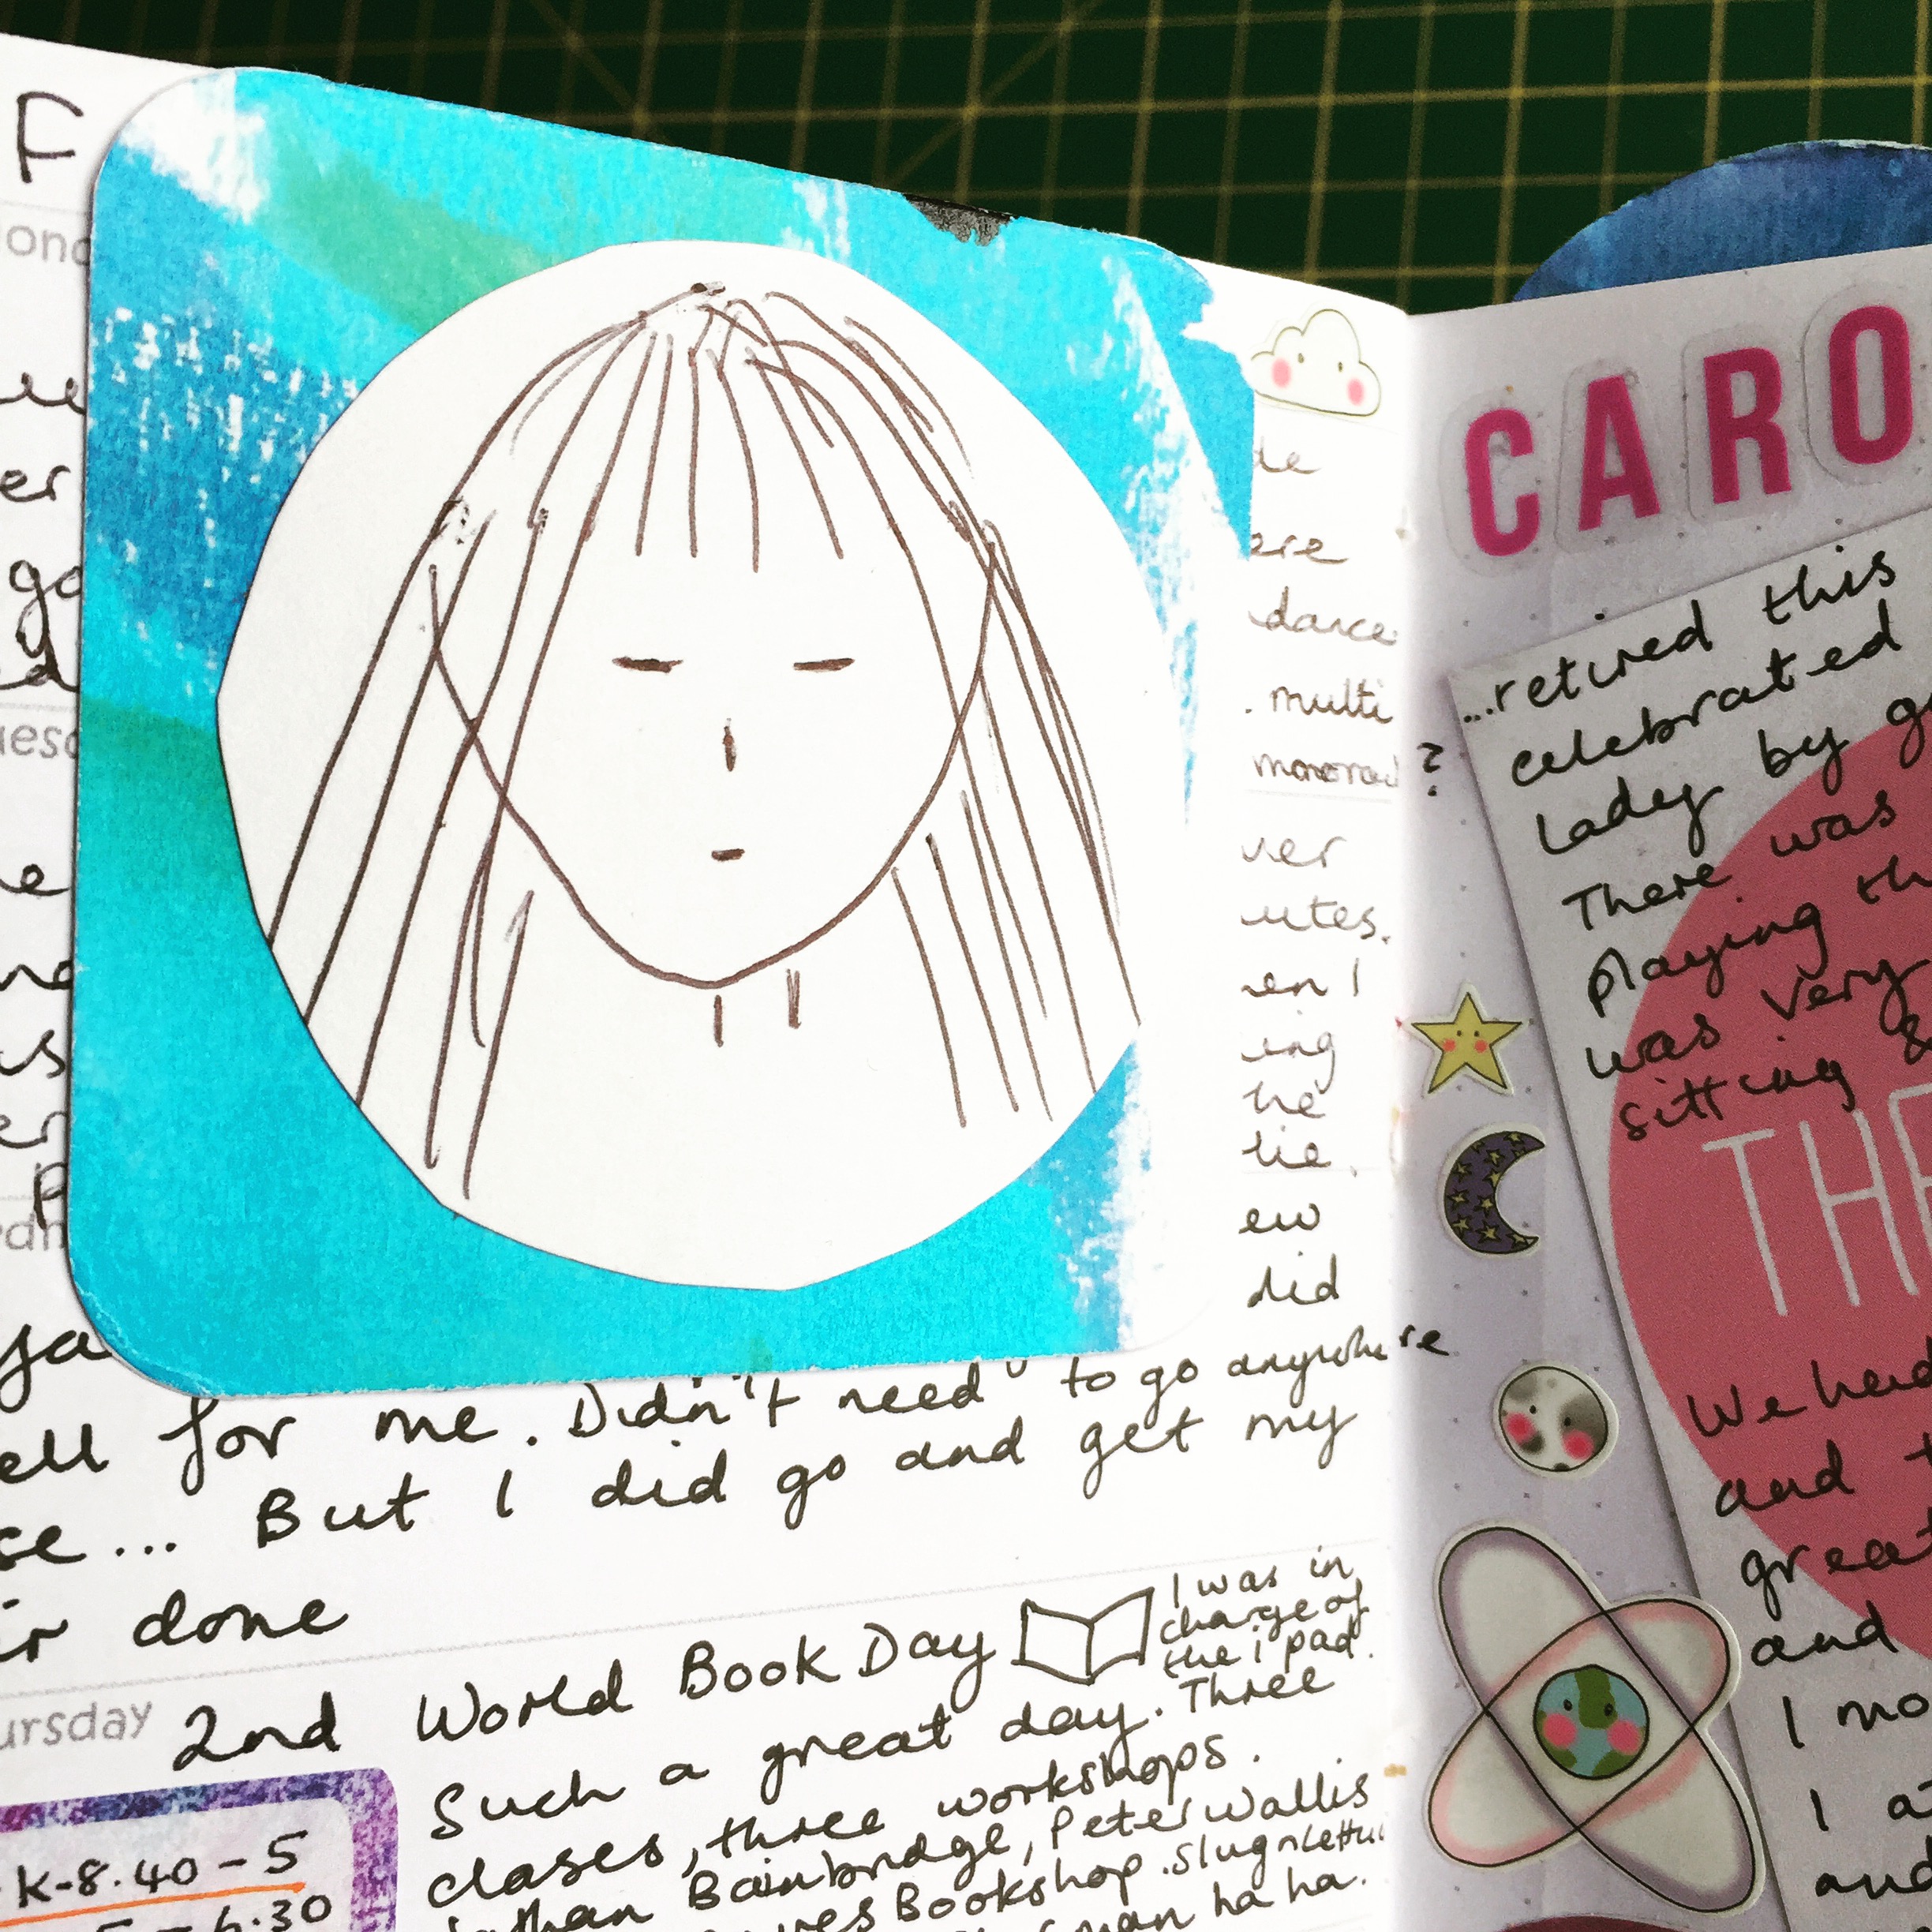
Yey Anna has brought the Brimbles box back! This means you can appreciate a kit that’s been carefully put together. The kits now feature all of Anna’s own artwork. I’ve found that the size of the products works well, the ephemera for example is created to a decent size. Some kits offer small ephemera that can be tricky to use on a creative spread. Anna’s ephemera gets you past the fear of white space and makes it more possible to visually pull a page together. If you’re a mum like me with no time but really want to create, Anna’s work makes this possible.


Unique

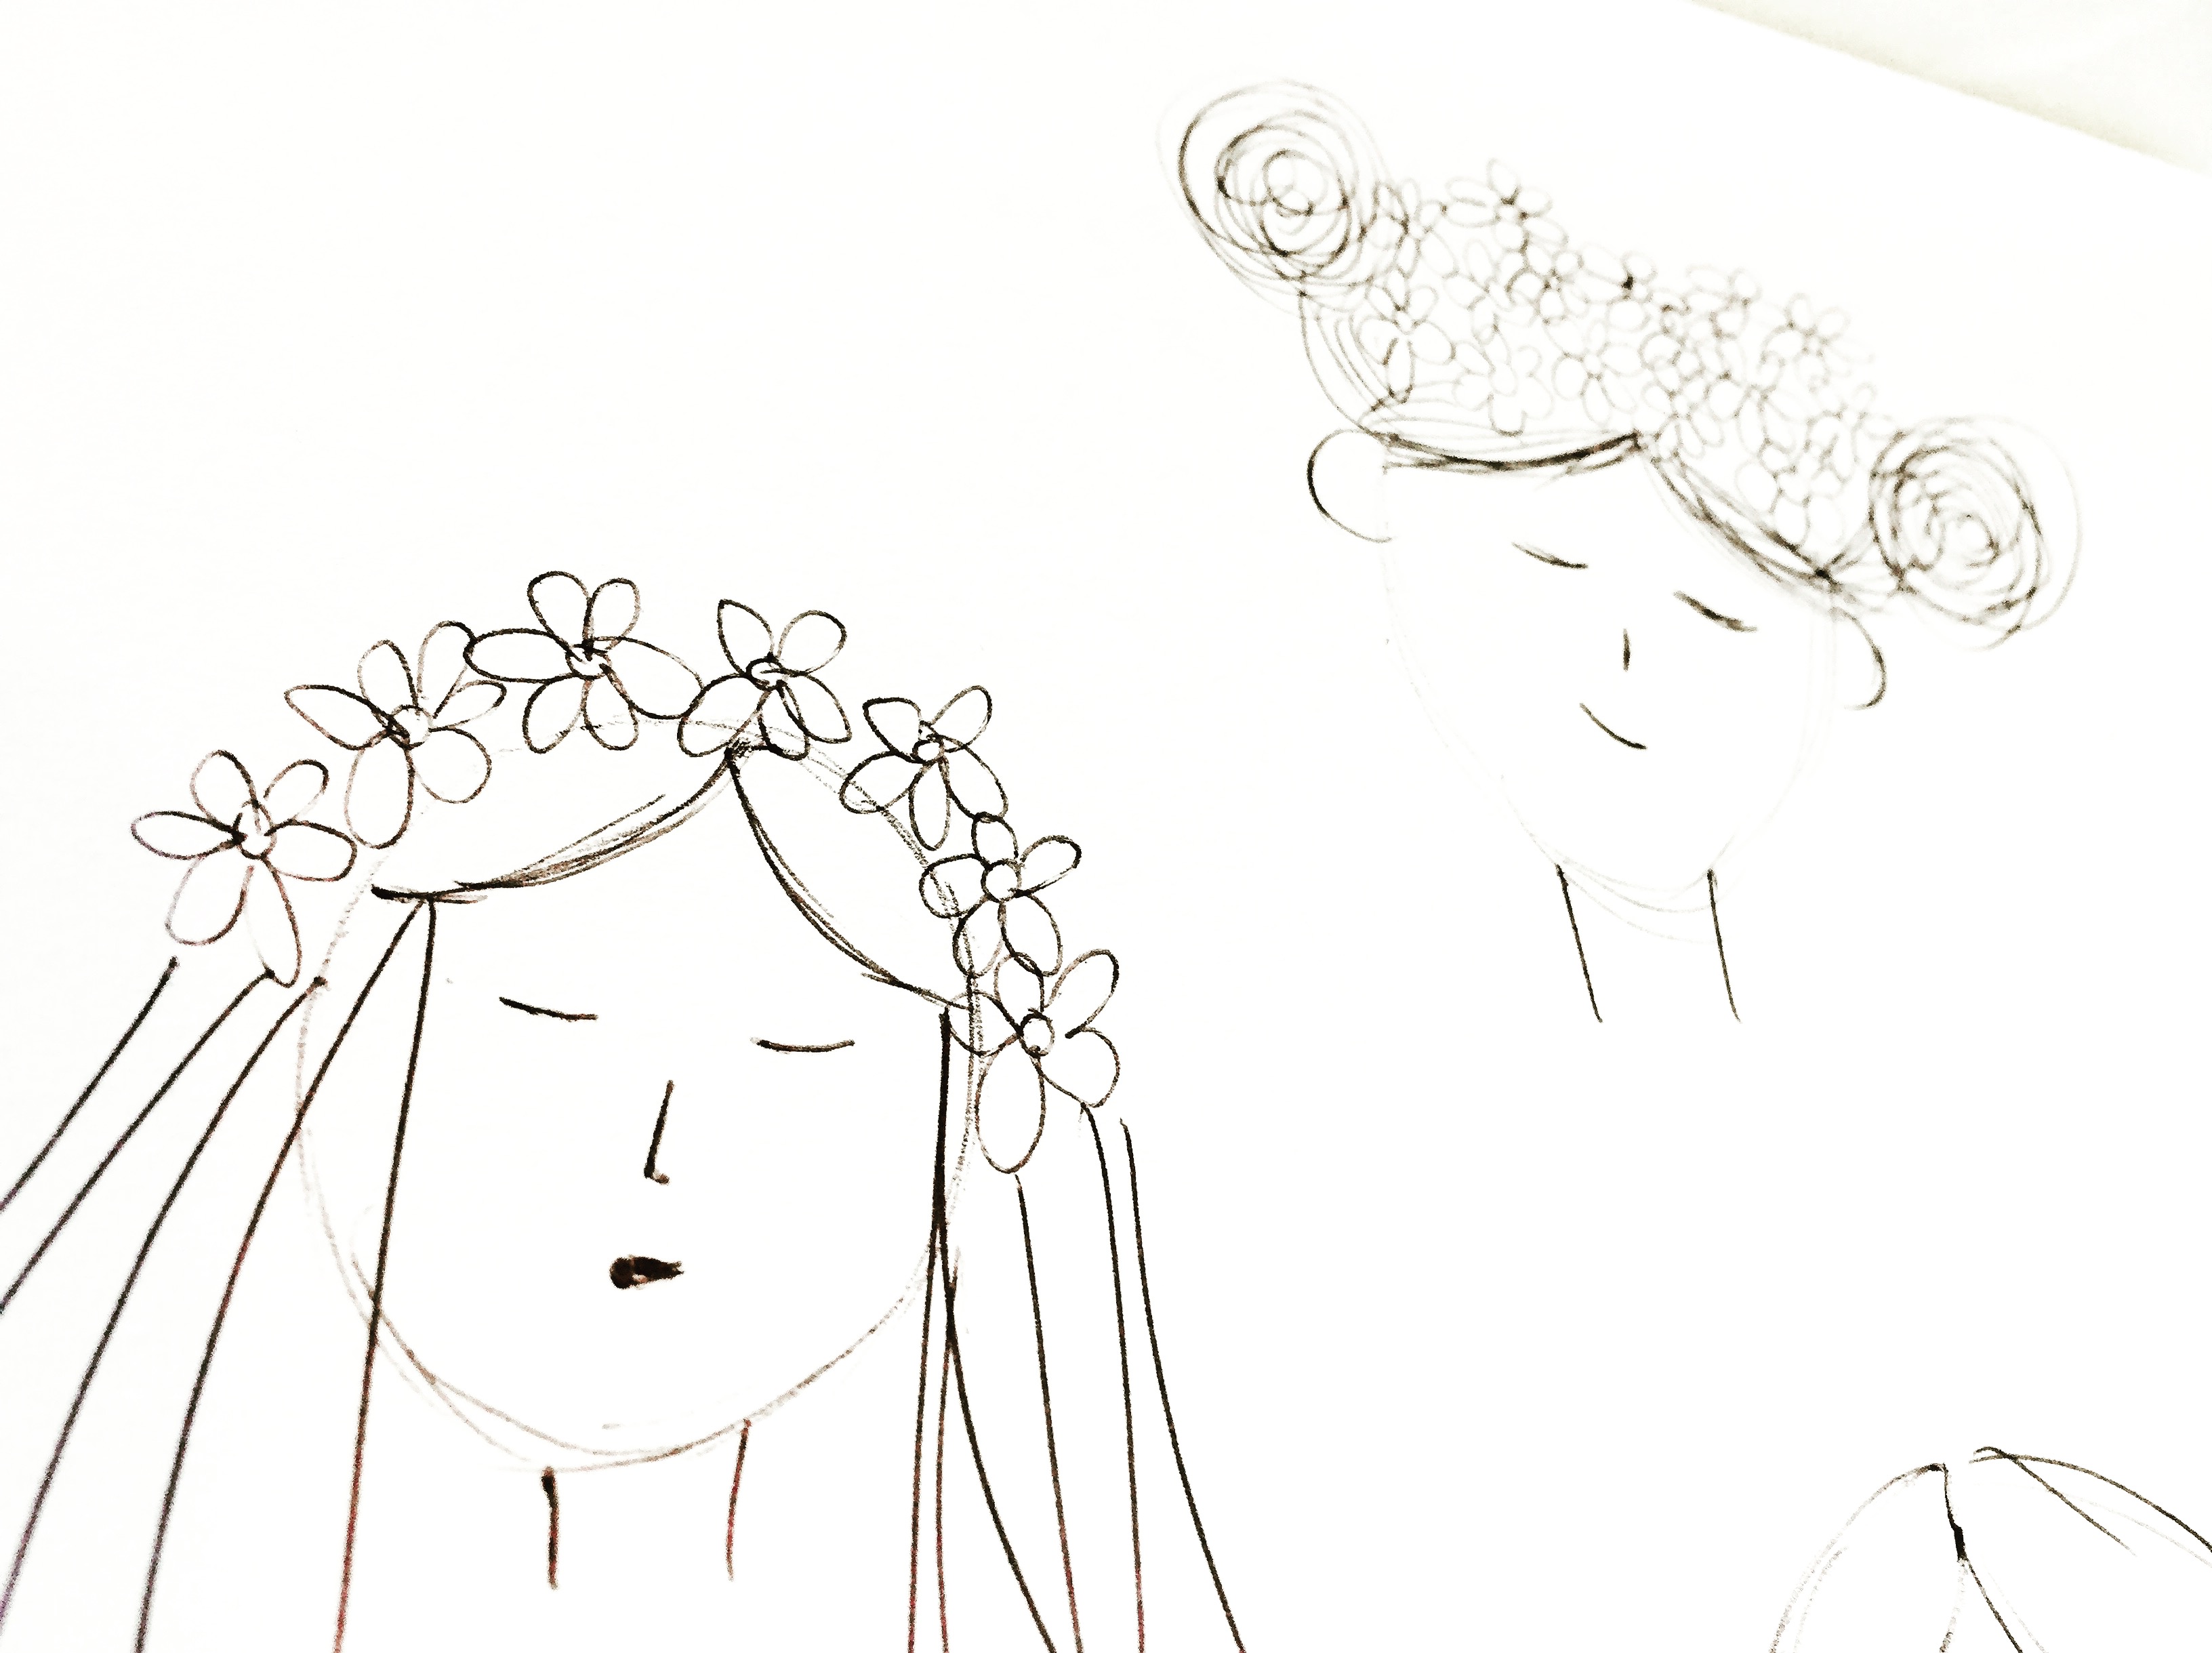
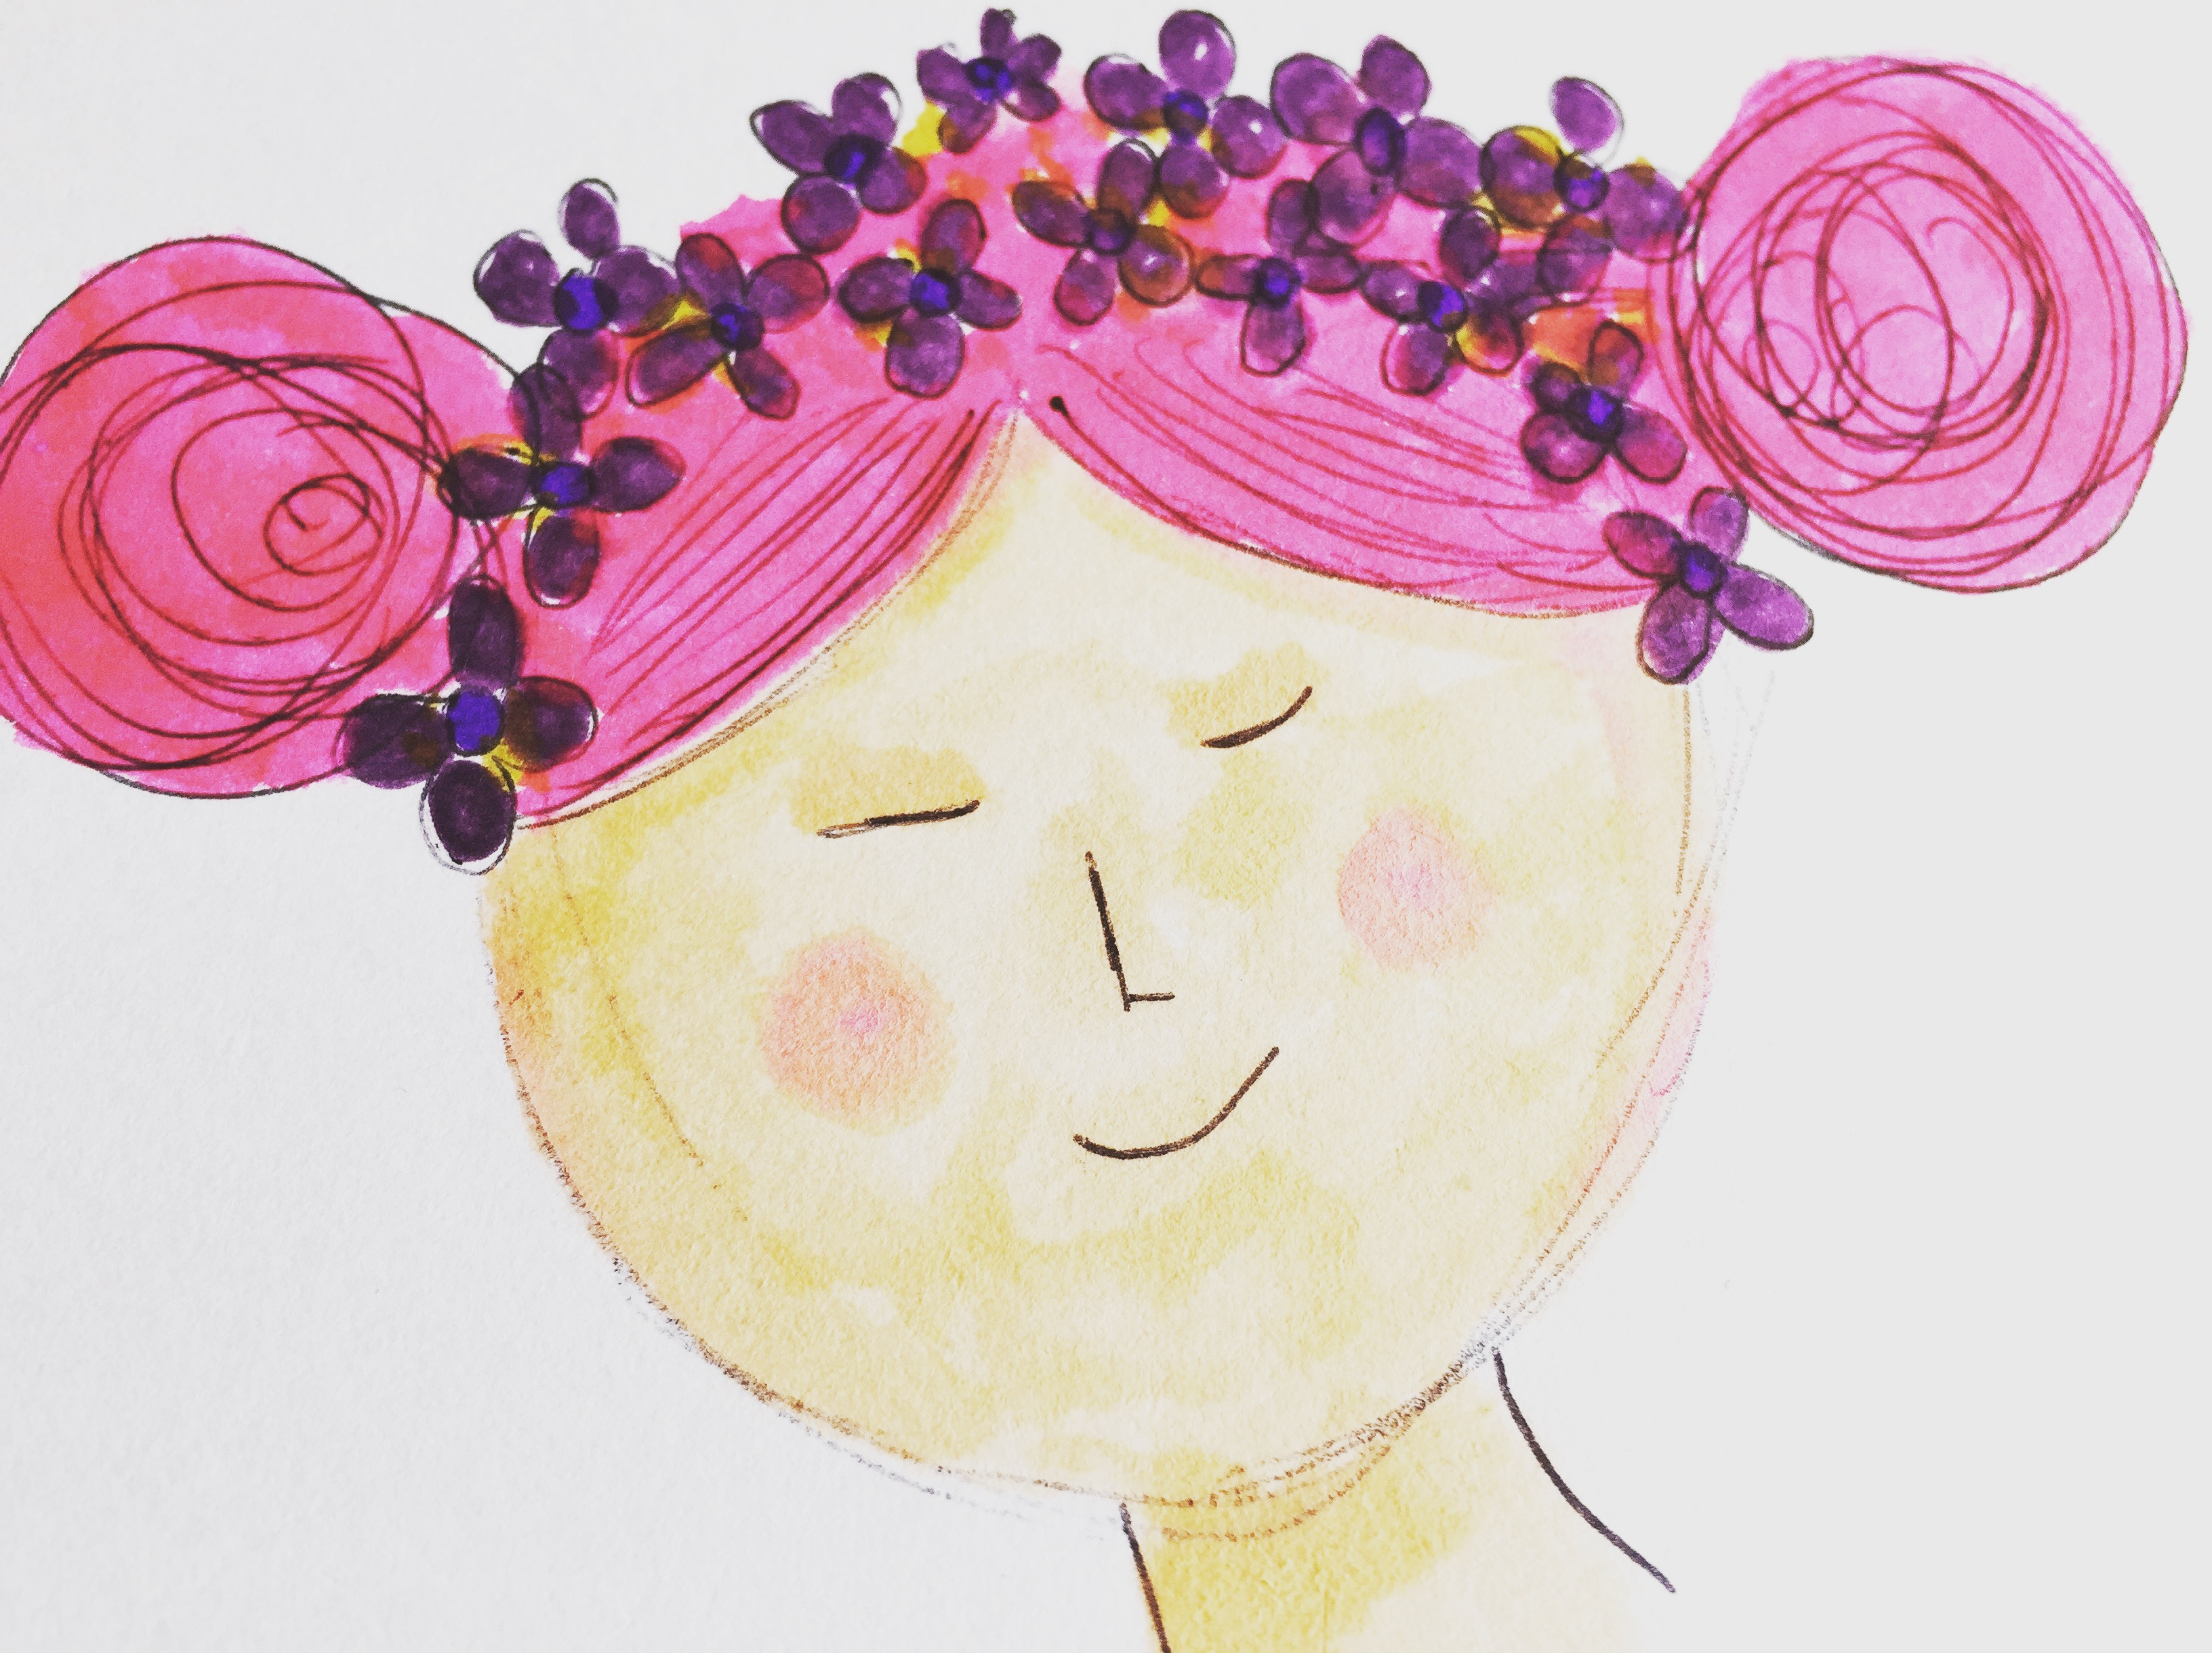
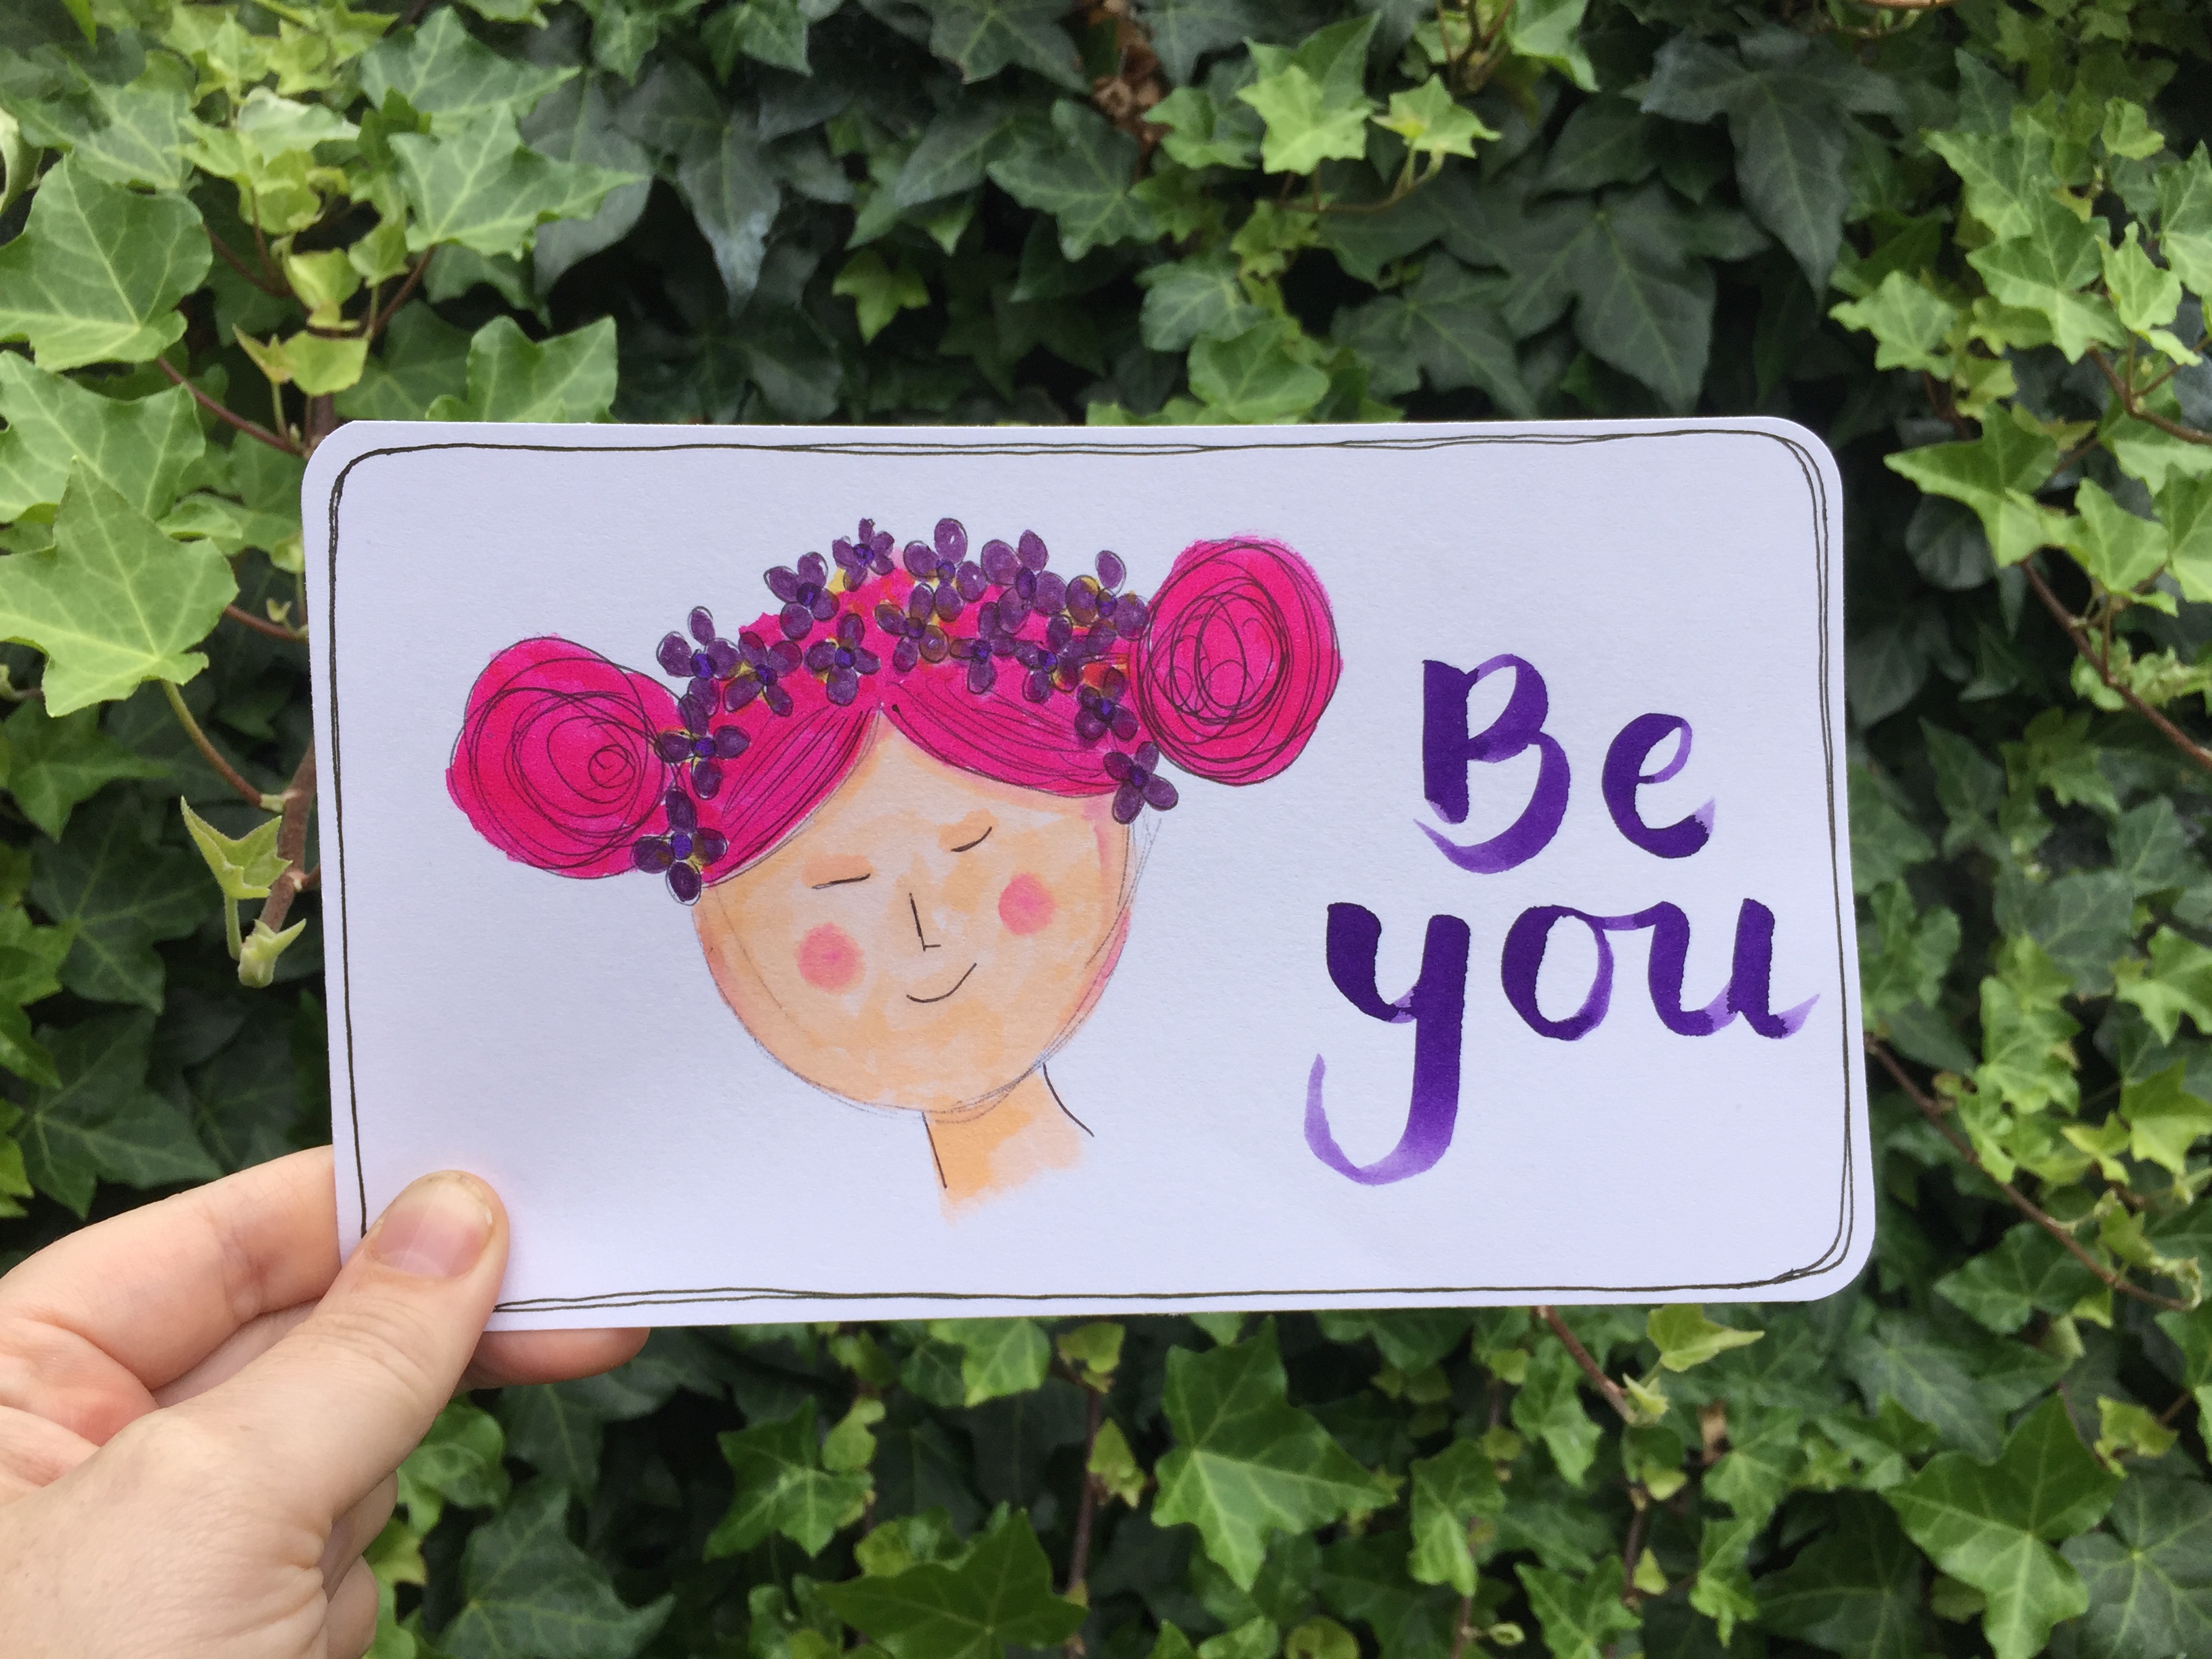
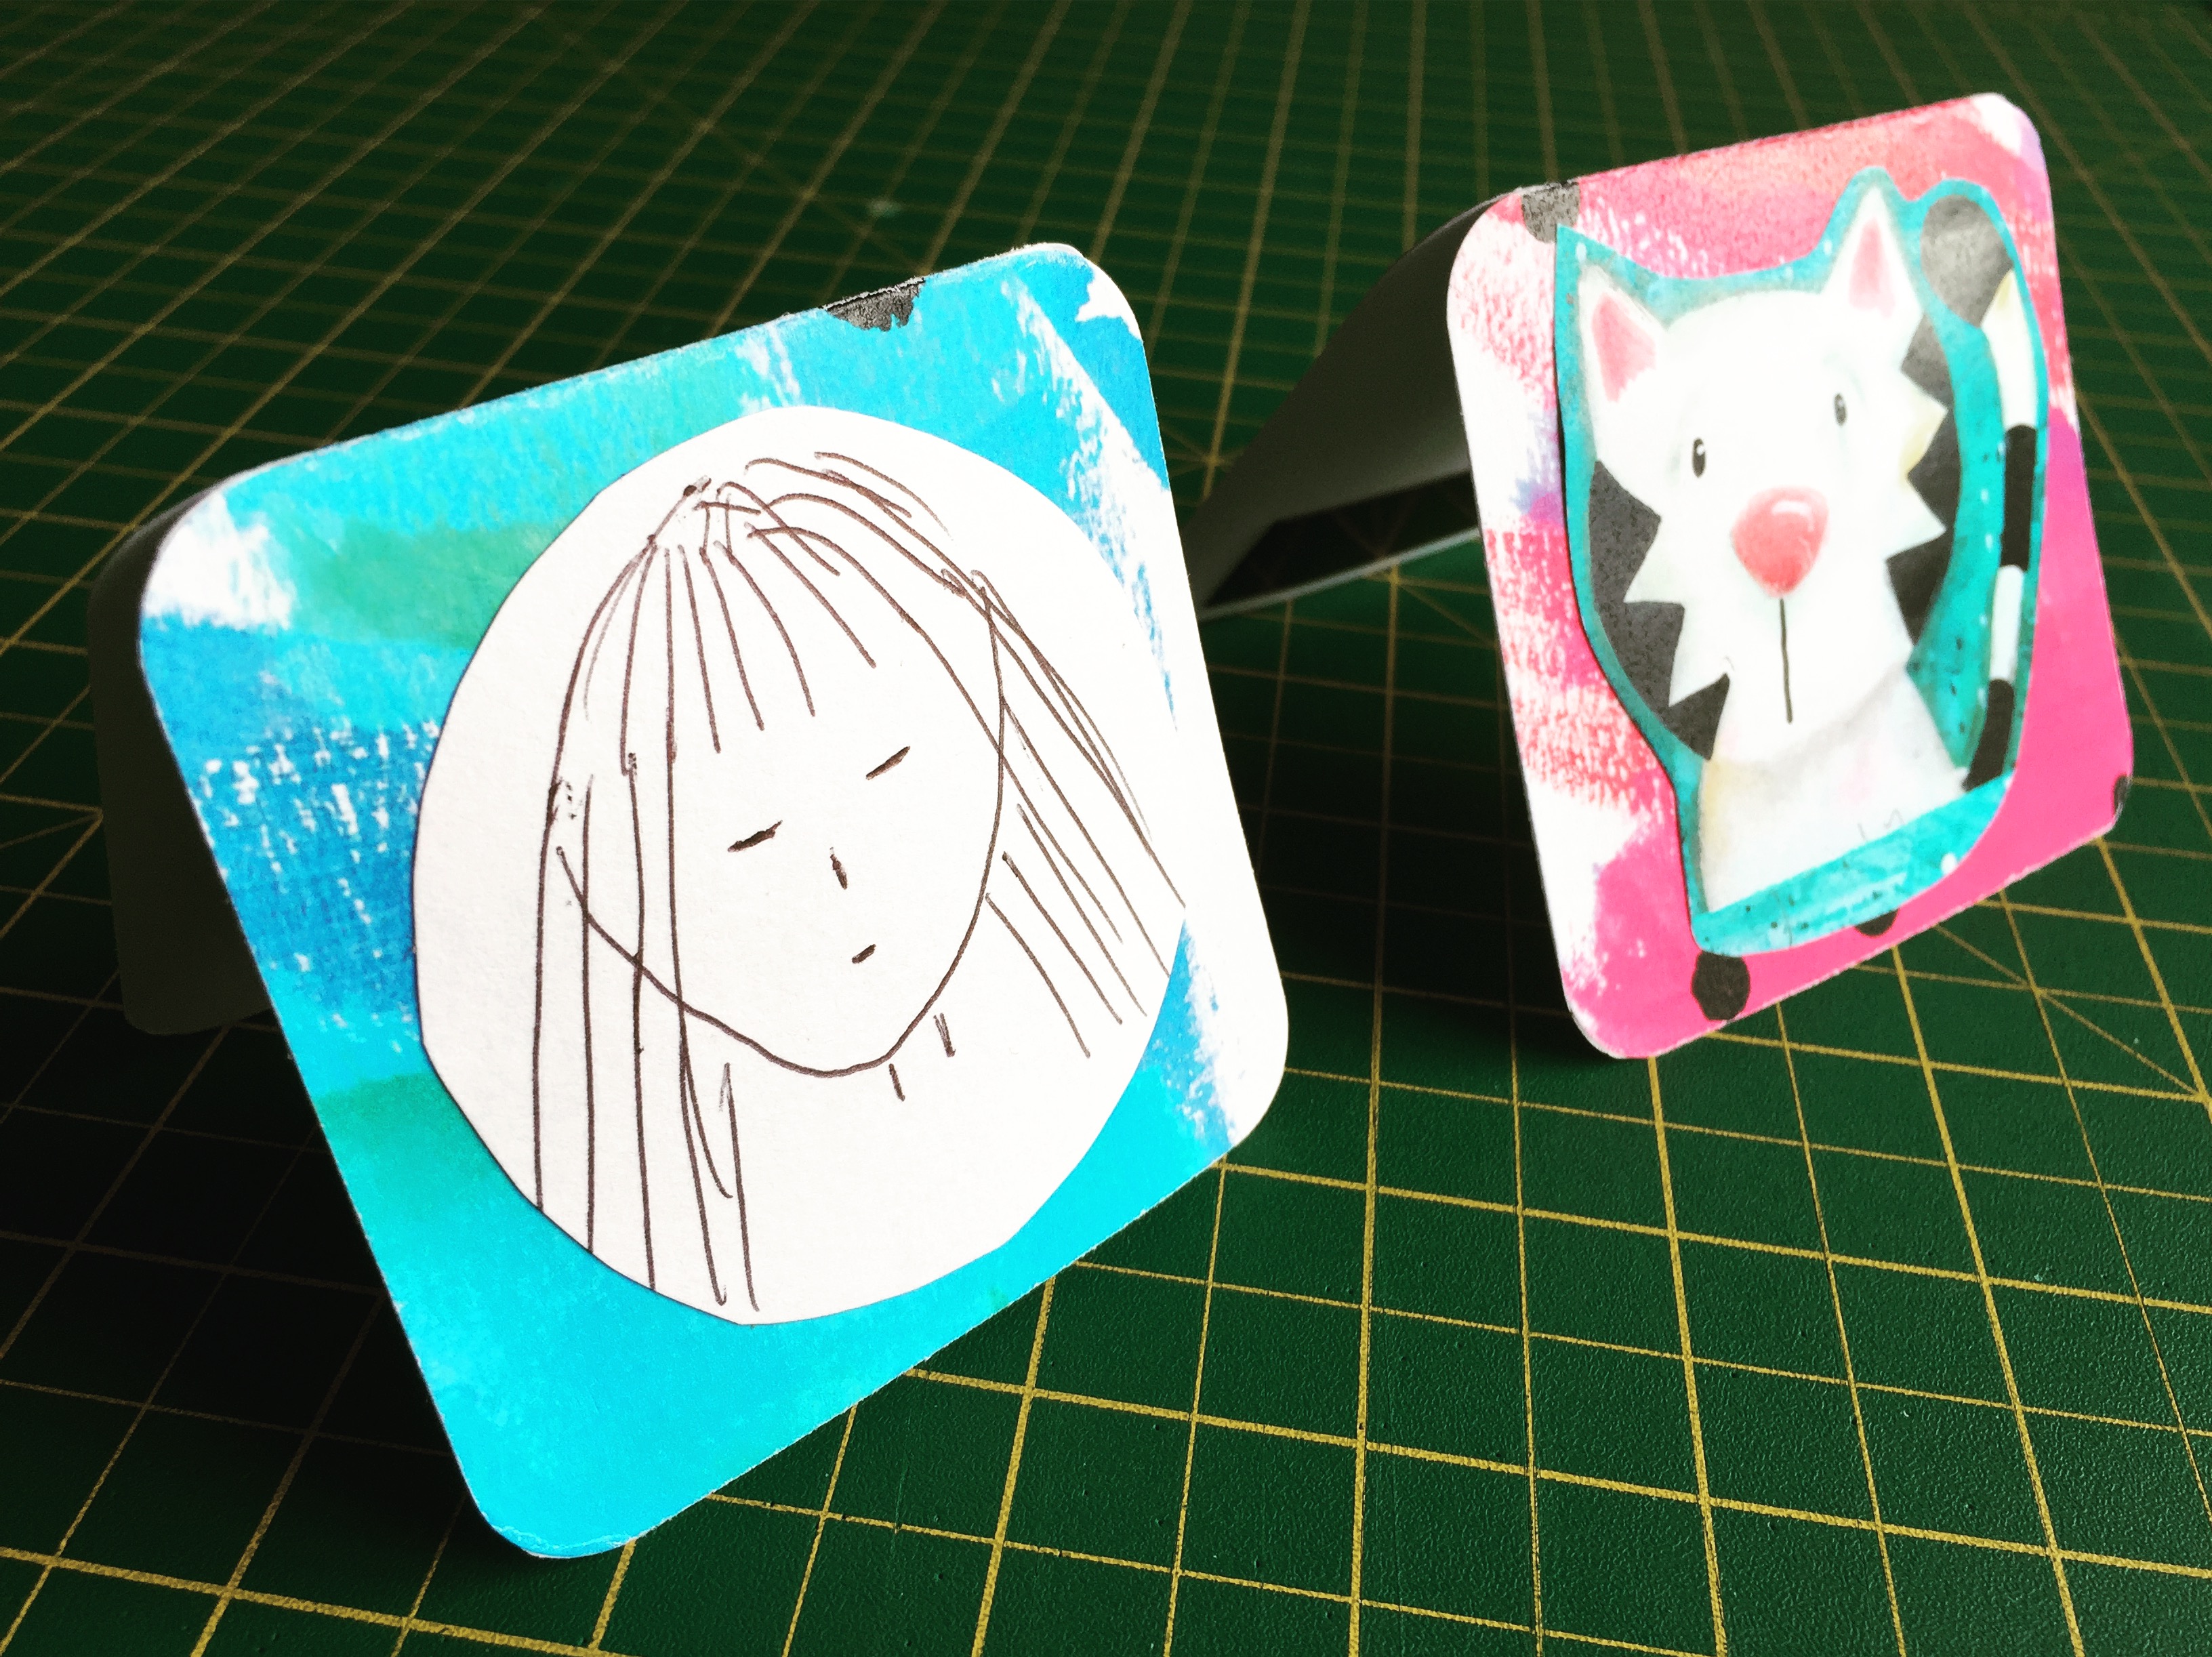
 I love how unique Anna’s artwork. It’s Anna’s own style, you can see it’s hers as soon as you look at it. It’s clean and bold. It’s timeless design, I’ve been buying Mrs Brimbles products since 2015 and will continue to do so. The designs from that year are still fresh today.


Always available 

You can still buy Anna’s artwork even after the box month has passed. There are other boxes out there that once the months theme has passed, you can no longer buy that box or the contents. This means there are groups on Facebook where people will post ‘ISO - in search of’ posts. If they are lucky, they will be able to get ahold of that pack of ephemera from March 2017 that they have been desperate for. If they are lucky that pack will remain untouched and it’s contents will be intact. IF they are lucky they won’t have to pay a small fortune for it, higher than what it would have been at the original price and definitely higher than it’s manufacturing price. There is no need for this with Anna’s work, if you see something you like that she has created, there is a good change you can visit her shop and find what you’re looking for, brand new (this excludes the Mrs Brimbles Planners and any other limited edition items). Another point, as this area of accessibility to stock is a huge bonus, is the fact that you can avoid hoarding your stash! I am a typical buyer who will then obsess over how I will use the artwork. I have creation fear, I know that once it’s used in a journal or created into a dashboard in a planner, that’s it. This can sometimes hold me back from using something ‘just in case’. Being able to buy the product again if I want to makes me create, knowing it’s not the only version I can get of this particular item.


Quality and value for money

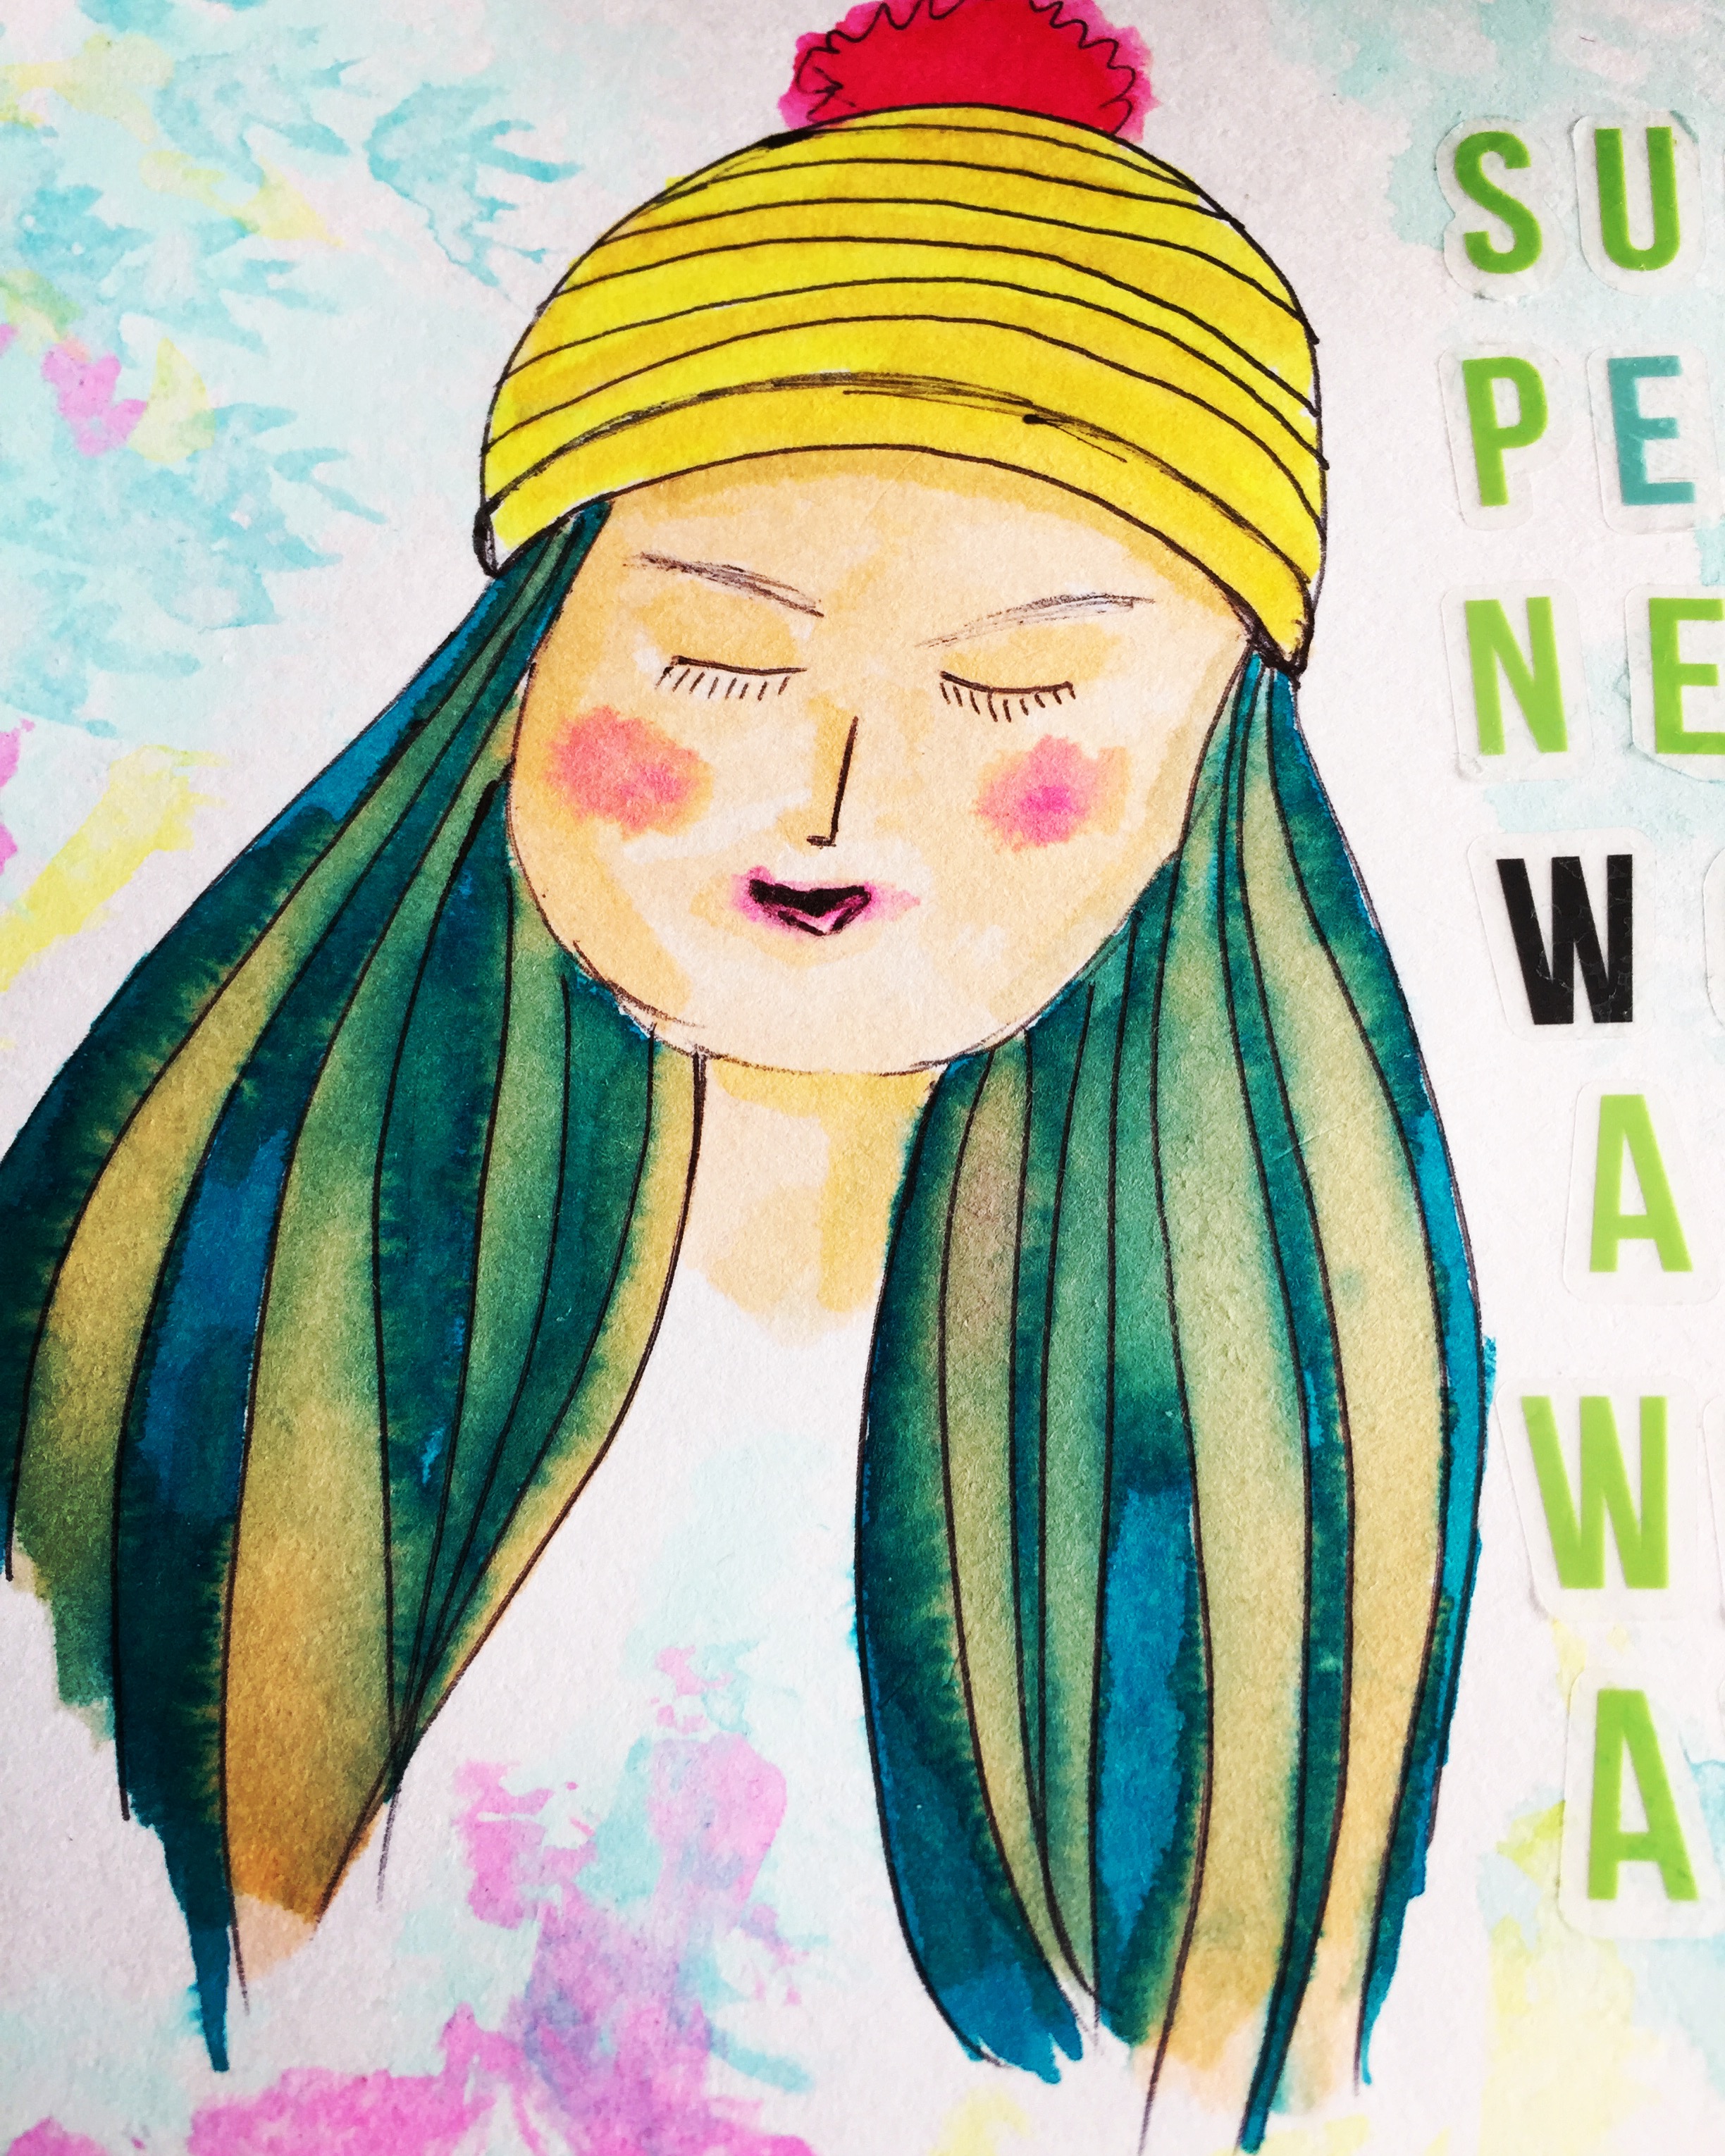
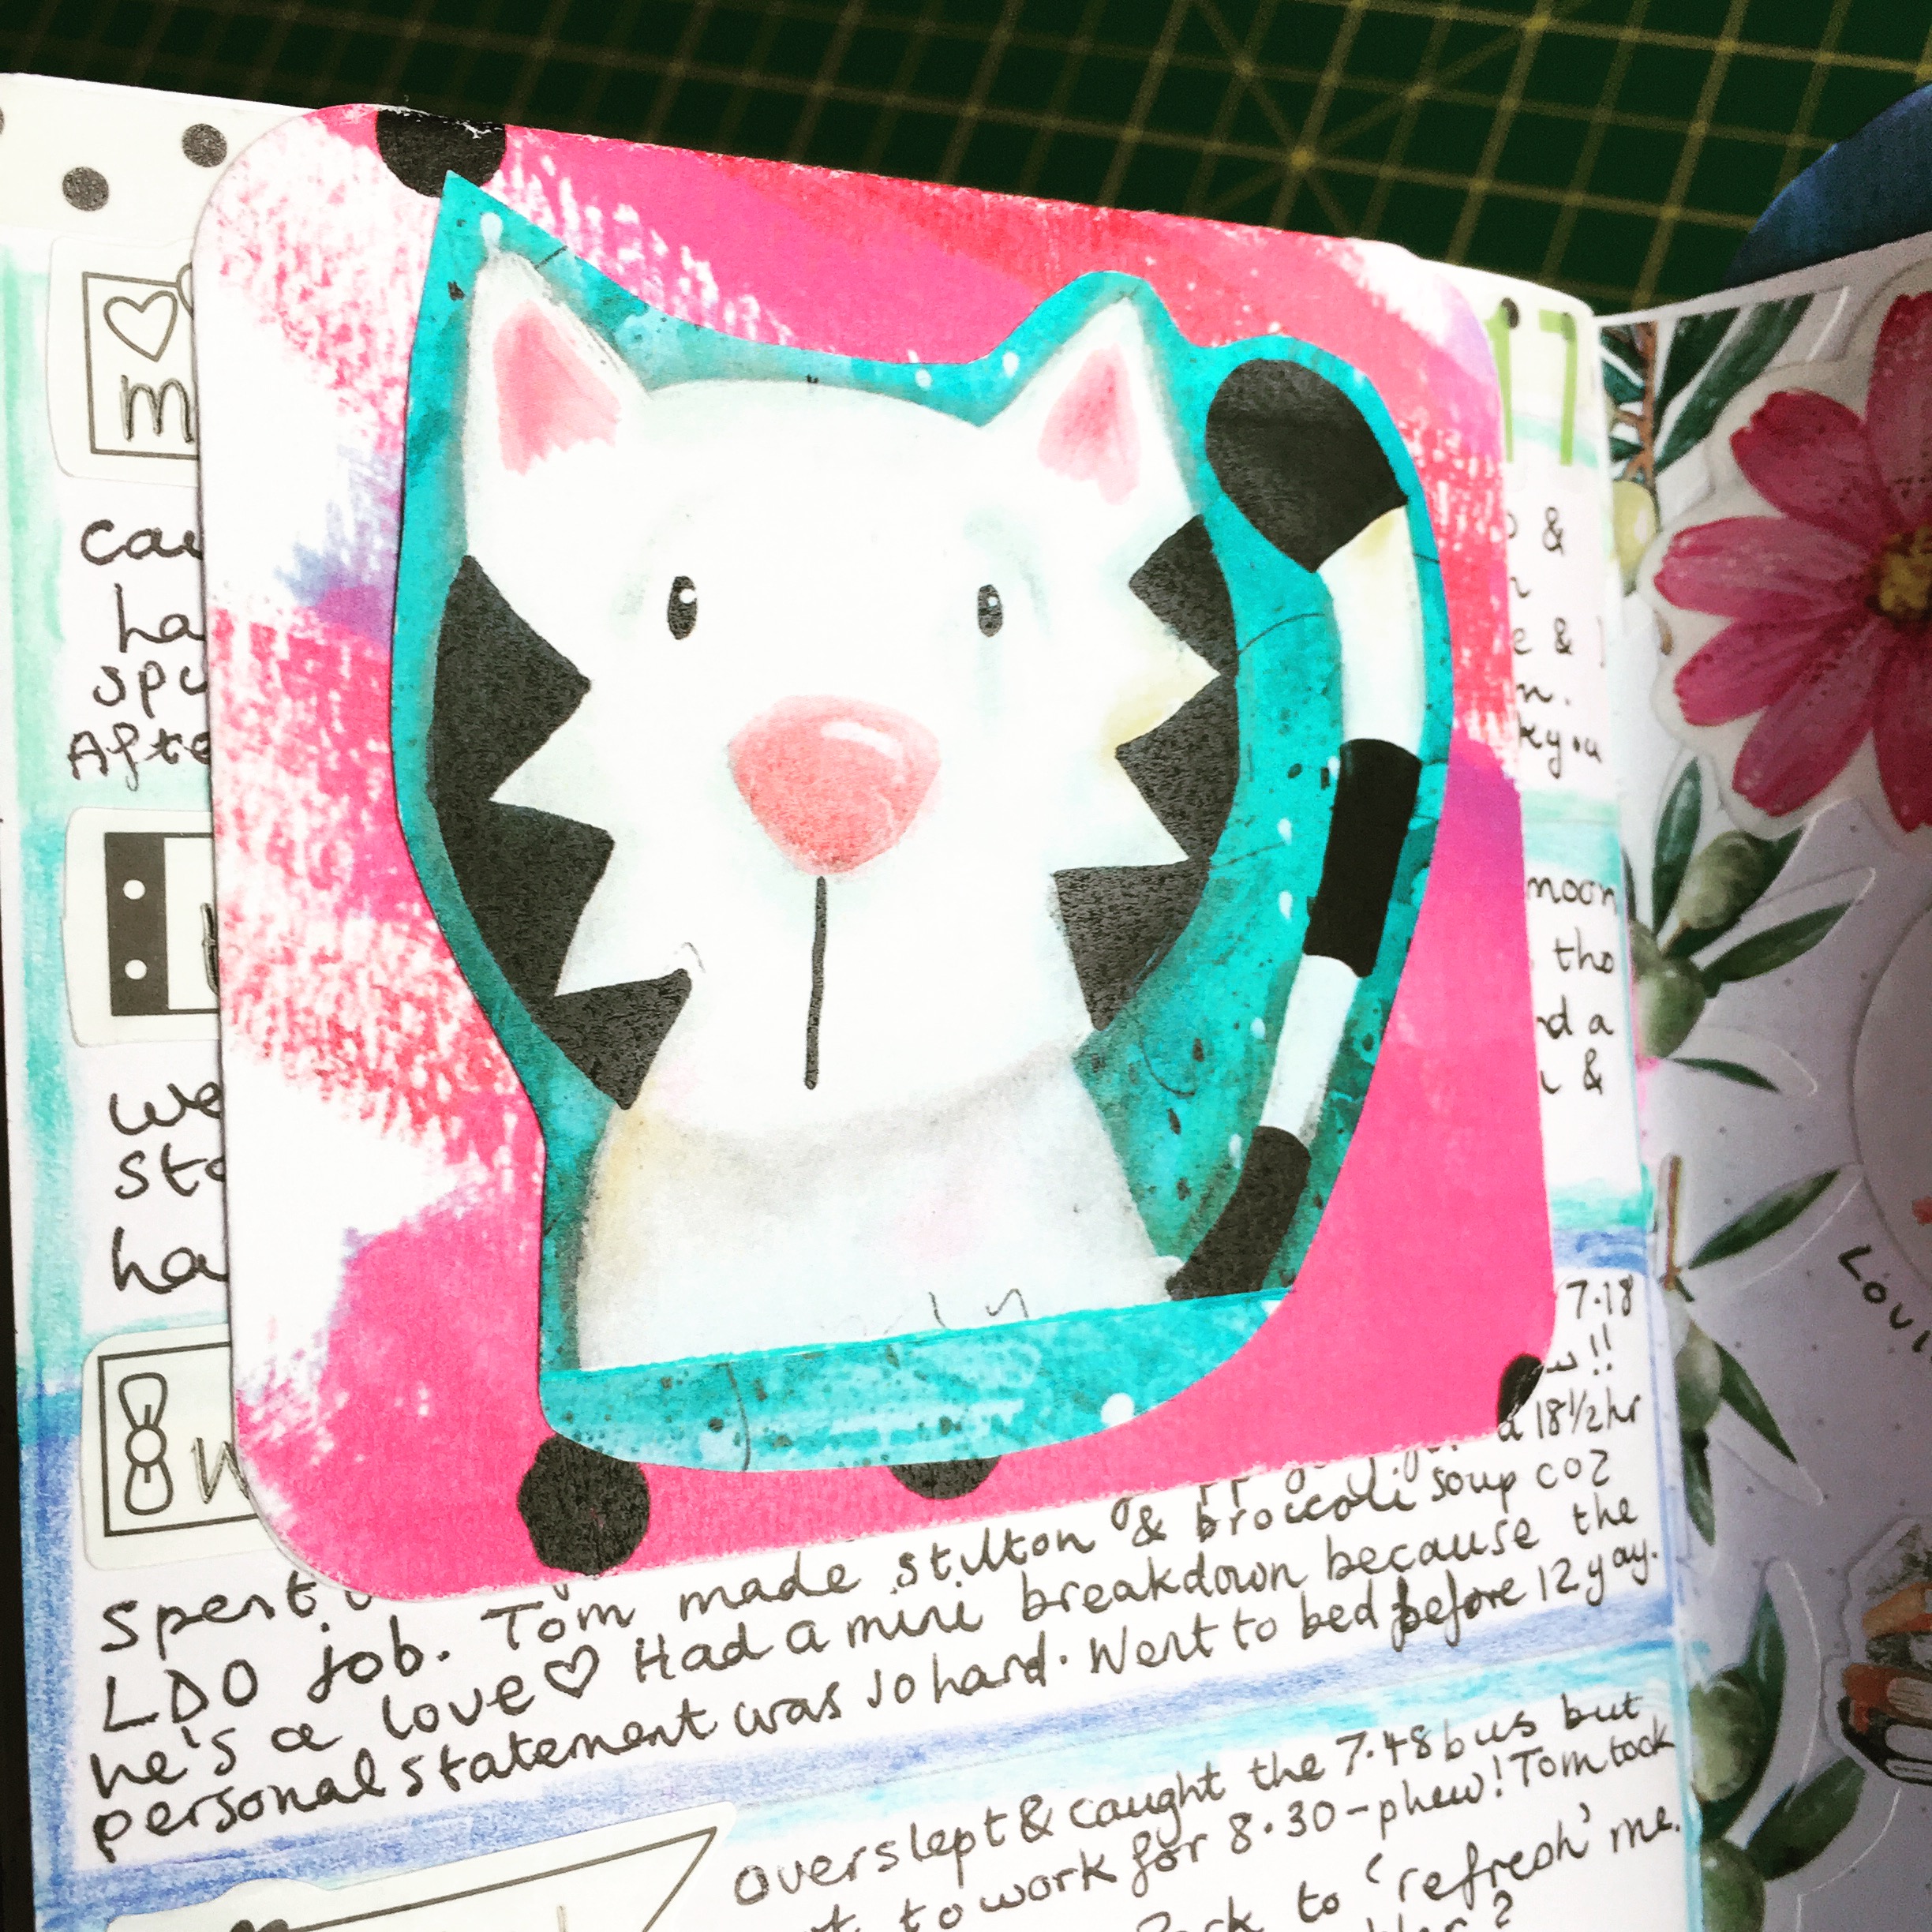
 All of Anna’s products are made to a high standard whilst being kind to your wallet, you get your money’s worth. Anna is meticulous with how things look and the end product. You can be confident that what you buy will be the best material she can find, the card isn’t flimsy, the sticker paper is good quality, the print is bold and bursting with colour. The artwork alone is a process, Anna works very hard and takes time to choose drawings and designs that she wants people to enjoy working with. So if I’ve swayed you to have a look at some of Mrs Brimbles products, click here to visit the shop and happy creating!

 Kelly xxx

 Where else you can find me: Instagram Youtube Pinterest Facebook


Sunday, 4 February 2018

Taking time to reflect on my word of the year

As we move from January into February I want to make a conscious effort to meditate on my word of the year - nourish.  This is particularly important because January was a really busy month for me and I didn't get to spend a lot of time doing what I enjoy, what nourishes my soul.  Instead I felt a little overwhelmed with work and travelling all around the region to get to J's medical appointments.  I found some time to make art but it was for moments rather than a period where I could sit down and create.

So I wanted to ensure that I go into February keeping my word of the year in mind - in fact, it's my plan to do this at the beginning of each month to remind myself of my wishes for the year.  And so I created a page to remind myself of it using collage sheets from Anna's January Patreon.  This beautiful acrylic pour painting reminds me so much of a bath when you have just dropped in the Lush bath bomb and it swirls around creating beautiful patterns.  Bathtime for me is a time of nourishment and reflection so I wanted the page to illustrate that idea - J is in bed by the time I get to run a bath so the house is usually quiet and calm.

The collage sheets are so beautiful that I hardly needed to add anything - I simply used some modelling paste with a stencil in the corner and added some found words from a magazine.


I've become a bit addicted to the collage sheets of Anna's acrylic pouring adventures, I've used one for my desktop background and one on my phone background too!


Don't forget to check out Anna's Patreon and you can find more of my art here, or on my blog, or on Instagram.


Thursday, 16 November 2017

Making your own Christmas decorations with the Marblous Marble class


Recently I attended a workshop at Hobbycraft on Advent Calendars and made this:


While I was there, and was in the festive creative spirit, I picked up some ceramic baubles, decorations as well as a ceramic vase with Anna's Marblous Marble course in mind.  I thought they might make nice Christmas presents along with a box of chocolates for those people I buy something little for.  I'd done the Marblous Marbling class a while ago but I'd only created my Marble creations on paper (I found deli paper to be amazing) and I shared a page in this link where I'd combined my marble paper with one of Anna's Patreon lessons.


My plan was to marble them and then use embossing powder and stamps to add images onto the decorations and vase.  This wasn't very successful though, the embossing powder didn't really want to melt on the ceramic and getting a clean image on top of the marbling was difficult.  I did manage it on this star decoration though: 


 For the vase I marbled my pattern in blue, black and white and then just added embossing powder in silver in a random splodging around the middle and the top.  It took quite a bit of heating using the heat gun but I think the vase could handle it better than the flat decorations:


 For the baubles and remaining decorations I just used the marbling inks to decorate, for some, like the red and green ones I dipped them a couple of times to get more coverage.


 Check out the other classes Anna has in her shop here and please share in the Happy Place Facebook group if you've created something with the Marbling lesson.


Don't forget to check out Anna's Patreon and you can find more of my art here, or on my blog, or on Instagram.


Saturday, 11 November 2017

Discovering your style


Hi everyone, I hope everyone is doing well, it's Rose here again with a post about how I am discovering my art style.  This month so far I've been catching up on October art posts.  I got sick in October and it meant I couldn't face doing much, so it's been nice to feel well enough to create.  And, if I'm honest, pushing myself to art has probably added to me feeling better within myself.

I have been working through October's Patreon class with Anna.  Last month's video was Anna working on a painting of a fox.  There was a watercolour fox and an acrylic version.  I loved both, but because I really find watercolour difficult I decided to concentrate on that.

First I worked through a version with Anna and created this:


I really enjoyed using the autumnal colours and was really happy with how he turned out.  Then last week as I was walking home from picking my little girl up from nursery, Mr Fox crossed our path.  He saw us and we all watched each other.  So when I got home I thought I would have another go at sketching and painting him, again in watercolour.  This is what I produced:


I don't really know what my style of art is, but taking art classes and working in other people's style really helps me to understand what my own style is not.  I know that my style is not loose and I struggle with painting loosely, so I wanted to push myself with the fox on the top to try to be a bit looser.  I'm not sure how successful I was but a few paint splatters makes it look looser than he was originally.  If you're struggling to find your own style, give it a go - copy some other artist's work and see what makes you feel uncomfortable, what colours do you struggle with? What mediums are difficult for you? Do you struggle with looseness or preciseness? From creating in someone else's style and working out what you like or struggle with, you can really start to understand your own art and your own style.  Even the art you choose to recreate can tell you a lot about your style.

I know Anna has all these classes on her Patreon just waiting for you to join and create.  I like it when you can learn a technique in a class and then use it as inspiration to create in your own style, and Anna's classes are perfect for doing just that.  Why not join us if you haven't already, and if you have I'd love to see your fox paintings.

Don't forget to check out Anna's Patreon and you can find more of my art here, or on my blog, or on Instagram.


Monday, 17 July 2017

Inspired by Mrs Brimbles' July Patreon


Hiya folks!

I am completely elated to have become a proud member of Anna’s Creative Team and to be posting on the Mrs Brimbles blog for the very first time. The team has been put together to support and promote Anna's Patreon. We will be creating and sharing as a result of immersing ourselves in Mrs Brimbles' world of inspiring arty prompts and resources. I am excited and honoured to have access to this content month after month.


Become a Patron!

I could watch Anna create her sketchy girls all day - which is basically what I did! As soon as it was made available to me, I viewed Anna’s sketchy girls Patreon video over and over again, at every opportunity. But when it came to having a go myself, I more than hesitated. Mostly because I am not naturally drawn to that type of art – making people I mean. I make things out of paper, I doodle objects and folky type landscapes, I colour geometric patterns in with coloured pencils, I stick things down and I splodge paint everywhere in an intuitive abstract way. But I haven’t relaxed by drawing faces since I was a child. I remember in infant school I went through a phase of sketching the same princess with long curly blonde hair and a pyramid of purple grapes on top of her head! But as an adult I have discovered so many amazing portraiture artists that I guess I thought I could not compete – plus I genuinely prefer landscapes these days.

 So I pushed through my comfort zone and determined to try something different. Turning to a clean white page in one of my sketchpads I watched Anna’s video for the umpteenth time and began to put pen to paper. Here are my first few sketchy girls:

I tried to make them all really individual with different hairstyles and I even sketched a couple with bobble hats that remind me of The Flumps – does anyone remember that kids show? It’s funny though because I seem to prefer to sketch my girls with sleepy eyes and pursed lips haha. I had such a giggle doing this and I think they look hilarious but cute. At this stage I refrained from adding colour as I really was embracing the sketching part of the process. So I practiced some more:

  IMG_7419

I really love using the ballpoint for sketching because of the smooth and often subtle way that it glides over the paper, allowing me to play and scribble my pen with ease in different directions as the whim takes me. I began to improve after seeking out reference photos online and I decided to add some colour with some watercolour brush pens I had collected but neglected to use as yet. Here are the results:

  IMG_7435
IMG_7434

Overall I am really happy with these two young ladies. I don’t always make art directly in a journal, as I am a fan of paper pads. I love the feeling of working on a single sheet that I might stick into one of my art journals later, pin on my inspiration wall or make into a gift for someone. If I could change one thing it would be the mouth of my bobble-hatted girl. I made a bit of a hash of that but it could be a lot worse and I have learned for next time. I reckon I will carry on creating sketchy girls particularly following Anna’s instructions for mixing skin colours, as I definitely became side tracked by the brush pens – which I love by the way. There is a motivational quote upon which I have been intending to focus and for this project I seized the opportunity. I am naturally wired to helping others and I can fret over this far too much, therefore, this quote - 'Successful people never worry about what others are doing’ – has been aiding my personal progress lately.

  IMG_7441

IMG_7436 

 I also thought I would have a go at brush lettering for the first time. Gosh, I really am loving all these firsts this month!

  IMG_7445

I have enjoyed having a little play with the collage sheets provided by Anna in her July Patreon too. You can download them as files to your computer and print them off as many times as you like. How awesome is that? Here are some of my favourite pieces:
  IMG_7355.JPG

There are a whole bunch of projects that I have thought about doing with this amazing resource but so far I have done a couple things. One of them is to paste my favourite sketchy girl into my memory keeping creative journal. Here she is:

  IMG_7287

The other thing was to feed my obsession with fun and colourful magnetic page markers. I use them all the time to help me find often used pages in my planners and journals. Recently, I found a roll of sticky magnetic tape in a local shop so I thought I would have a go at making my own. I get really frustrated when the folded part isn’t wide enough to keep the structure strong so I kept the shape simple and functional. I have made two of these so far, one depicts Anna’s cat painting from the collage sheets and the other is of one of my original sketchy girls from my first practice sheet. They are both on a background of Anna’s beautiful artwork cut out from the collage sheets and they make me beam from ear to ear. I love them and I will be making more I am sure.

  IMG_7448

IMG_7449

IMG_7453 

 I hope you have enjoyed reading about my Brimbles adventures for this month. I’m now off over to the Happy Place to see what you guys are sharing. Until next time... Steph x x x 

 Here are links to my Instagram and Blog


Wednesday, 5 July 2017

Mixed Media Pussy Cat Process / How To

Today I am sharing with you a 'how to'. I created a mixed media piece on Daler Rowley Artist Board and have the video tutorial to share with you below:


I am also sharing with you a photo step by step. This is more or less the same piece just in a different colour palette. They are not 100% identical but they are very similar. The spread created in my art journal was the concept art or test run if you will to the finished piece.


Materials used


  • Acrylic Paint - Deco Art and Dylusions
  • Liquitex Gel Mat Medium
  • Windsor & Newton Modelling Paste
  • Origami Paper (I think from Flying Tiger 2016)
  • Various Brushes and Palette Knife
  • Posca Paint Pen in white
  • Uniball black pen
  • Stencil (unknown)
  • Crayola Portfolio Oil Pastels
  • Dylusions Journal
  • Tim Holtz Distress Stain

The Process

Firstly I ripped up my sheet of origami paper and adhered it to the top of the page with matt medium


I then adhered a second piece to the bottom left to give the spread a bit of balance.


I used my lightest paint first and just randomly painted on to the page.


This particular paint is fairly translucent which was intentional. I wanted to add some colour to the page but I also still wanted to see the pattern on the paper poking through.


I then repeated this process of adding paint randomly with a couple of different colours.


I enjoyed the process, it is very therapeutic randomly adding paint to a page and letting yourself go. I was a bit too enthusiastic though and covered up the paper more than I wanted to. To rectify this I used a baby wipe and gently removed some of the paint.


With the wet paint still on my baby wipe I went over the page randomly removing paint from one section and then gently dabbing and scraping it onto another which gives some interesting textural results.


Then it was time to mix up my modelling paste. I used the palest colour that I first used on my page.


I applied it to the page using a palette knife over my stencil.


I always leave my stencil sitting in place for a small time, about a minute just to let it set a little before removing it. I just like to make sure it's all there.


Modelling paste, depending on it's thickness can take a little while to dry so you have to be patient. It's worth it though!


Once everything was dry I then used a black pen to go in add some little doodles. I like doing this as I think it gives the background more visual interest.


I then used a white Posca paint pen to add even more details.


I actually thought I was done for the background when I glance at my desk and saw my distress stains and the violet screamed out to be used. I dabbed it on (squeezed the bottle really hard) making it all juicy, then tipped my page up to allow the ink to run down all nicely.


Here is how my background looks before I paint my cat on! Lots of yummy goodness. I made sure to keep a photograph of it so that I can print it out and use later for collage!


Next it was time to actually start painting my cat. So on goes the white paint.


I actually used a couple of coats to make sure it was as opaque as I wanted.


I gave my cat two light coats. I didn't want him to be stark white, I wanted some of that beautiful purple to show through. Once it was dry I pencilled on my face.


I coloured the elements in with my Posca paint pens - super quick and easy and fast drying too.


Here he is ready for his last 'application' of artyness.


The very last stage is to add some shading with oil pastels. I love to get in there with my fingers and smudge the colour around. I add shadows and grunge this way.


And there we have him, all finished! I am really happy with him. I really hope you enjoyed my little 'how to'. At some stage I may add a quote or some journalling to the right page but for now I am happy and calling him done. If you decide to give it a go yourself please do tag me in your photos on social media (I am everywhere as @mrsbrimbles) as I would genuinely love to see yours.


This blog post was created as my application for the Colour Arte design team (wish me luck 'eh!). Unfortunately I do not currently own any of the Colour Arte products although I have heard impeccable things about them so I created this with the products that I do have. 

Please check out the Colour Arte website to see their range of art supplies and for more art tutorials and inspiration.