Most people who are into planning or even crafting may own a die cutting machine but even if you do not you can make some planner stickers yourself to save money with just using your printer and a pair of scissors.
I will share with you several sites that you can get free printable stickers and there are also loads on Etsy that can be purchased really reasonable. So that if you want to decorate your planner you can on a budget. Sometimes you just don't want to take the time to create a set of stickers from scratch so these are also nice to get started quicker. I will also link several different places to purchase sticker paper that range in prices and also different materials such as matte, glossy or reposition able.
I know a lot of times purchasing kits are the best way to keep your planner spread cohesive and a lot of the printable sites have multiple sheets where you can print coordinating elements. There are loads more and pretty easy to find on pinterest but these are the ones I found to be great sites
First we will talk about printable sites. Here is a list of the ones I have found and like a lot.
FREE SITES
1. https://plannerproblem101.com/2017/03/10/paris-kit-free-printable-planner-stickers/
2. https://lovelyplanner.com/category/planner-freebies/free-planner-stickers/
3. http://www.victoriathatcher.com (she has LOADS and its one of my favorite sites for freebies)
4. http://www.beayoutifulplanning.com/2017/03/18/april-weekly-free-printable/
5. https://plannerproblem101.com/2016/07/22/tropics-kit-free-printable-planner-stickers/
6. http://www.wendaful.com/2016/09/ultimate-list-beautiful-free-printable-planner-stickers/
Low Cost Sticker Files
Here is a few of the low cost planner printable and some not all will even include a silhouette file. Most don't but if you are manual cutting with scissors that is not important but for those with silhouette machines it is nice.
1.https://www.plannerpenny.com/collections/printables (this is a great site! There is also some freebies)
2. https://www.etsy.com/shop/MeeDigiScrap?ref=l2-shopheader-name (she has some freebies, her sets are beautiful)
3. https://www.etsy.com/shop/loveplannerprintable?ref=l2-shopheader-name
Now you will need a color printer but most of us have that and then here is some resources for sticker paper:
STICKER MATERIAL
I personally shop
ONLINELABELS.COM for mine. They have an array of shapes if you want to create your own and have them fit in the templates so you wouldn't even have to use a cutter or scissors but I buy full sheets with no slits in the back either.
I buy the
matte reposition-able which are a bit more pricey because they can be removed easily and relocated. They run about $29.95 for 100.
They have matte, glossy, reposition-able and loads of shapes and template software.
They have some
matte stickers that are not reposition-able that are a low cost of $12.95 for 100. Shipping runs about $5-6 so this is something I try to avoid but for selling I do go with this site because I want the quality they offer.
Low cost option and a much better way to find free shipping is Amazon. Here is one that offers stickers for 12.00 for 100 and free shipping.
STICKERS
DIE CUTTING MACHINES
If you do not own a die cutting machine but would like to buy one and want to get in as cheaply as possible and you really just want to cut stickers I would suggest the Silhouette portrait. I am in the US so these links will all be US companies but most offer international shipping, this site offers a lot of bundles as well which is nice to get some extra's with your machine.
Portrait: Swing Design offers a lot of bundles start at $145 and up depending on what bundle and of course what is most important to you in your bundle. Your limited to nothing bigger than 9" wide to fit in this machine but it is perfect for doing stickers.
Cameo 2: This one you can go up to 12" wide on materials but that is really the only difference. They cut the same. I use this one because I do a lot of paperclips and in mass quantities so utilizing the 12" paper gives me more items on a page. $199 & up
Cameo 3: This is the newest machine in the Silhouette arsenal and the basic difference is this machine can hold two tools at one time. The blade is also self adjusting (the first tool anyway) and there is a bit more storage for tools. Unfortunately when they made this they made no improvements in the materials it can cut, the cutting power and last but most importantly they did not improve on the noise the machines make! That would have been a big improvement. Price point $269


Cricut Air 2- This is the newest machine in the cricut lineup. They still sell the Cricut Air, and the Explore. Both the original Cricut air and Cricut Air 2 have bluetooth. Both hold two tools but the second tool is just for markers or a scoring tool. I never tried a second blade, I wonder if that would work? The cricut explore is the oldest and doesn't have bluetooth or the ability to hold two tools at one time. The cricut has a far better design as far as looks go, its seems like a much more sturdy machine, it is not loud at all and number one for me is it cuts excellent. It cuts way better than a silhouette although silhouette remains the most popular I believe with people running shops. The downfall to this machine is the software is very basic and for a lot of people it may work but for people running a shop and wanting more abilities to design it is lacking. The second con to the machine is that the software is totally an online program so you are a slave to the internet, a slave to the speed of the site and you can't work with it if you do not have internet because even though there is a port to insert cartridges it is merely for syncing the cartridge to your account. you cannot use the machine as a stand alone anymore even with cartridges like the old days. Price point is $249-299

Hopefully this helps in your decision making if you are looking to buy a machine.
Once you get familiar with the sizing of the items and what you use a lot maybe you will want to customize some for yourself you can do this with several common programs that you probably have on your computer. Go wild and make some of your own once you have some time. That is one of my goals. But at least when we don't have time we have plenty of free or reasonable options to jazz up our planners.
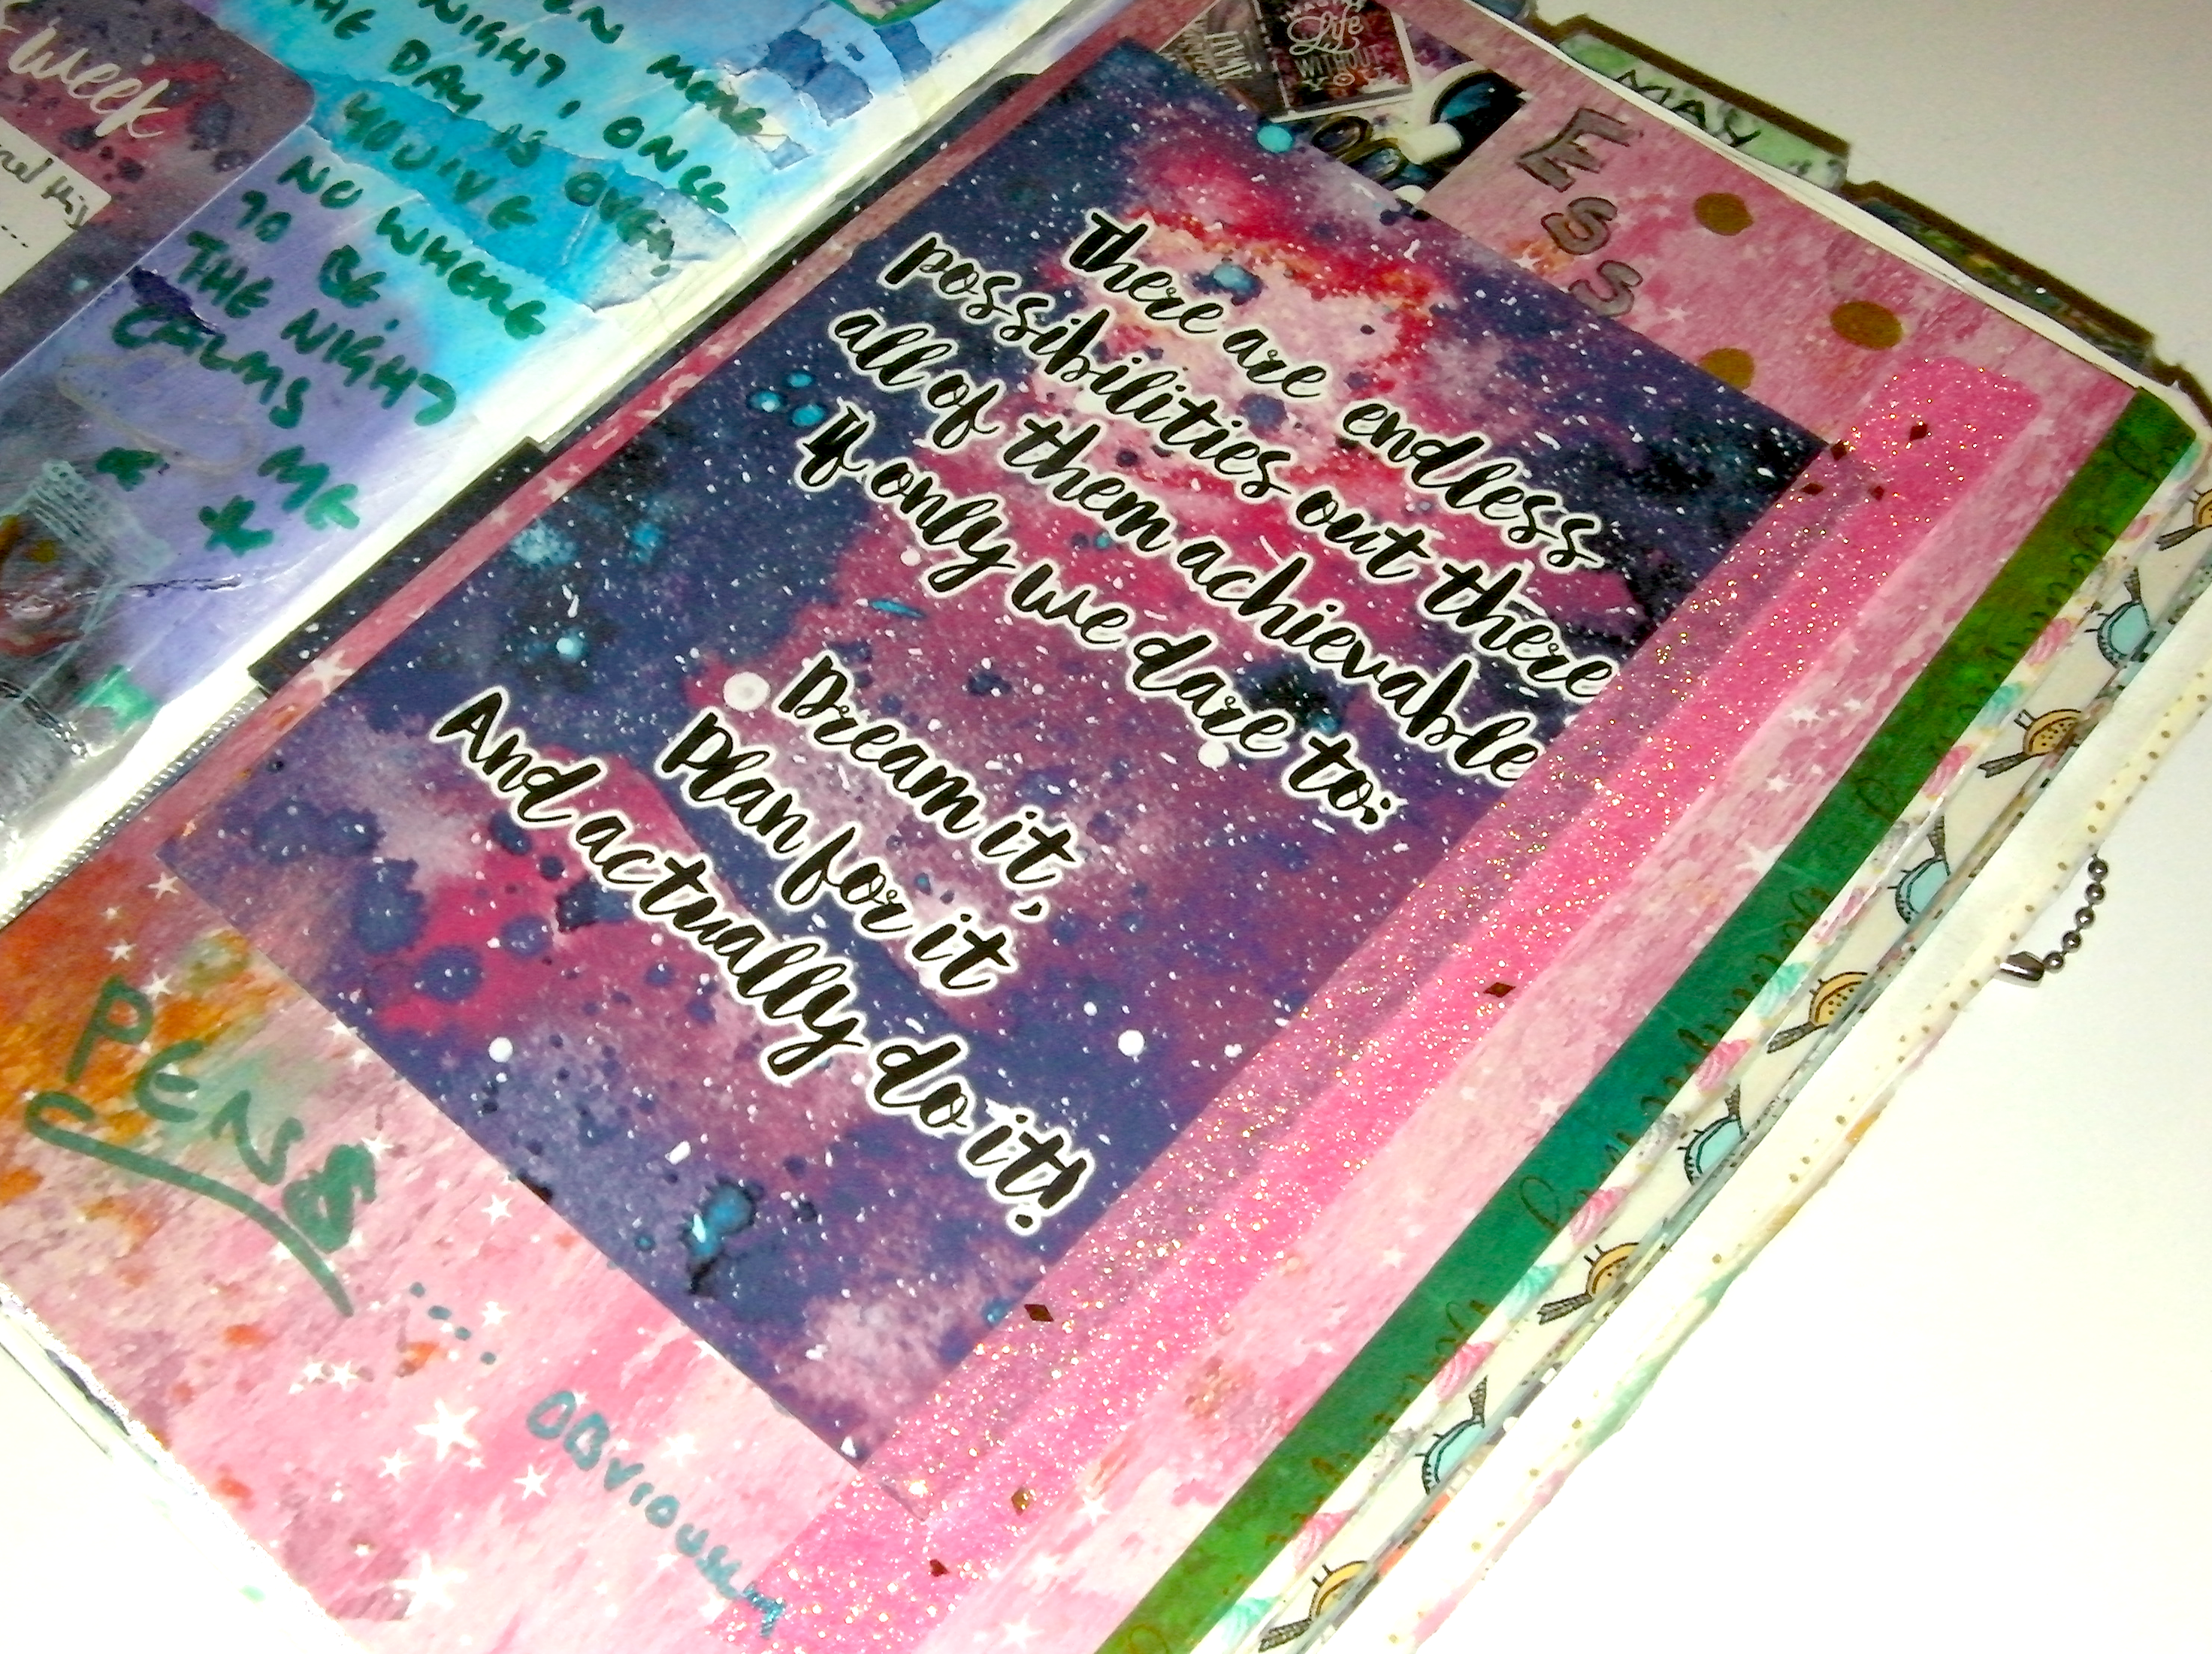
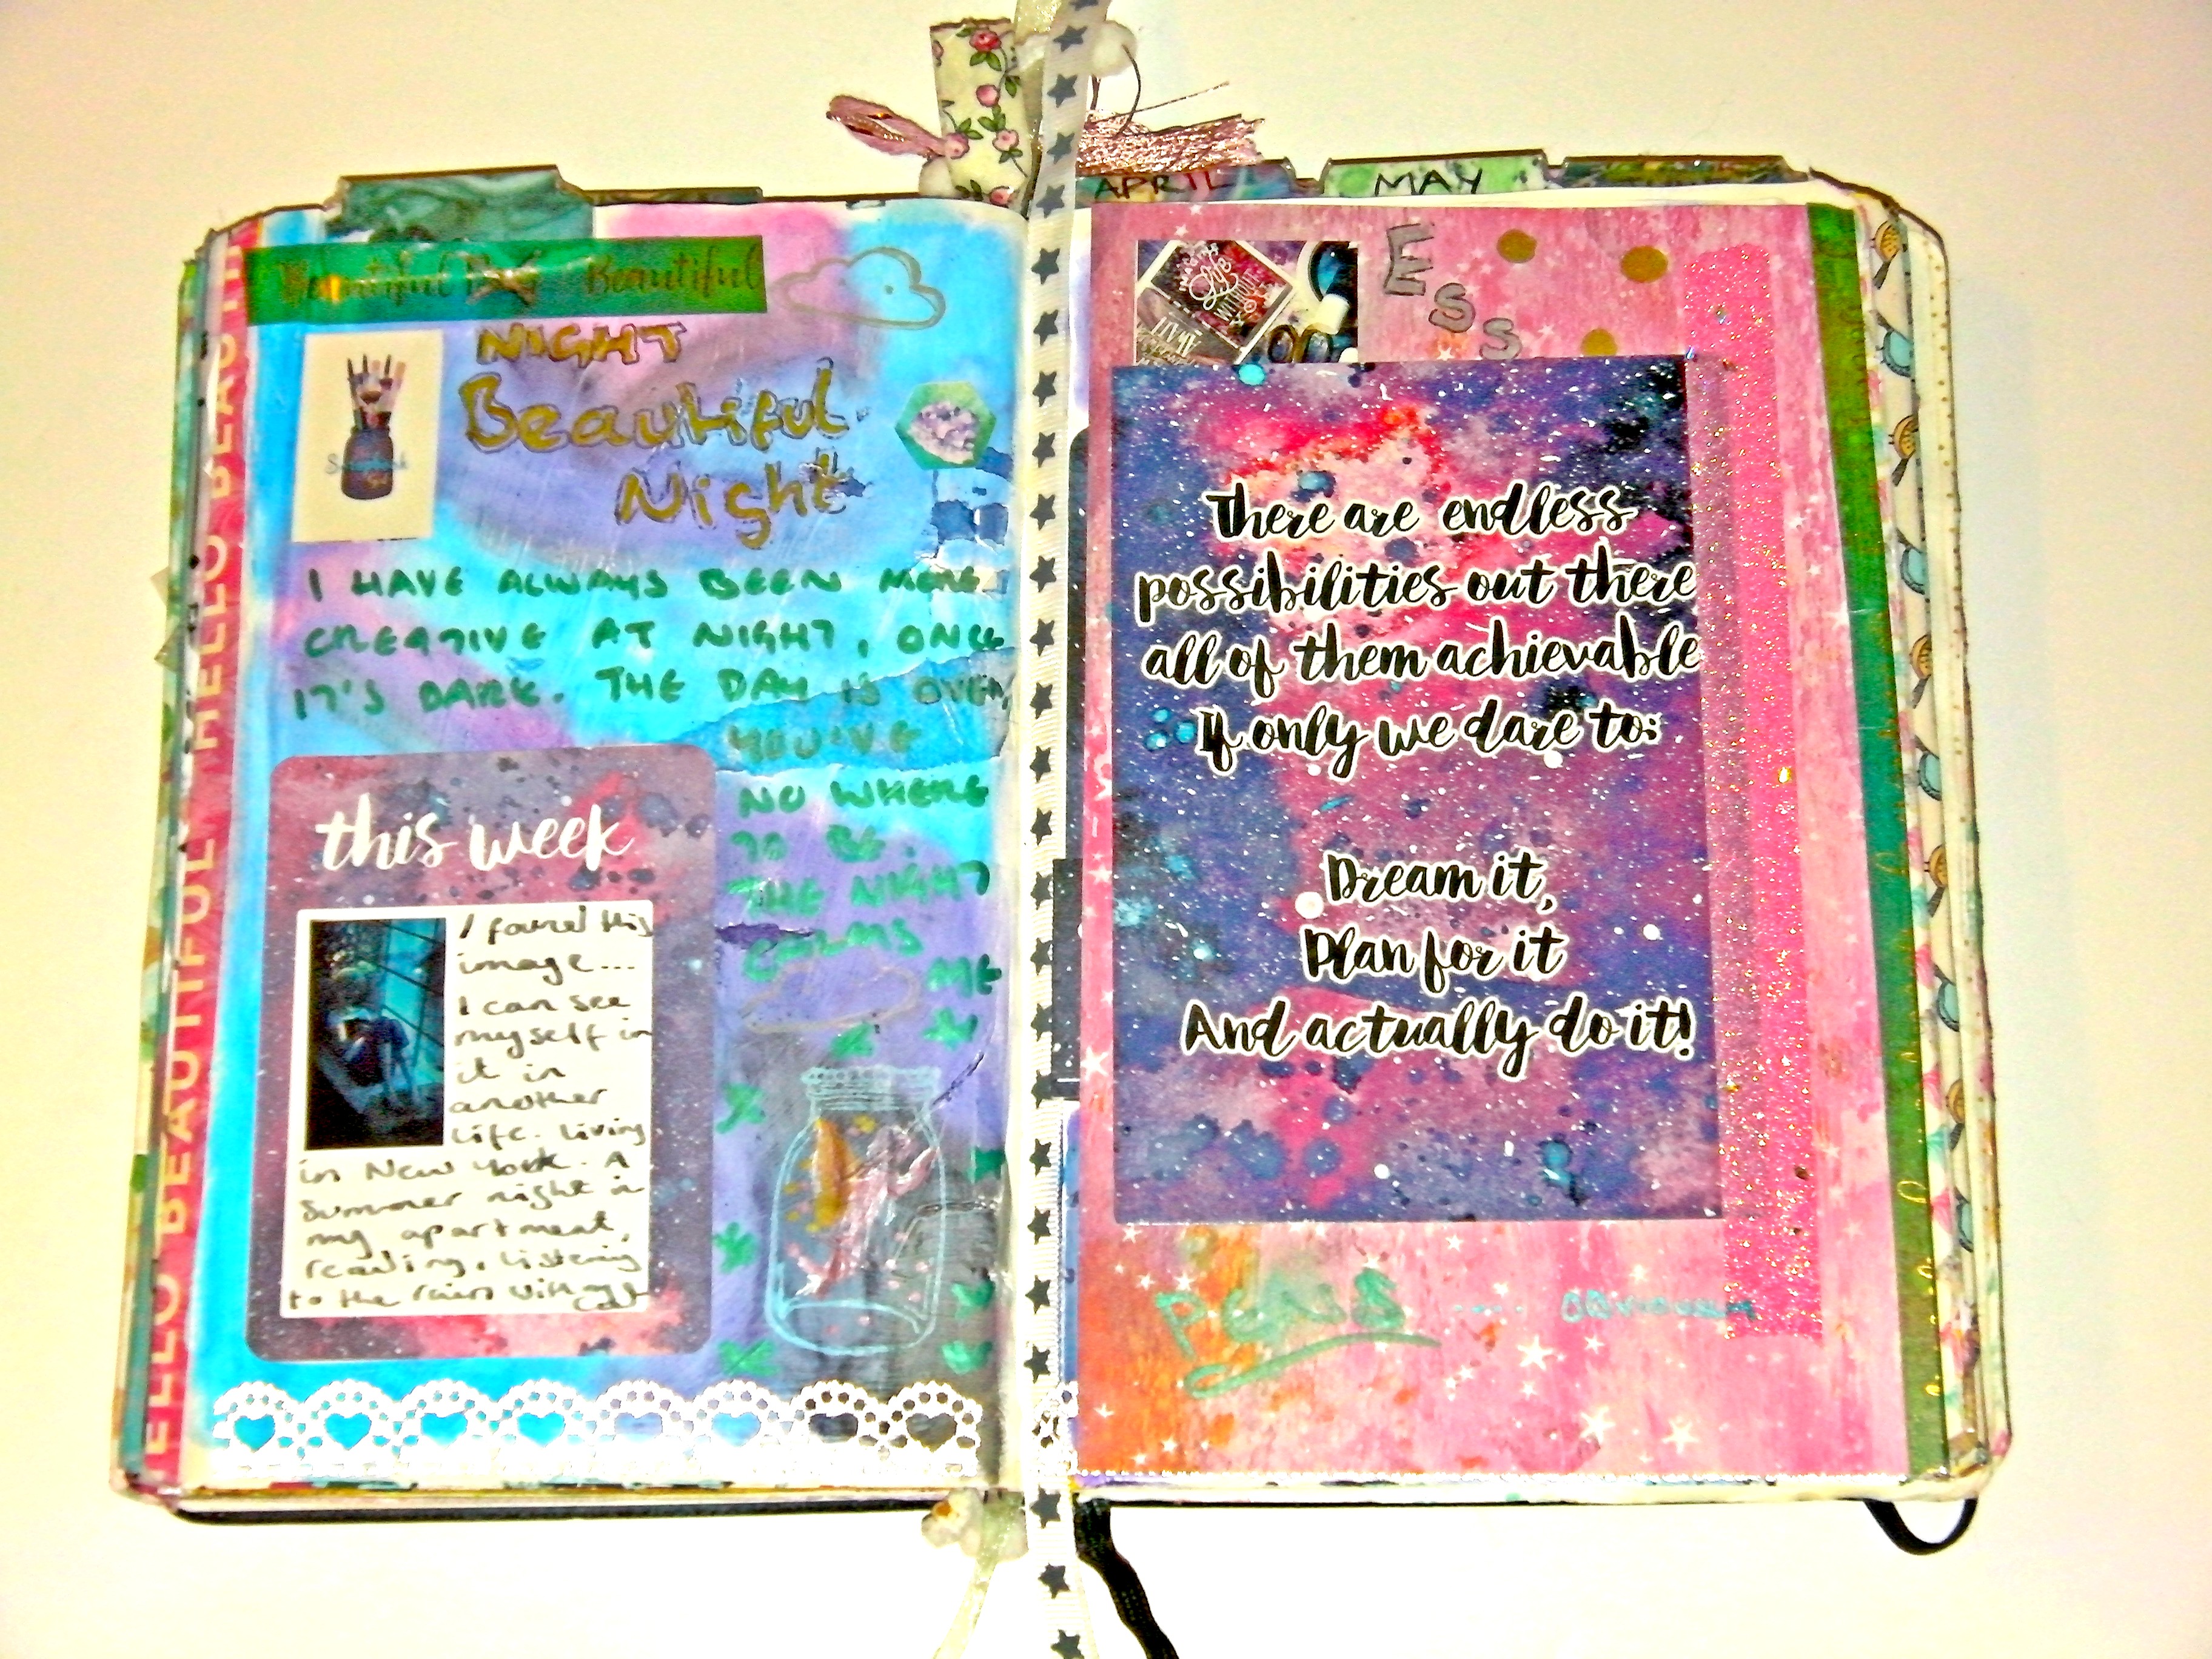
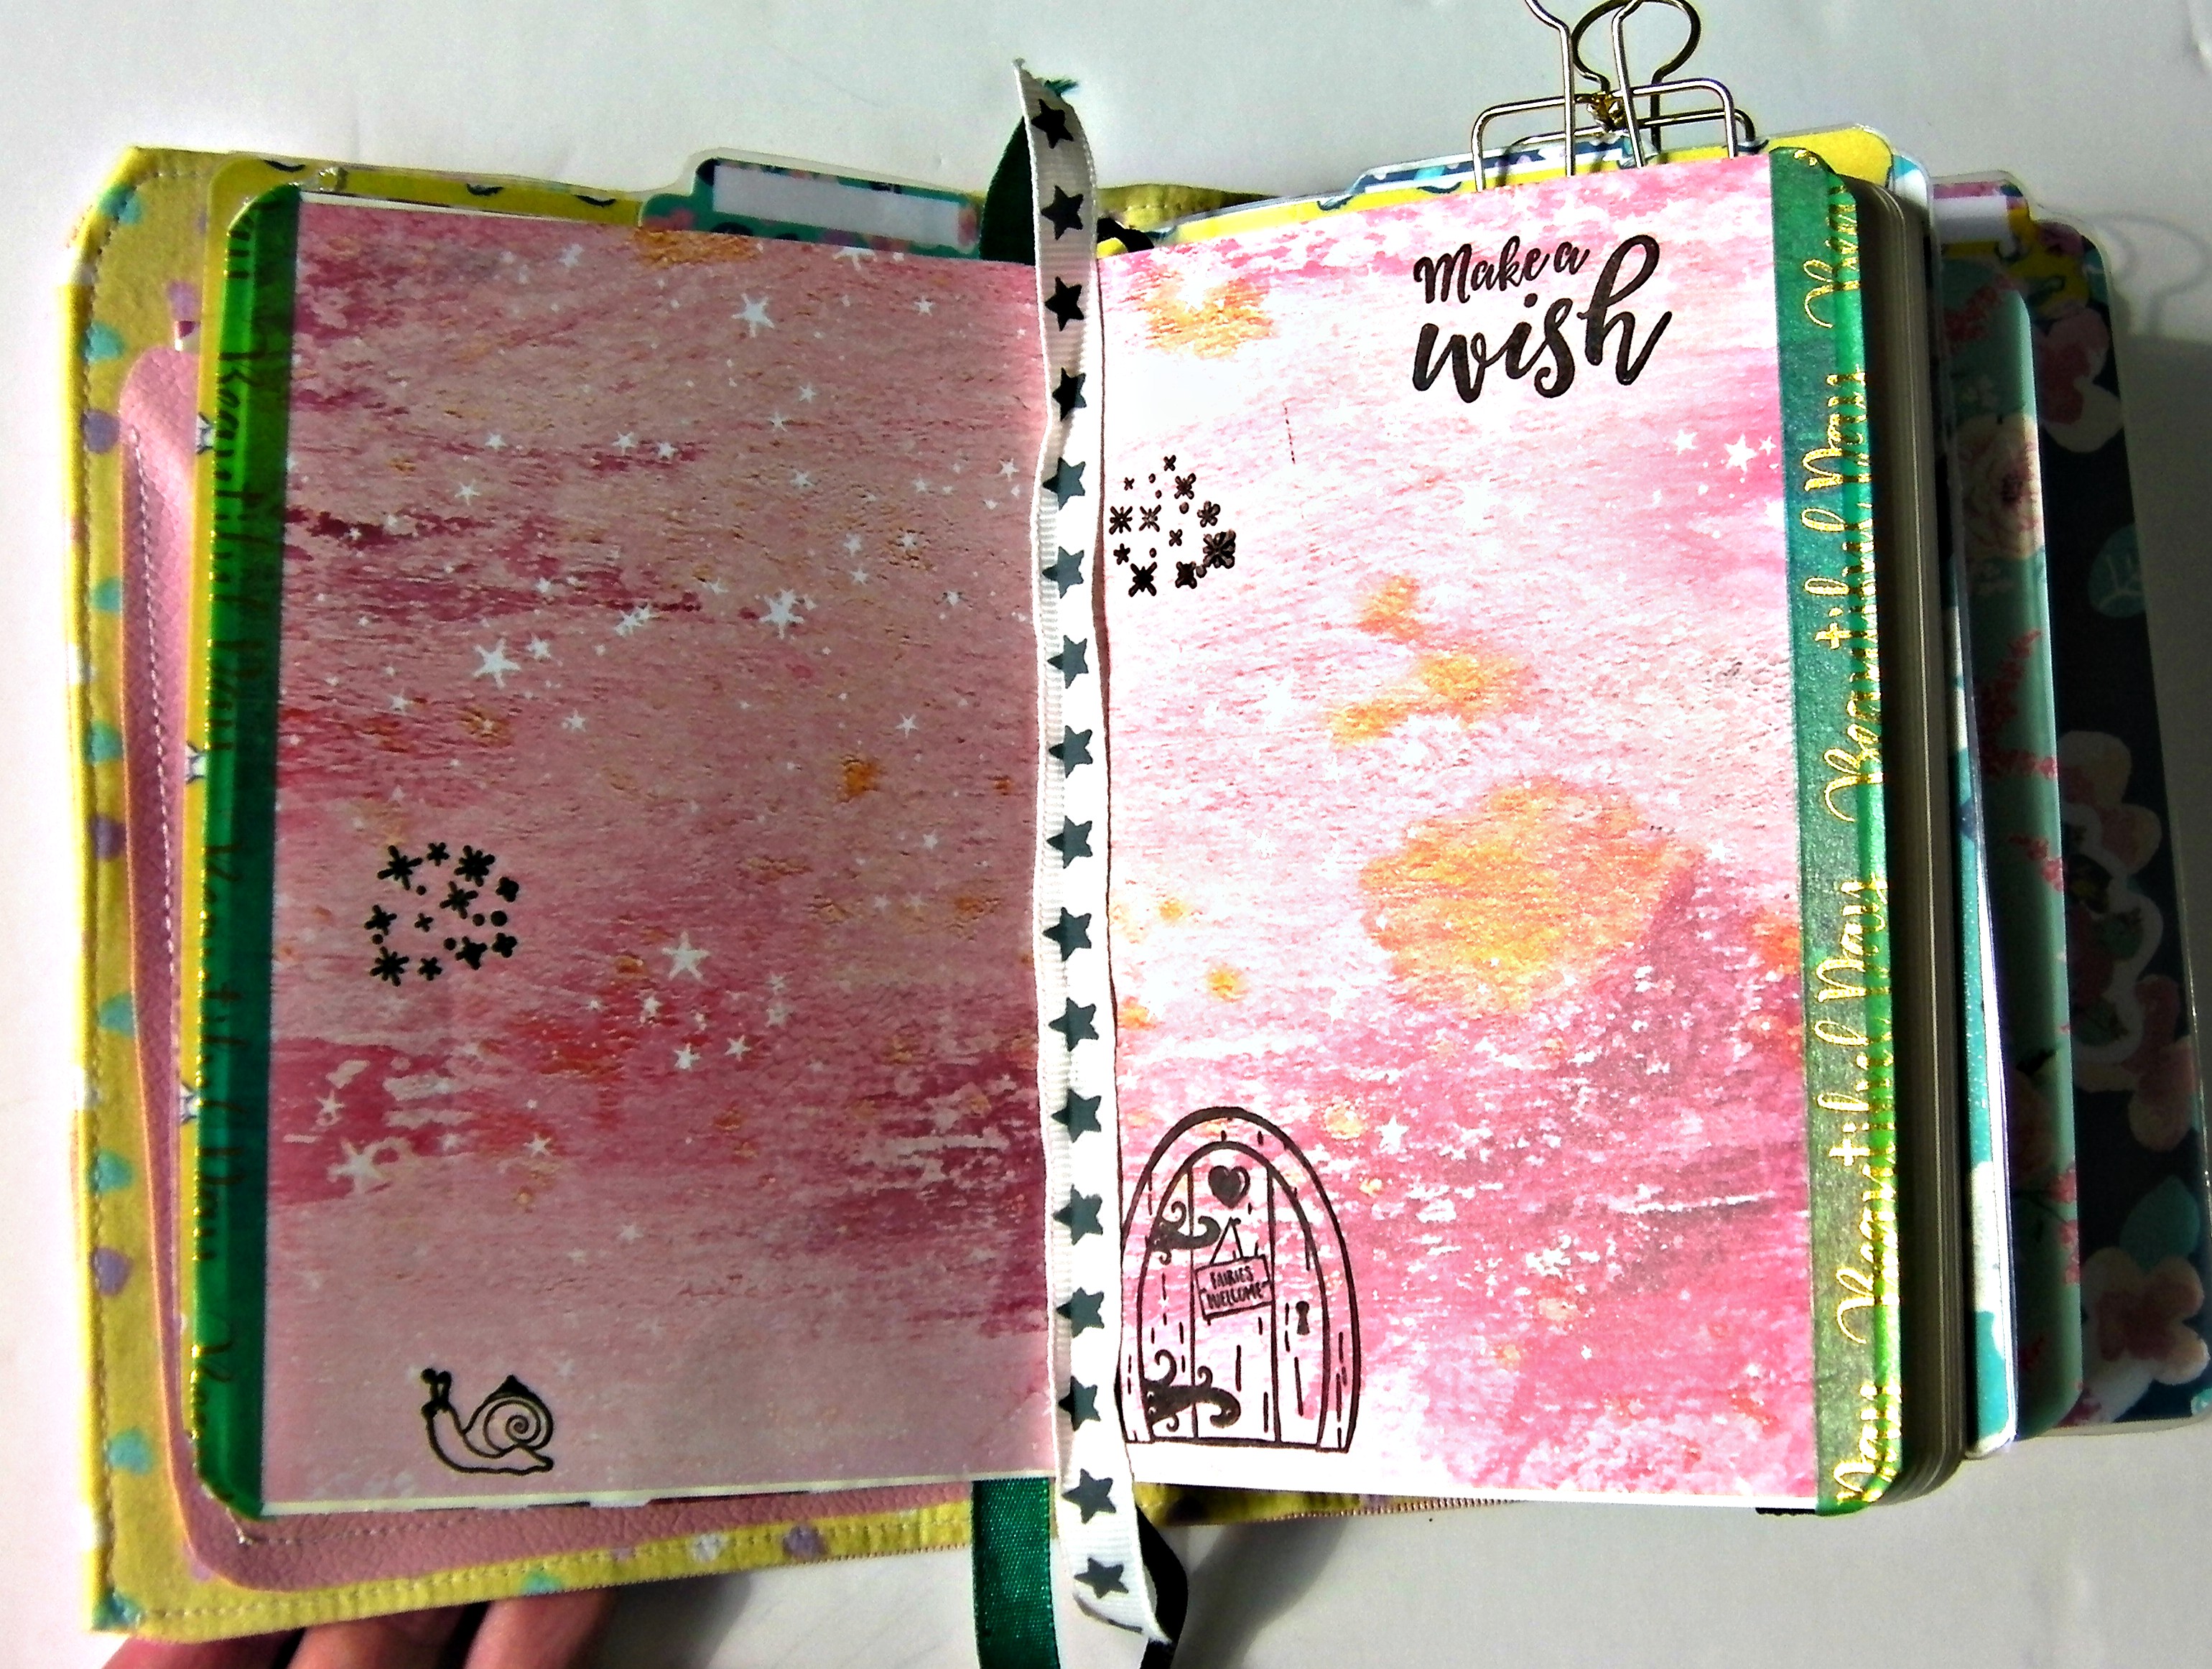
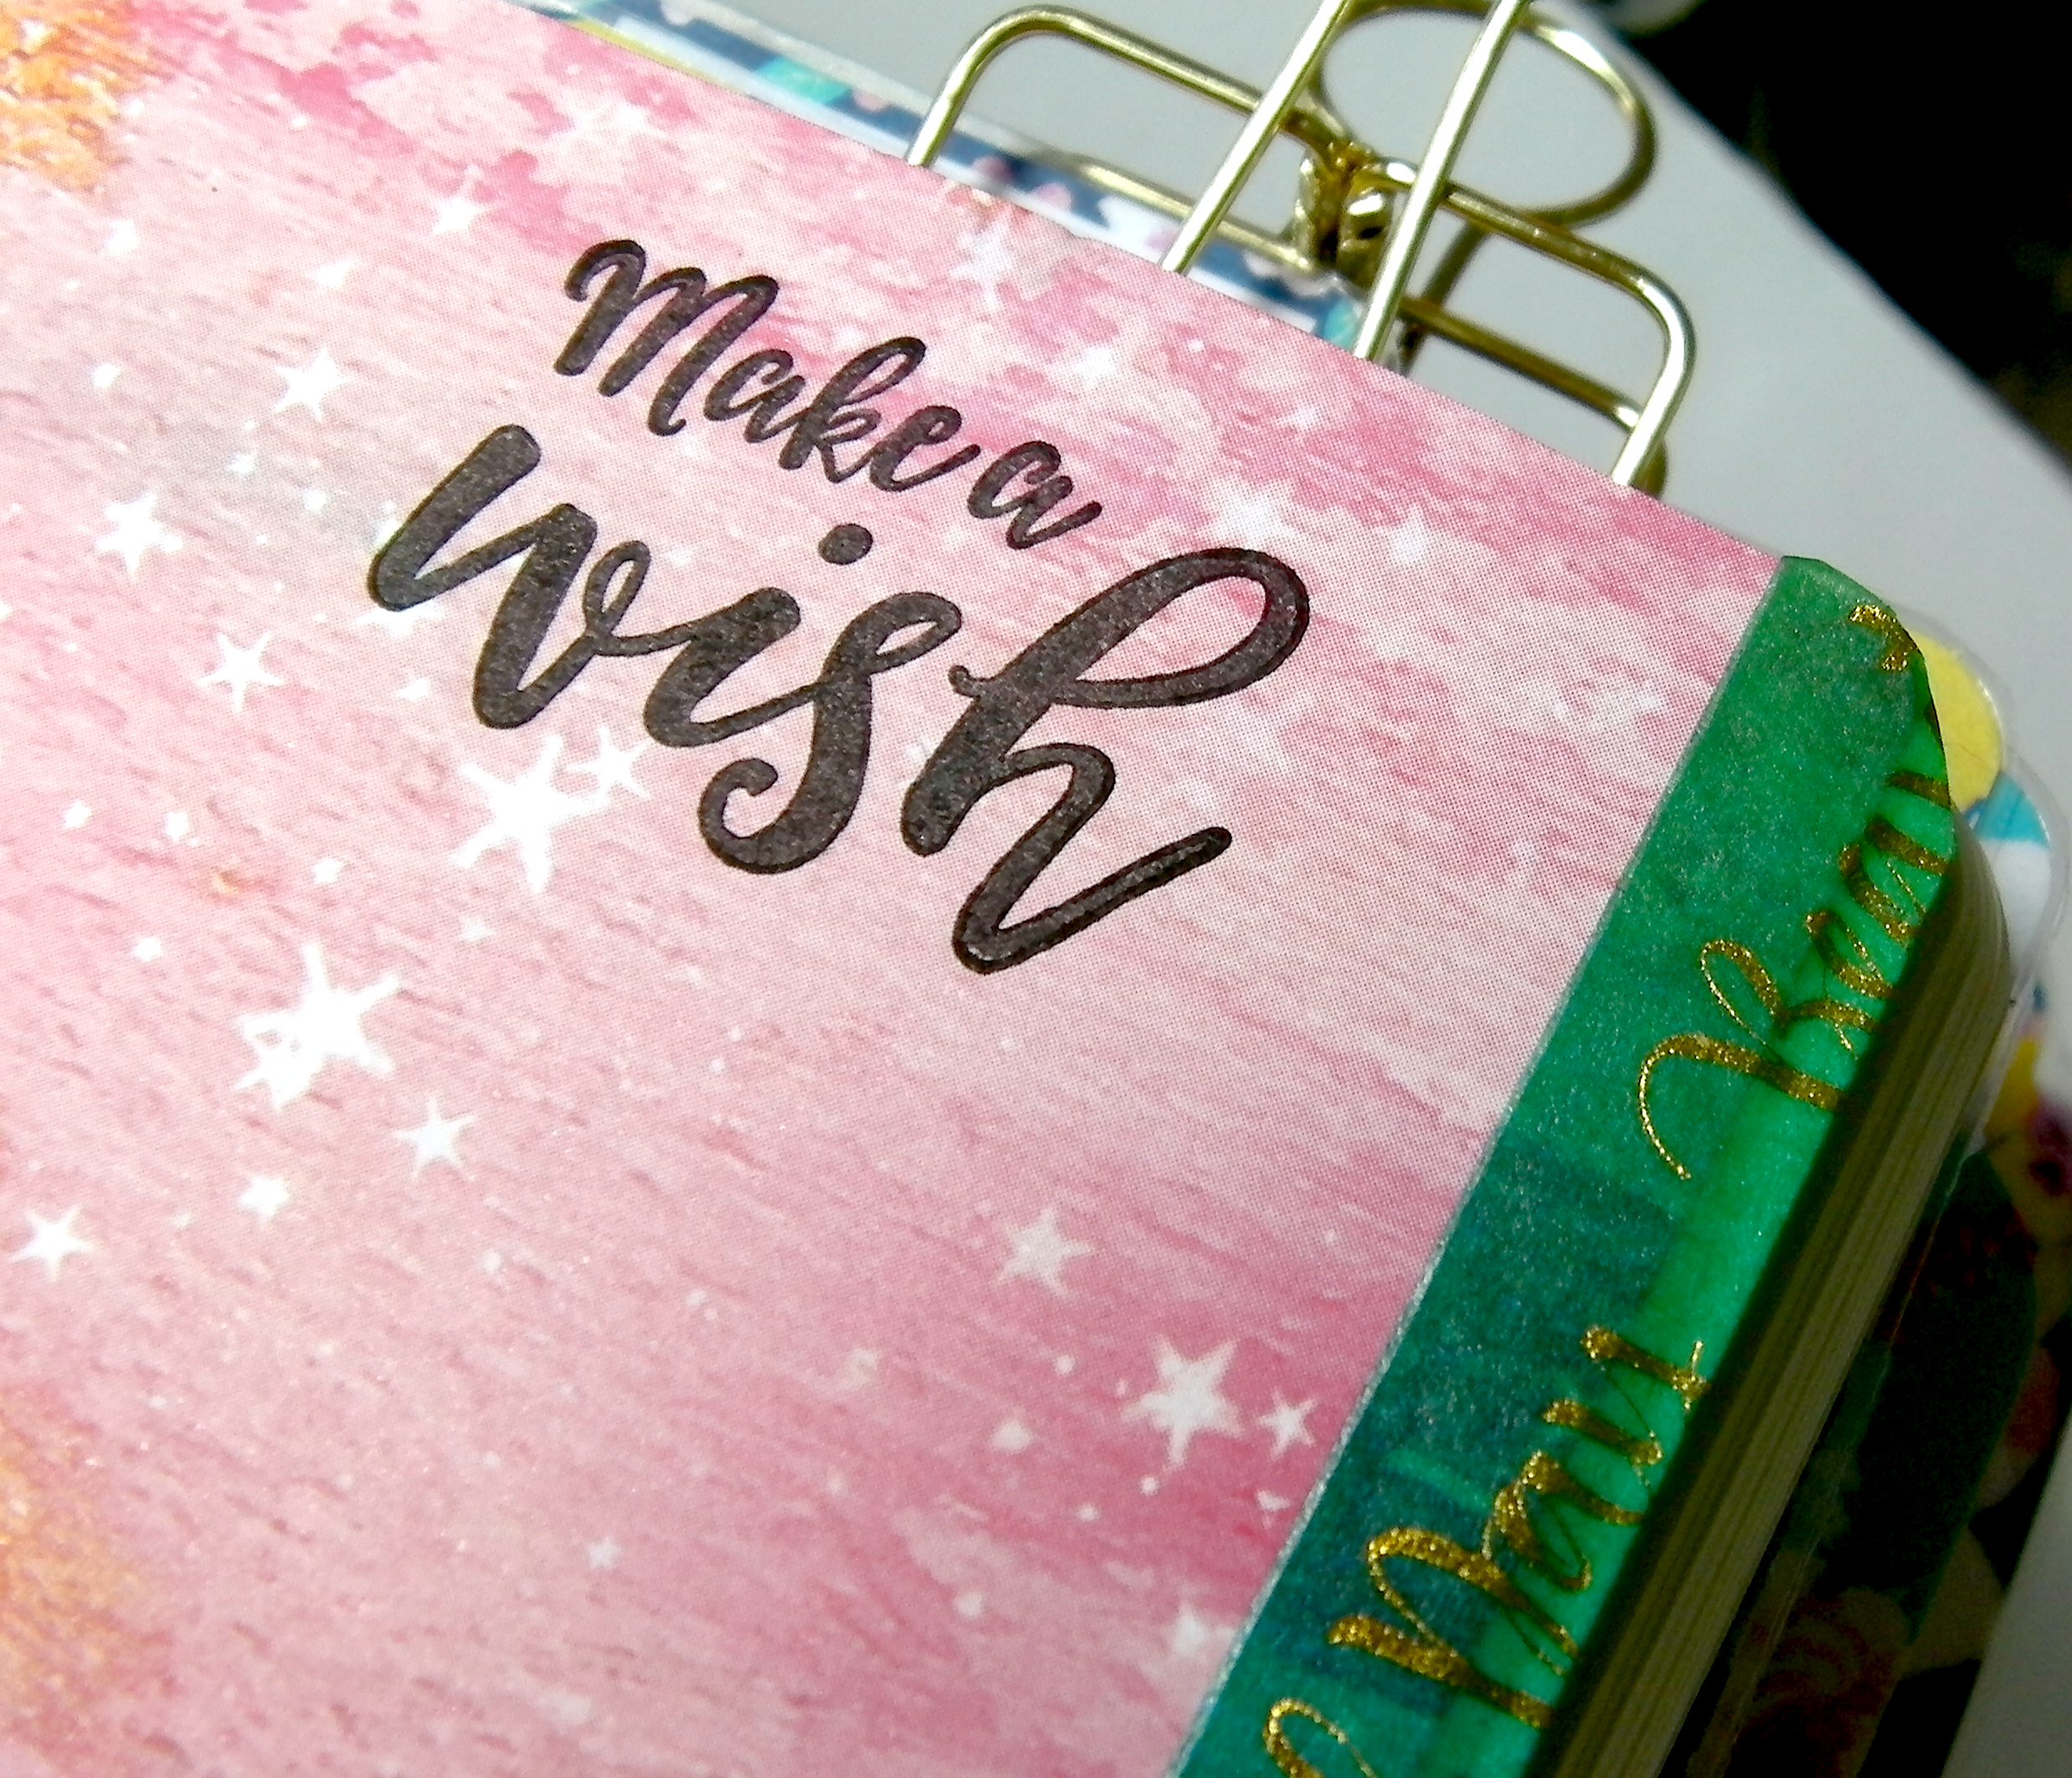
Now here is a spread I made with goodies from the Brimbles Box. I hope you grabbed yourself a Brimbles box. This one was equally as cute as always. I loved these lady bugs. I just am getting started for a few weeks down the road so it is not at all close to finished. I also will show you another Travelers notebook pocket folder I made. I am obsessed with these!