Monday 31 July 2017

Juicy Journal Page with Daisy


I decided to use my July Brimbles Sticker Club pack in my journal this month, because I have a little pile of photo's I still need to get stuck into my journal. There were a couple of photos that seemed to fit really well with the theme of this sticker pack, so I went for those!


Before sticking anything down I decided to add some watercolour in the background, just to break it up a bit. Plus a few of the stickers I wanted to use had white backgrounds, so it'd help them stand out a bit. I popped the watercolour onto an acrylic stamping block, and then applied it to the page so it didn't have any brush strokes. This also meant I could create a nice dripping effect when I tilted the page!
I used some of the border strip stickers, and some of the boxes to go in the background. Then I just layered up some of the smaller decorative stickers on top of the photos. I left the red circle sticker blank as I will write the date into that when I add the journaling.


Instead of leaving the bottom of the page blank, I added a little cluster of stickers down there, just to balance to the two corners of the page. You can also see that the orange sticker is covering a staple that was showing through from the back of the page. I debated whether to actually take the staple out, but decided to just cover it and hope for the best haha. It's a bit lumpy, and kinda noticeable, but hey. it works for me, so I'm going to leave it like that!


I was going to leave the top left section of this page clear for writing, but I realised the black and white spotty box sticker would most likely make the writing blend in a bit too much. So I grabbed a few of the arrow stickers and popped them in the gap instead. I'll still add some writing to the yellow water coloured section, but hopefully the arrows will help to make it look less like there's something missing from there.


I love the colours of this sticker collection, and I don't think I could have used any better stickers to document these photos. They seem to reflect the mood of that day out just perfectly!
I still have lots of stickers left over from these sheets, so I will most likely use them in future journaling spreads! I might even try using some in my planner too.

- Daisy X


Art Journaling using Mrs Brimbles Patreon Resources


I am so excited to be on the Brimbles Creative Team and even more excited to write my first blog post as part of the team. I have been engrossed in Anna's Patreon videos, there is so much content and it is all so informative. In addition to the video tutorials, chatty vlogs and time lapse creation videos there are also monthly downloads of amazing collage sheets (one of my loves at the minute). I love creating art using collage sheets, they are so versatile and I like having the freedom to cut up someone's art work to create your own feels almost like I am recycling, but still having a sense of the original artwork in the piece too.

The collage to journal page process:

My finished art journal page is above and I love it. I used a variety of different collage elements from Anna's sheets including the cute girl (I cut off the body and created my own as you will see in the video below). I then gathered the other elements to use, a gorgeous painted background from Anna's collages that I cut and ripped to become the shoe and boot. They weren't originally going to be a shoe and boot, but you will again see that develop in the video. I don't like pre-planning my pages, I much prefer to see where the creative mood takes me.

Art and Journaling using Mrs Brimbles Patreon Resources - Kerrymay._.Makes
A work in process before the writing/detailing.
To start with I painted the background using watercolour and then bit by built up the image ending with the text using a posca paint pen. Anna's videos helped enormously during the process. I looked at how Anna mixed her paint for faces and even had a go at sketching and doodling too (more on this later). Have a look below how I developed the piece.

A close up of the finished page.
Art and Journaling using Mrs Brimbles Patreon Resources - Kerrymay._.Makes
A close up of the finished page.
I really love the finished zetti art style page and will definitely be creating more pages using the collage sheets. The quote I have used is my take and a play on an existing quote, but this really resonates with me as I am quite the worrier and I need to move on instead of lingering and mulling things over.

Sketchy Girls:

Art and Journaling using Mrs Brimbles Patreon Resources - Kerrymay._.Makes
My sketchy girls and tn dashboard inlay.
Another part of Anna's Patreon videos and tutorials are the 'Sketchy Girls'. You learn how to draw or copy Anna's drawings and doodles and watch step by step through the process, from drawing the hair and outlines, to painting them. Here I copied Anna's drawings and then adding my own text and decoration to the page. I love it, so use it in a plastic wallet dashboard for my tn.

Art and Journaling using Mrs Brimbles Patreon Resources - Kerrymay._.Makes
My attempt at sketching different expressions.
​I have now moved on to looking at the next installment of videos for next month including sketching expressions. I am still a newbie at doodling and drawing, as I'm much more comfortable with paint and a glue stick, so have really enjoyed how this is pushing me in my art practice. I used to do a lot of art work digitally years ago when I had a pixel graphics website and the doodling has taken me back to those days. I hope to be able to do a full body sketch soon and can't wait for the next tutorials on drawing full bodies to tie it all together.

Art and Journaling using Mrs Brimbles Patreon Resources - Kerrymay._.Makes
I have really loved the first month of being on the Creative Team, it is really helping me to grow in my work and has allowed me to get back in to art journaling more as I was neglecting my art work. I have also loved being a part of the Brimbles Patreon, ... wait till you see the collage sheets for August! I can't wait to get a new printer so I can print out the goodies.

Become a Patron here.

Take Care, Kerry xx


​You can catch me over on my blog  http://kerrymaymakes.weebly.com

and on my social media below:
​Instagram  |   You Tube  |   Pinterest |   FB Art Journaling Group

Sunday 30 July 2017

Free Art Collage Sheet

Have you ever wondered what my Patreon is all about and what I create over there for my Patreons? Like a lot of artists, part of my Patreon package is collage sheets. Well I thought I would give you all one of my collage sheets so that you can check it out for yourself.

To download this artwork just click here. It's on an A4 sheet so you can print it out and use it in your journals and art in any way you like or print it on photo paper and frame it - you can use it for your own personal use however you want. You can do all of those things if you like as you can print it over and over again! This was created by me using acrylic paint and ink and then manipulated in Photoshop.

In August my $5 tier Patreons will receive 7 A4 collage sheets and my $10 tier Patreons will receive 14 sheets! There is a mix of illustrations, journal cards and full pieces of art. What else...well this month we are taking our sketchy girls even further and experimenting with expressions, facial shapes and hair. Why not join in the fun or just follow me on Patreon for my Patreon only updates (updates are free).

https://www.patreon.com/mrsbrimbles

I thought I would show you the collage sheets in the video below that my Patreons will be receiving in August so you can have a look, see what I have been creating this month and if this is the sort of thing that could perhaps be for you (please  bear in mind that the art in the collage sheets and the number of collage sheets vary each month but this is fairly typical).

Thank you to my current Patreons who are supporting me as this helps me to be able to create more content for you free on my YouTube channel. Big, Big love xx


Deadline Extension to #brimblessummerlovin


If you are taking part in #brimblessummerlovin and are catching up please can you post your photos all in one post as the multiple posts are flagging up to me as spam! Thank you! Also if you are behind, technically the close date to complete all of the photos (and register on the widget) is 5th August BUT I am now not going to be around as it's Jon's birthday weekend so I am going to extend it and give you until Wednesday 9th!

If you still need to register the widget is on this original post: http://mrsbrimbles.blogspot.co.uk/2017/07/summer-photo-challenge.html

Of course you can always start now, you have plenty of time to do it all!

Saturday 29 July 2017

Deb's Planner Pages


Stickers are in the house!! Well these little fruity stickers are just the cutest. I used a lot of the stickers to start my spread. I am no where near done but I liked the Washi strips to add decoration in between my squares and this is a limelife planner so the boxes are a bit different sizes but still these fit perfectly allowing you to use another half or quarter box or decoration in the same square. I just used the fruit throughout the layout.

I actually think these cute little fruit would make some awesome washi tape Mrs Brimbles hint hint! You get four nice sheets of stickers in this kit. Plenty for multiple layouts especially if you use others to mix with it.

I love the cute little faces on the fruit and the whimsical feel of it. I am trying hard to get better at layouts but I am still not the best. Sometimes I dive in before thinking it out. I am fluid like that! I am so organized with most of my life and with doing a layout for some reason it stresses me out because I feel once I put it down I have committed to it and then I look at it and think omg I wish I would have done this or that but hey it is just a layout and I try to let this be the one part of my life that I just WING IT!

Sometimes that feels good when you are a OCD personality like I would say I am. So I would suggest to anyone that feels they are too rigid in life to let planning be the one thing you just enjoy being free at. Yes it is commitment once a sticker is down but try hard to work around it and not get too disappointed in it. We all have to get our groove and until you get your groove then accept your planning as it is and own it!

Its like Crazy Elaine in Seinfeld, she couldn't dance but it didn't stop her. Sure she looked funny doing it but she had fun doing it and that is what counts. So if you take anything away from my post let it be that. ENJOY the moment, don't compare yourself to others that you seen having perfect spreads because you are unique and you should be yourself.

Have fun planning!


I have loads of space to fill in yet but at least I am getting a good start.


Friday 28 July 2017

Thursday 27 July 2017

Forest Folk - Toddler Art, Craft & Sensory Play

Welcome to instalment in my series showing you some art, craft & sensory play activities for toddlers / pre school children. I am not sure how often I will be uploading these. I would like to do it regularly but not sure how often you would want them as obviously this is totally new content material to my channel so let me know your thoughts and if there is anything you would like to see. Hope you enjoy!


Wednesday 26 July 2017

Fruity Planner & Journal Spread from Grace


Hello! So this is my first post as a Sticker Club DT member - I'm so super honoured and super excited :D Alright, I admit, I'm not so good at eating fruit, but I do like a smoothie. So when I saw this month's kit I remembered some silly selfies I had on my phone I'd sent in a group chat after making myself a smoothie one day. I decided this month's kit would be perfect for making a fun creative journal spread, featuring said silly selfies. The first thing I did was throw some watercolour on the pages (of a standard size traveller's notebook). I had the stickers nearby so I could make sure the colours matched. I made one side more green because I knew that's where I was going to put the photos, which had lots of green in the background.

  20138107_10211338141222978_1084631672_o

20149068_10211338141142976_1919416470_o

While I waited for that to dry, I got out my Copic markers and fineliners and drew out and then coloured a glass full of smoothie. I'm fairly happy with how it turned out:

  20196614_10211338141382982_605697344_o

(for Copic Marker users I used R00, RV10, RV13, and R85) Then I painted the 'empty' part of the glass with the same colours I'd painted the right hand page, went over the lines with a black fineliner, and cut it out:

  20148882_10211338141182977_358305852_o

Then came sticking time! I started with some of the washi strips and boxes from the kit that I wanted in the background:

  19807978_10211338140862969_109171213_o

Then stuck down my photos and the glass:

  20148779_10211338140902970_1908010068_o

Next was my favourite part of the whole layout. I started by getting the watercolours out again and painting a pink swirl going down into the glass:

  20148776_10211338140662964_2118897895_o

(yes I smudged the black fineliner a bit but it's ok because it gets covered up!) Then once that was dry I stuck down a load of the cute little fruit stickers on the swirl as if they were going down into the smoothie (sorry little fruits!)

  20182169_10211338140622963_1499144568_o

As you can see I purposely placed one sticker (the apple) where I could draw the rim of the glass over it, to really give the idea that they were going down into the glass of delicious smoothie! After that I got sticker happy...

  20196549_10211338140542961_48030931_o

Especially with those little phrase stickers. I LOVE a good pun, so those cracked me up far more than they really should have. The only stickers used that are not from this month's kit are those I used for the 'smoothie' title. They were from Mrs Brimbles last year. Then I got a little more sticker happy, just filling up some spaces that I thought looked like they needed a little something more. I even fussy cut out a little orange from the washi strip as a wanted a little fruit!

  20148899_10211338140382957_974610898_o

Spot the little orange? Just a reminder to do whatever you want with stickers, cut boxes in half, fussy cut them, etc.,: they're just as versatile as paper, but you don't have to add glue! I also used the page flags from the functional sheet of stickers to make some bunting in the top corner. And there we go! An admittedly, very silly journal spread, that was great fun to make. It's not about anything important or life changing, but it's a fun memory to look at. If you're interested, I also have a process video on this spread which you can watch here, and I also used sticker's from this kit to decorate a week in my personal size planner:

  19850877_10211259147928195_1924286259_o

I also have a Plan With Me Video on this spread. Thanks so much for reading my first post, I hope you enjoyed it. 

See you all next time! 
 Grace <3 a="" find="" href="https://www.youtube.com/channel/UCwed-wGO7W9RpIp2r6AM0_Q" me:="" places="" rel="noopener" target="_blank" to="">YouTube Blog Instagram

Tuesday 25 July 2017

Paint Yourself Calm

I recently purchased a book - Paint Yourself Calm and I thought I would do a review of it. If you are interested in the book I mentioned here is the link for it (Please note the link is an affiliate link, you don't pay any more for the book but I do get a very small % from it. You don't have to use this link but I very much appreciate it if you do):


PLEASE NOTE: I PURCHASED this / these product(s) with my own money. The author or publisher did not know that I was doing a review. This review is my own personal opionion on the product / company, given in good faith and has not be sponsored or endorsed. Unless otherwise stated, all photography is my own.

Monday 24 July 2017

Art Journal Spread by Rose


Hi, my name is Rose and this is my first blog for Anna's creative team. If you didn't already know, Anna now has a Patreon account and each month she shares art lessons in her quirky style along with collage sheets of her art for you to use in your journal or planned or anything else you can think of. This month Anna has been teaching us about how she creates her sketchy girl faces. I've loved these lessons so much because, unlike some art lessons, it's so easy to put your own stamp or style on them. Here are some of the sketches I created after watching the lesson:

  20170715_182056 

Also included are some collage sheets. These are amazing for anyone who likes playing with paper - simply because you get a digital copy so there's no need for hoarding stuff you love too much to use because you can just print another copy. I find this amazingly freeing as an art journaller because I don't have the fear of ruining pretty things. Another benefit is that you can add painterly elements but without having the weight of paint or having the warping of your page it can sometimes create. I used them in my 100 day project (see more of this project here):

Anna also has a couple of stand alone classes available here in her shop - this month I worked on the marbling class and created some amazing backgrounds. I used a couple in my 100 day project:

I tried a variety of papers and found that the marbling paint works really well on deli paper. The benefit of this is you can glue it into your journal so that you don't see the deli paper (it becomes almost invisible, especially if you tear the edges) but just the marbling. I really liked the combination of blue, black and white marbling paints and thought it made a lovely cloudy sky. So I ripped the deli paper into strips and pasted it into my art journal with matte medium. I drew one of my sketchy girls from Anna's patreon class and coloured her in with acrylic paint and coloured pencils. I painted the sea and the sand in the same way and added a quote. Finally I cut one of Anna's collage sheets into simple shapes to make flying gulls and added them to the sky.

  20170721_111754

I hope you've enjoyed this post - if you've created anything this week why not share it in the Happy Place?! Especially if you're doing one of Anna's classes.

If you'd like to see what I'm up to creatively you can see me on Instagram, read about what I'm up to on my blog or see my art here.

Sunday 23 July 2017

Jennifer's Juicy Planner


Hi Folks!

I must have said this a million times over the last couple of months, but I'm genuinely so excited to finally share my first ever post on the Mrs Brimbles Sticker Club design team. And what better way to kick things off than with the super cute Juicy Frootz sticker set. The designs are cute, colourful -  everything I love about Anna's artwork really. 


To create my spread I started off with my Tim Holtz distress inks in Festive Berries, Spiced Marmalade and Mowed Lawn, and an ink blending tool. I used these to add some patches of colour to the background of my spread, to compliment the colours in the spread. Next I go in with washi tape from my stash, to reinforce the areas where the holes are punched, as well as to add extra interest. Since my planner spread is ultimately to keep my week organised, I then add my to do lists and place half boxes and a messy circles to draw attention to notable events throughout the week. Next I used functional stickers from the kit and from my stash to emphasise certain tasks I need to complete. Finally, I fill in any blank spaces with deco stickers - which, of course, is my favourite part of all. Anna also included some great phrase stickers which I love. And there you have it, week 30 sorted!

Spotlight on handlettering in planner spreads.

My handlettering is nowehere near as good as I'd like but adding it to my planner spreads is a great way to add interest to the page as well as to highlight important events.

There are lots of sources of inspiration on Pinterest and some great tutorials on YouTube. I've also bought myself a couple of books and  I'll be taking an online course in my week off next week so hopefully the practice will eventually pay off!
Finally I'll leave you with a closer picture of my spread and a list of the products I used:

Planner Inserts: Kate Spade

Stickers: Mrs Brimbles July Sticker Club (Juicy Frootz), Anna's Planner Bubble (shopping bag and weighing scales stickers), Chocho and Mimi ('don't forget' panda sticker), beautiful planning (emoji sticker)

Washi Tape: Freckled Fawn (orange), MT (black polka dots)

Other: Tim Holtz Distress Ink (Festive Berries, Spiced Marmalade, Mowed Lawn), Ranger Mini Ink Blending Tool


It's been a real pleasure to share this all with you and I look forward to seeing you all again next month - happy planning everyone!

Blog: https://www.jenniemayescrafts.blogspot.co.uk/

Instagram: https://www.instagram.com/jenniemayescrafts/

Pinterest: https://www.pinterest.co.uk/jsm1616/jennie-mayes-crafts/ I've also attached the pictures and text as separately just in case there's any problems with the above. All the best Jennie xx

Friday 21 July 2017

Completed Planner Insert Flip Through

I have just finished a diary insert which runs from January 2017 so I thought I would do a flip through so you can see what my pages look like when a week is done with!


Thursday 20 July 2017

Potion Making - Toddler Art & Craft

Welcome to the first in my series showing you some art, craft & sensory play activities for toddlers / pre school children. I am not sure how often I will be uploading these. I would like to do it regularly but not sure how often you would want them as obviously this is totally new content material to my channel so let me know your thoughts and if there is anything you would like to see. Hope you enjoy!


Tuesday 18 July 2017

Am I still doing Project Life?

I have been asked a couple of questions lately about whether I am still keeping and maintaing a Project Life album. I thought I would answer that...


Monday 17 July 2017

Inspired by Mrs Brimbles' July Patreon


Hiya folks!

I am completely elated to have become a proud member of Anna’s Creative Team and to be posting on the Mrs Brimbles blog for the very first time. The team has been put together to support and promote Anna's Patreon. We will be creating and sharing as a result of immersing ourselves in Mrs Brimbles' world of inspiring arty prompts and resources. I am excited and honoured to have access to this content month after month.


Become a Patron!

I could watch Anna create her sketchy girls all day - which is basically what I did! As soon as it was made available to me, I viewed Anna’s sketchy girls Patreon video over and over again, at every opportunity. But when it came to having a go myself, I more than hesitated. Mostly because I am not naturally drawn to that type of art – making people I mean. I make things out of paper, I doodle objects and folky type landscapes, I colour geometric patterns in with coloured pencils, I stick things down and I splodge paint everywhere in an intuitive abstract way. But I haven’t relaxed by drawing faces since I was a child. I remember in infant school I went through a phase of sketching the same princess with long curly blonde hair and a pyramid of purple grapes on top of her head! But as an adult I have discovered so many amazing portraiture artists that I guess I thought I could not compete – plus I genuinely prefer landscapes these days.

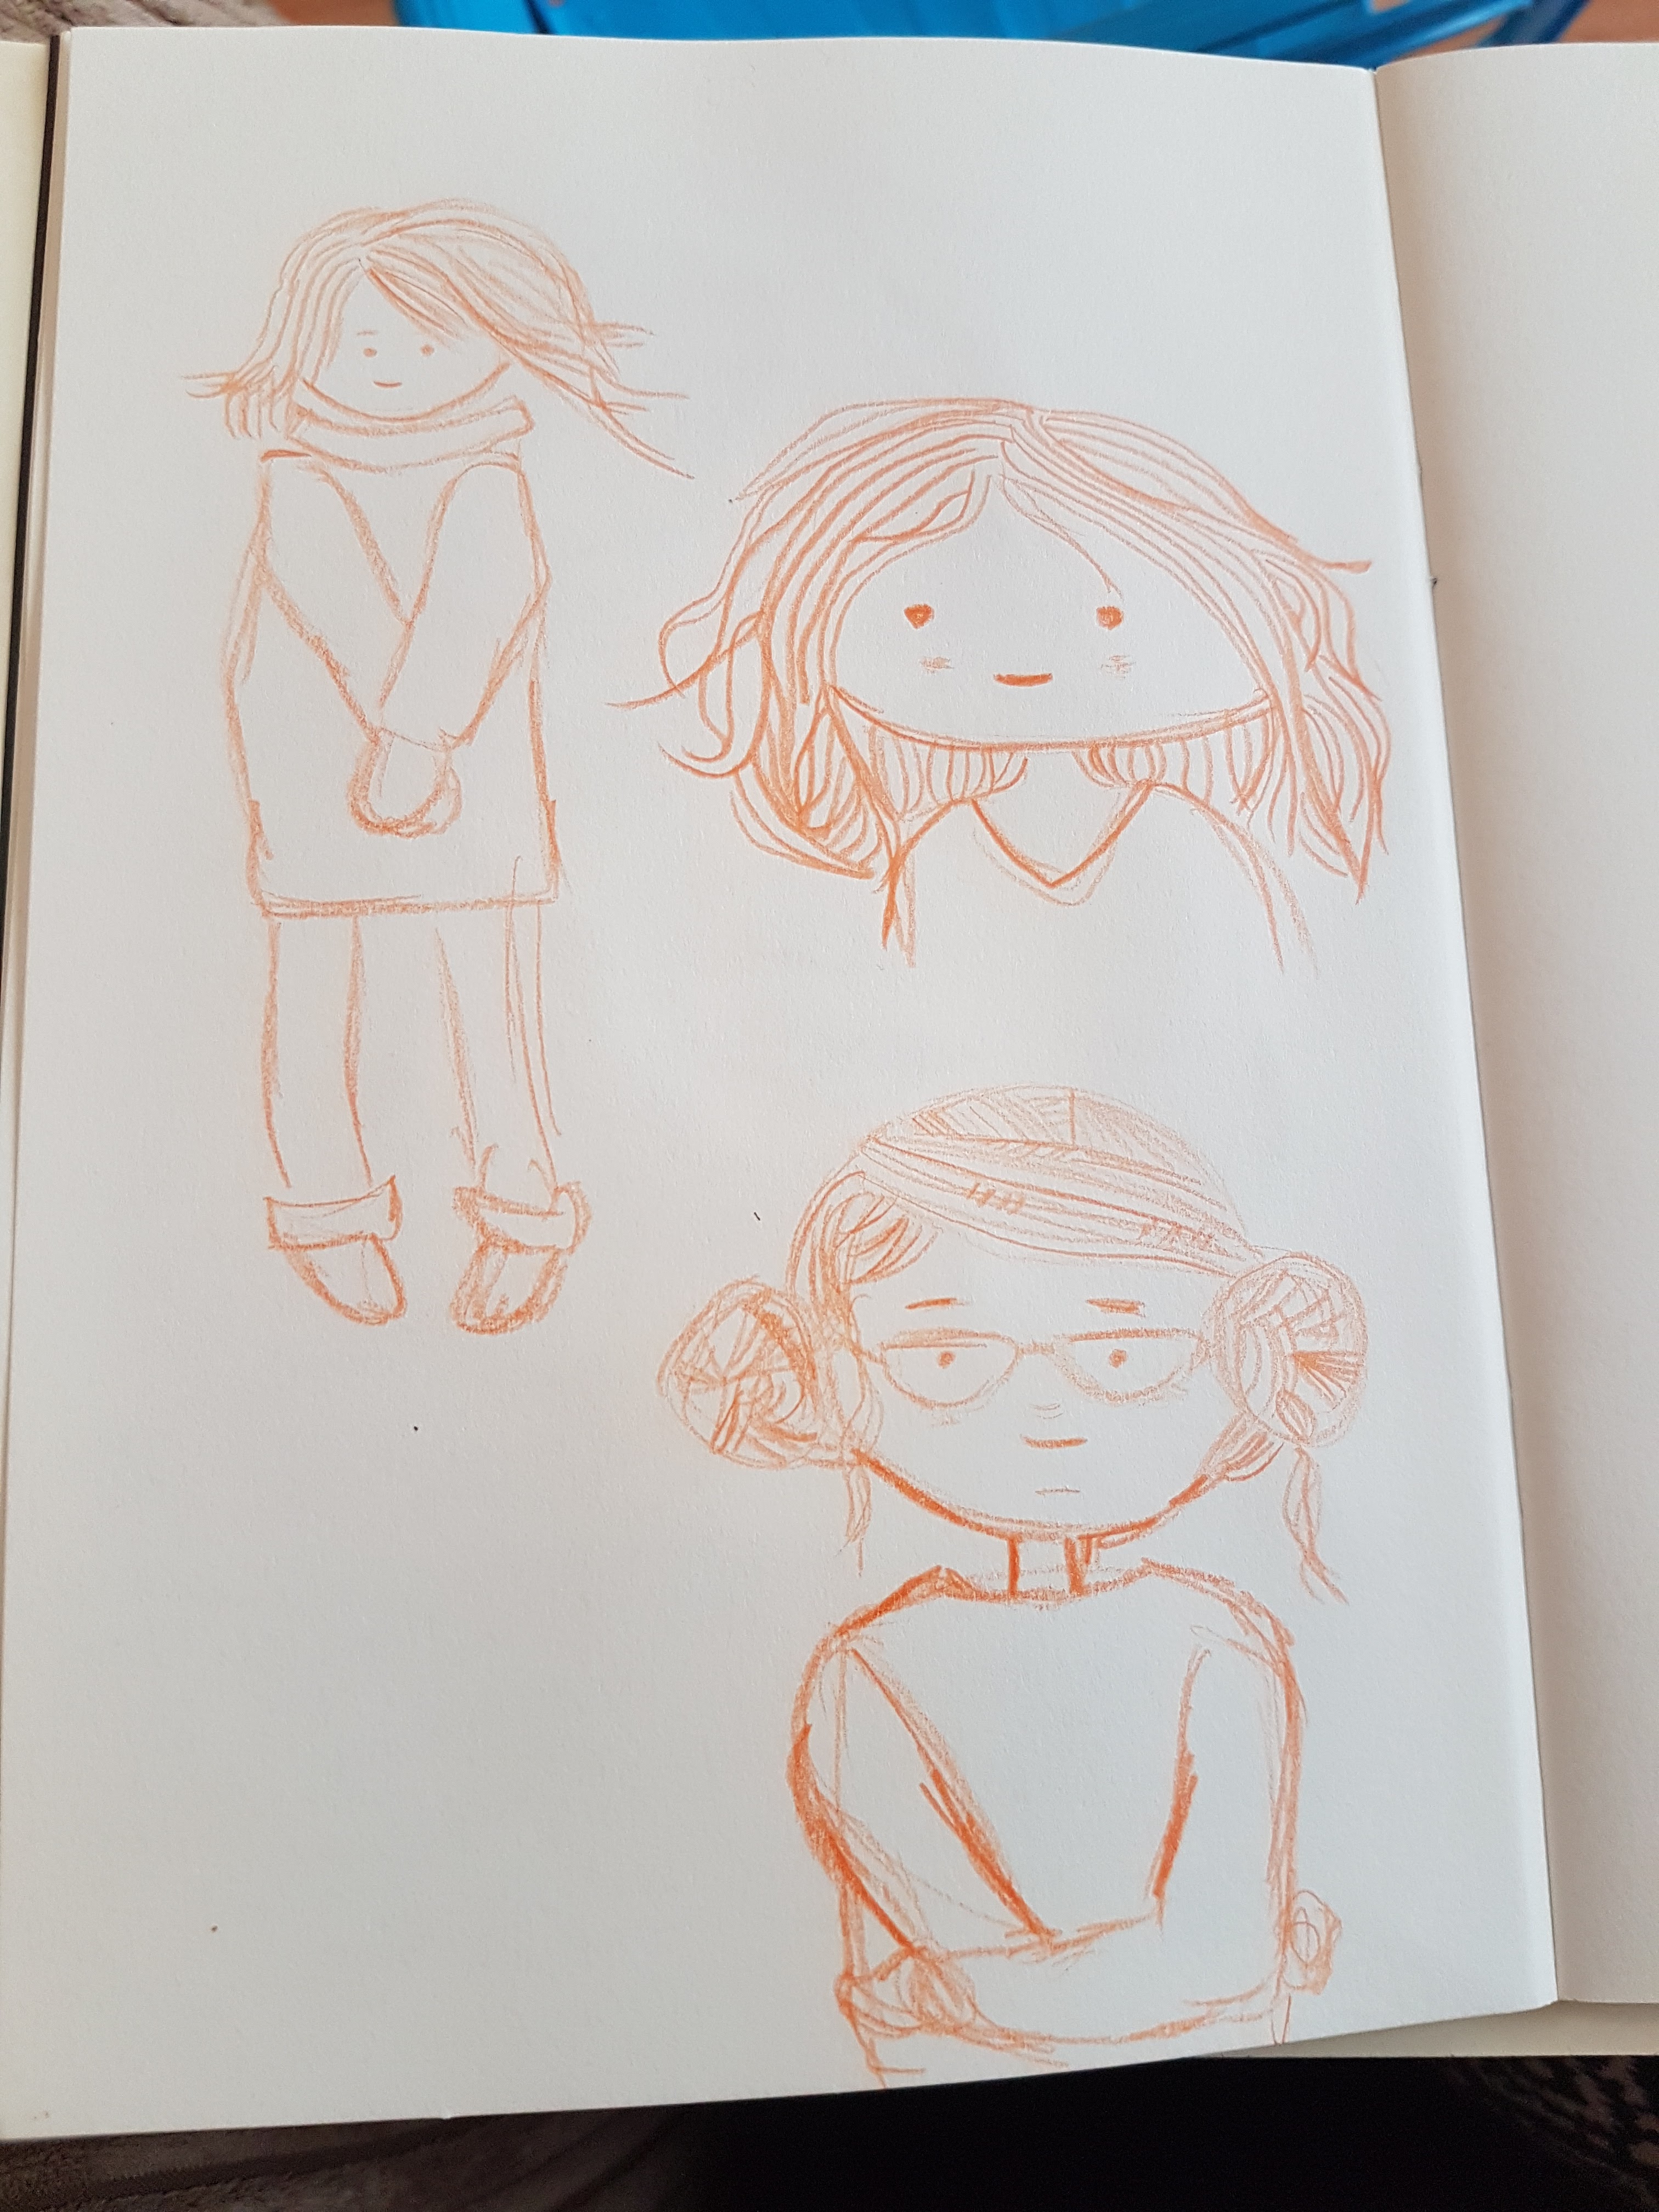
 So I pushed through my comfort zone and determined to try something different. Turning to a clean white page in one of my sketchpads I watched Anna’s video for the umpteenth time and began to put pen to paper. Here are my first few sketchy girls:

I tried to make them all really individual with different hairstyles and I even sketched a couple with bobble hats that remind me of The Flumps – does anyone remember that kids show? It’s funny though because I seem to prefer to sketch my girls with sleepy eyes and pursed lips haha. I had such a giggle doing this and I think they look hilarious but cute. At this stage I refrained from adding colour as I really was embracing the sketching part of the process. So I practiced some more:

  IMG_7419

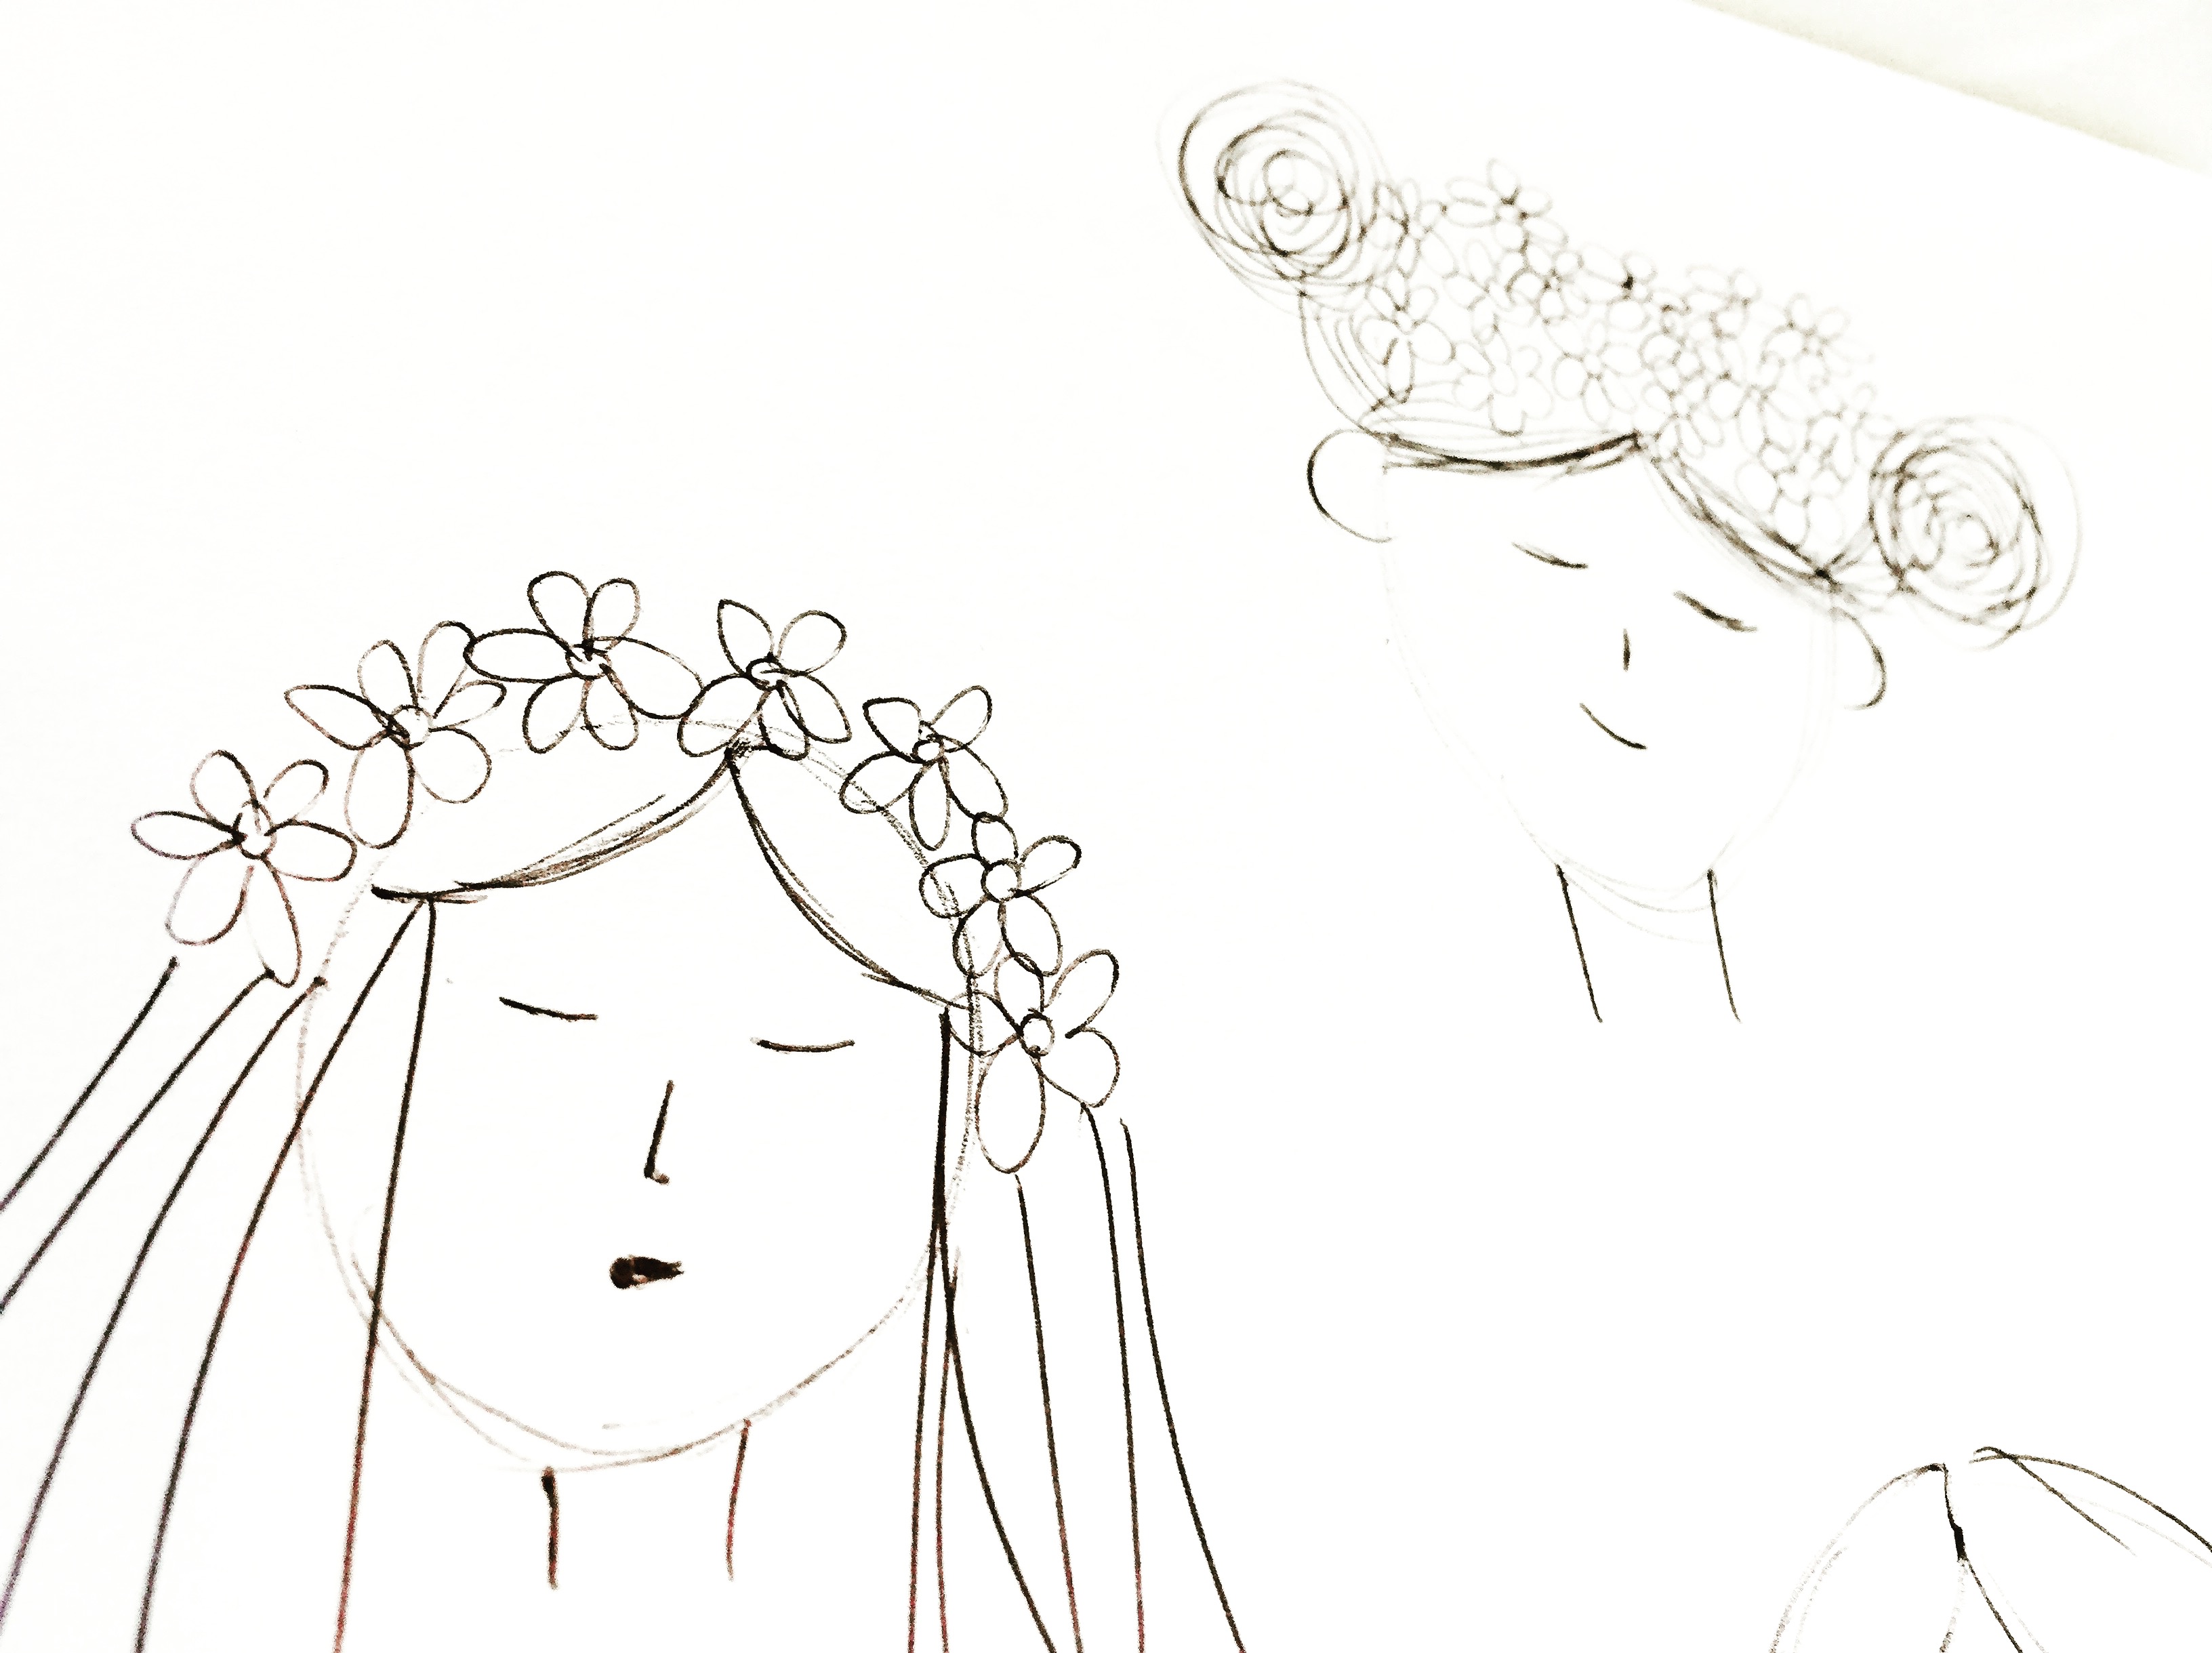
I really love using the ballpoint for sketching because of the smooth and often subtle way that it glides over the paper, allowing me to play and scribble my pen with ease in different directions as the whim takes me. 
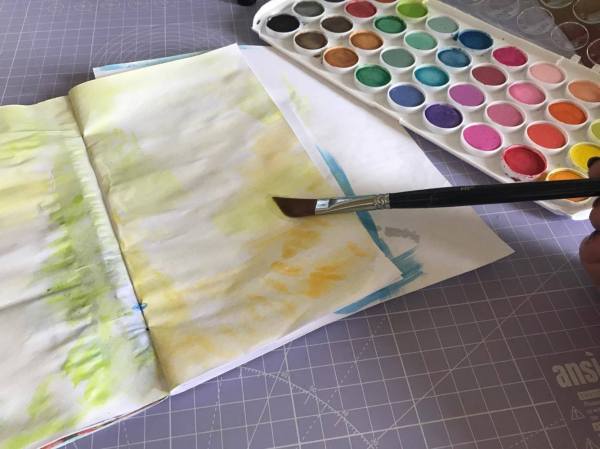
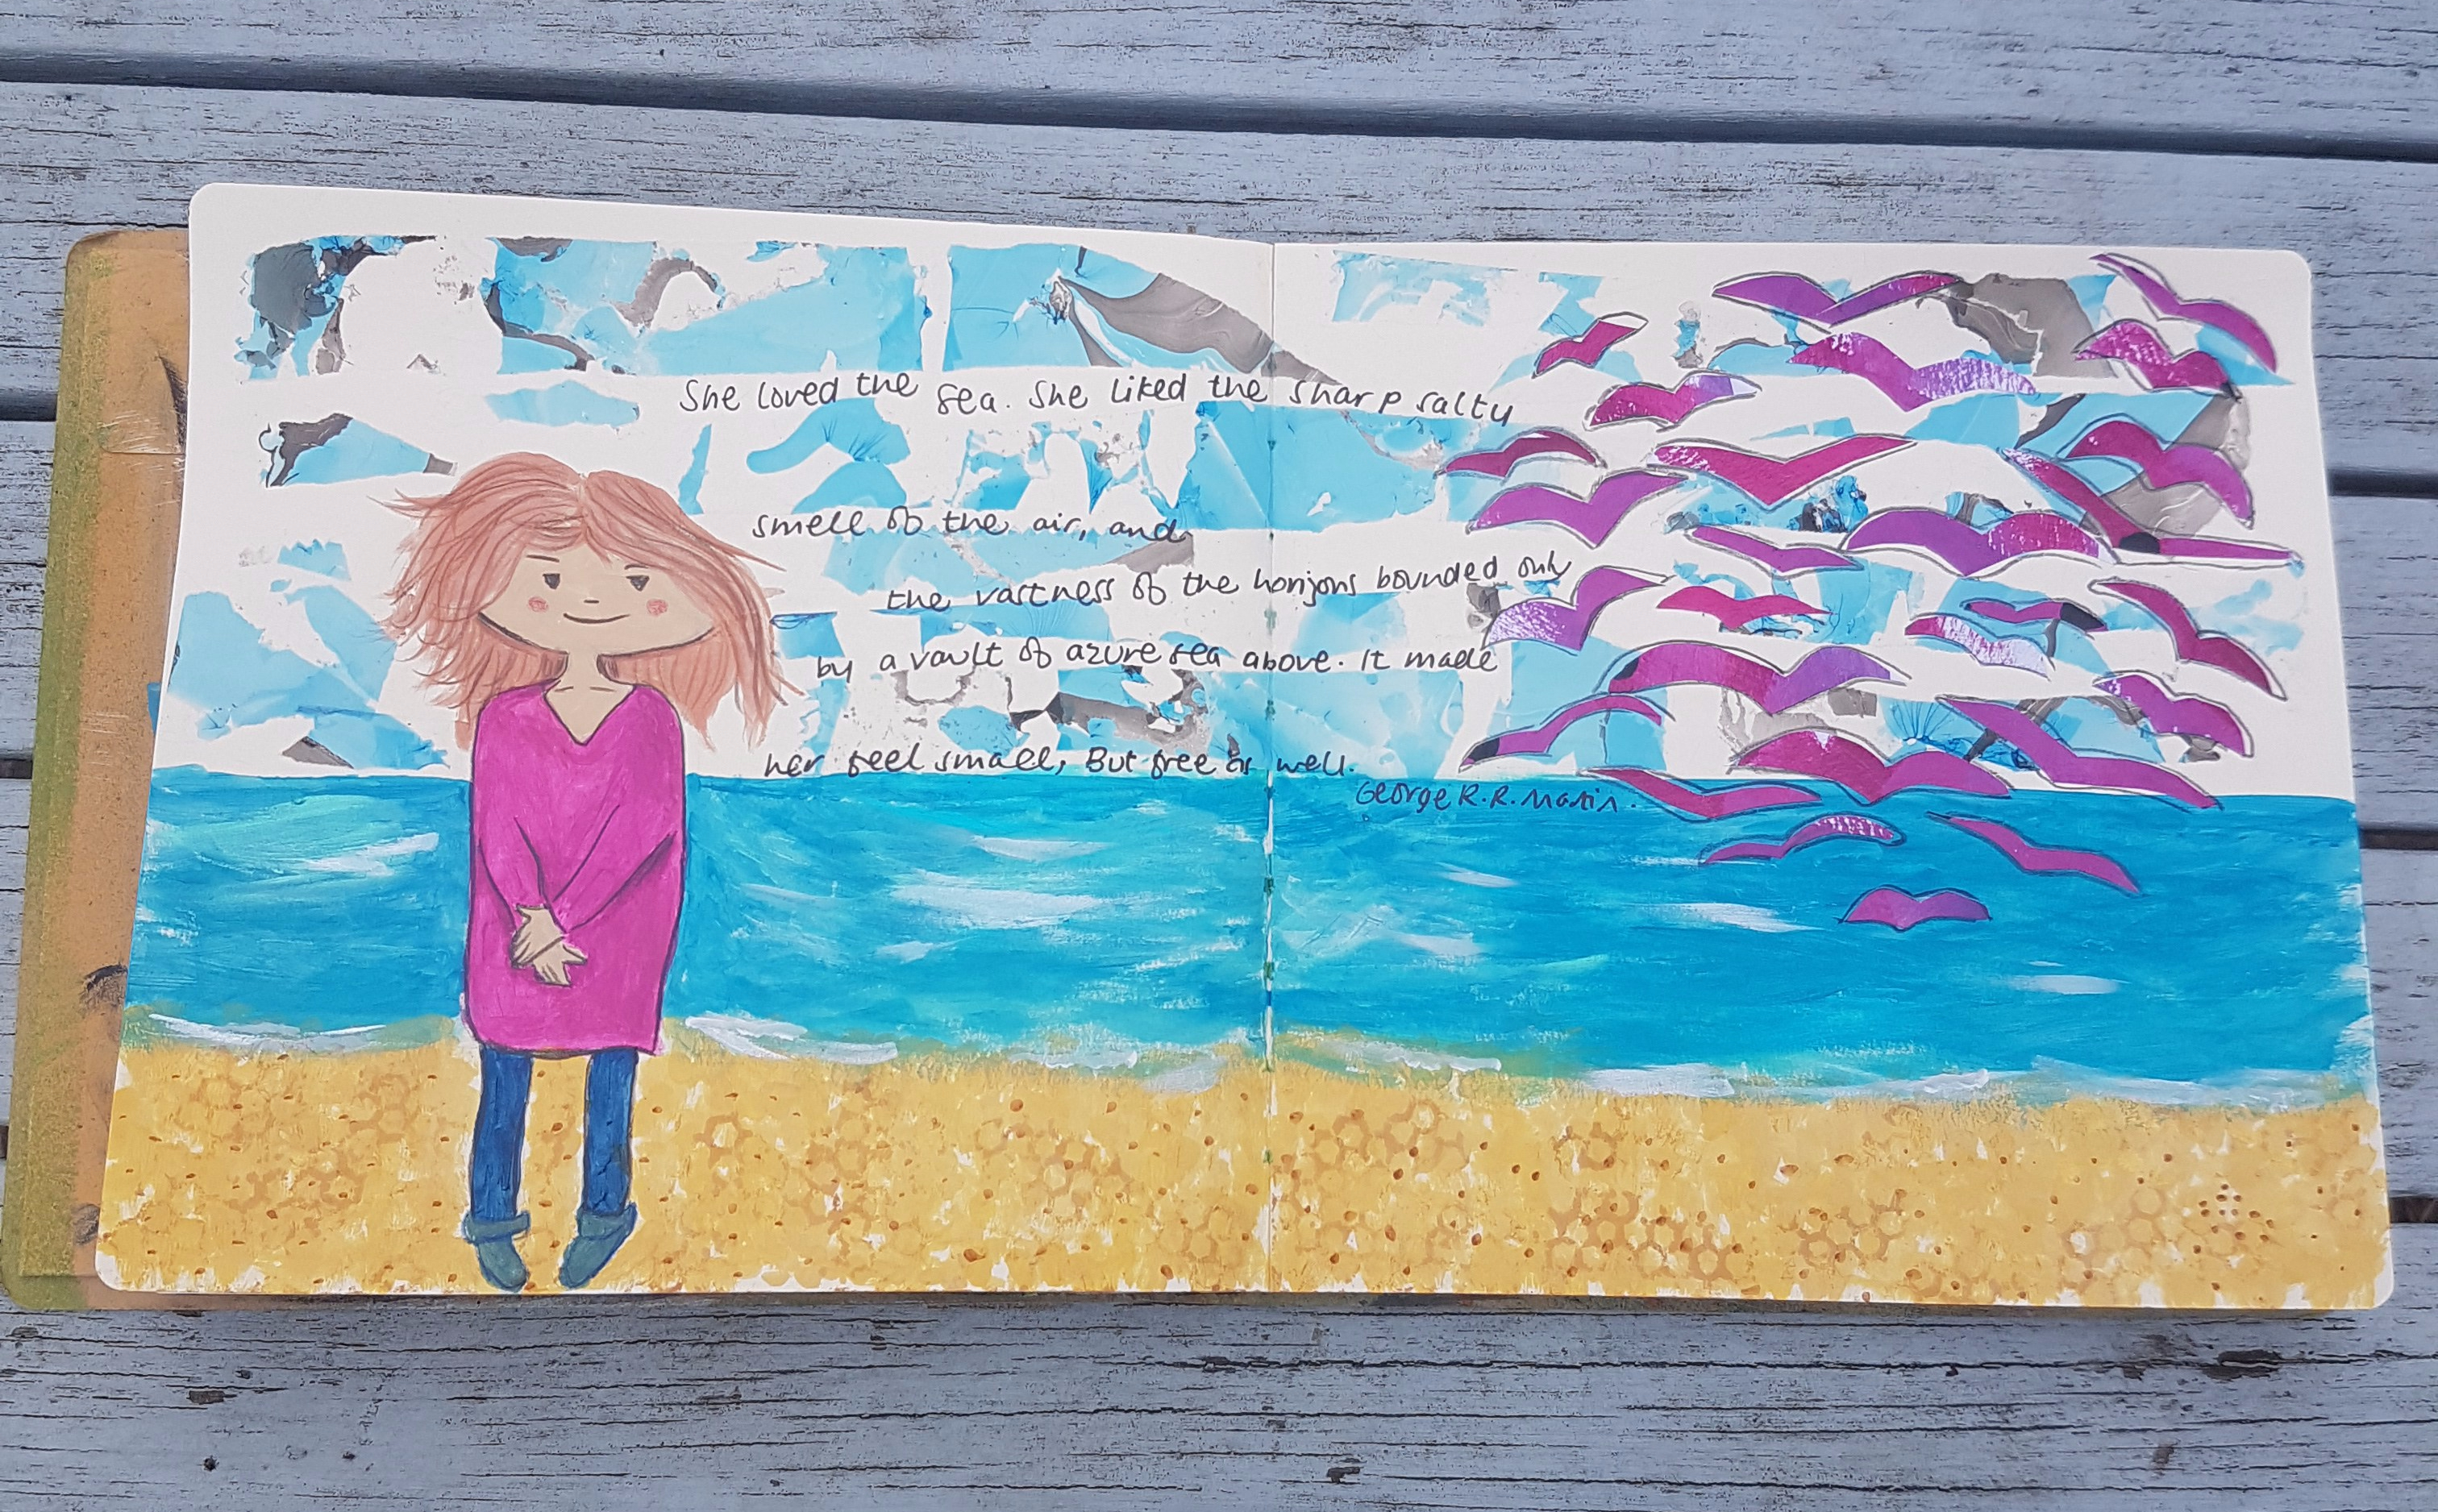
I began to improve after seeking out reference photos online and I decided to add some colour with some watercolour brush pens I had collected but neglected to use as yet. Here are the results:

  IMG_7435
IMG_7434

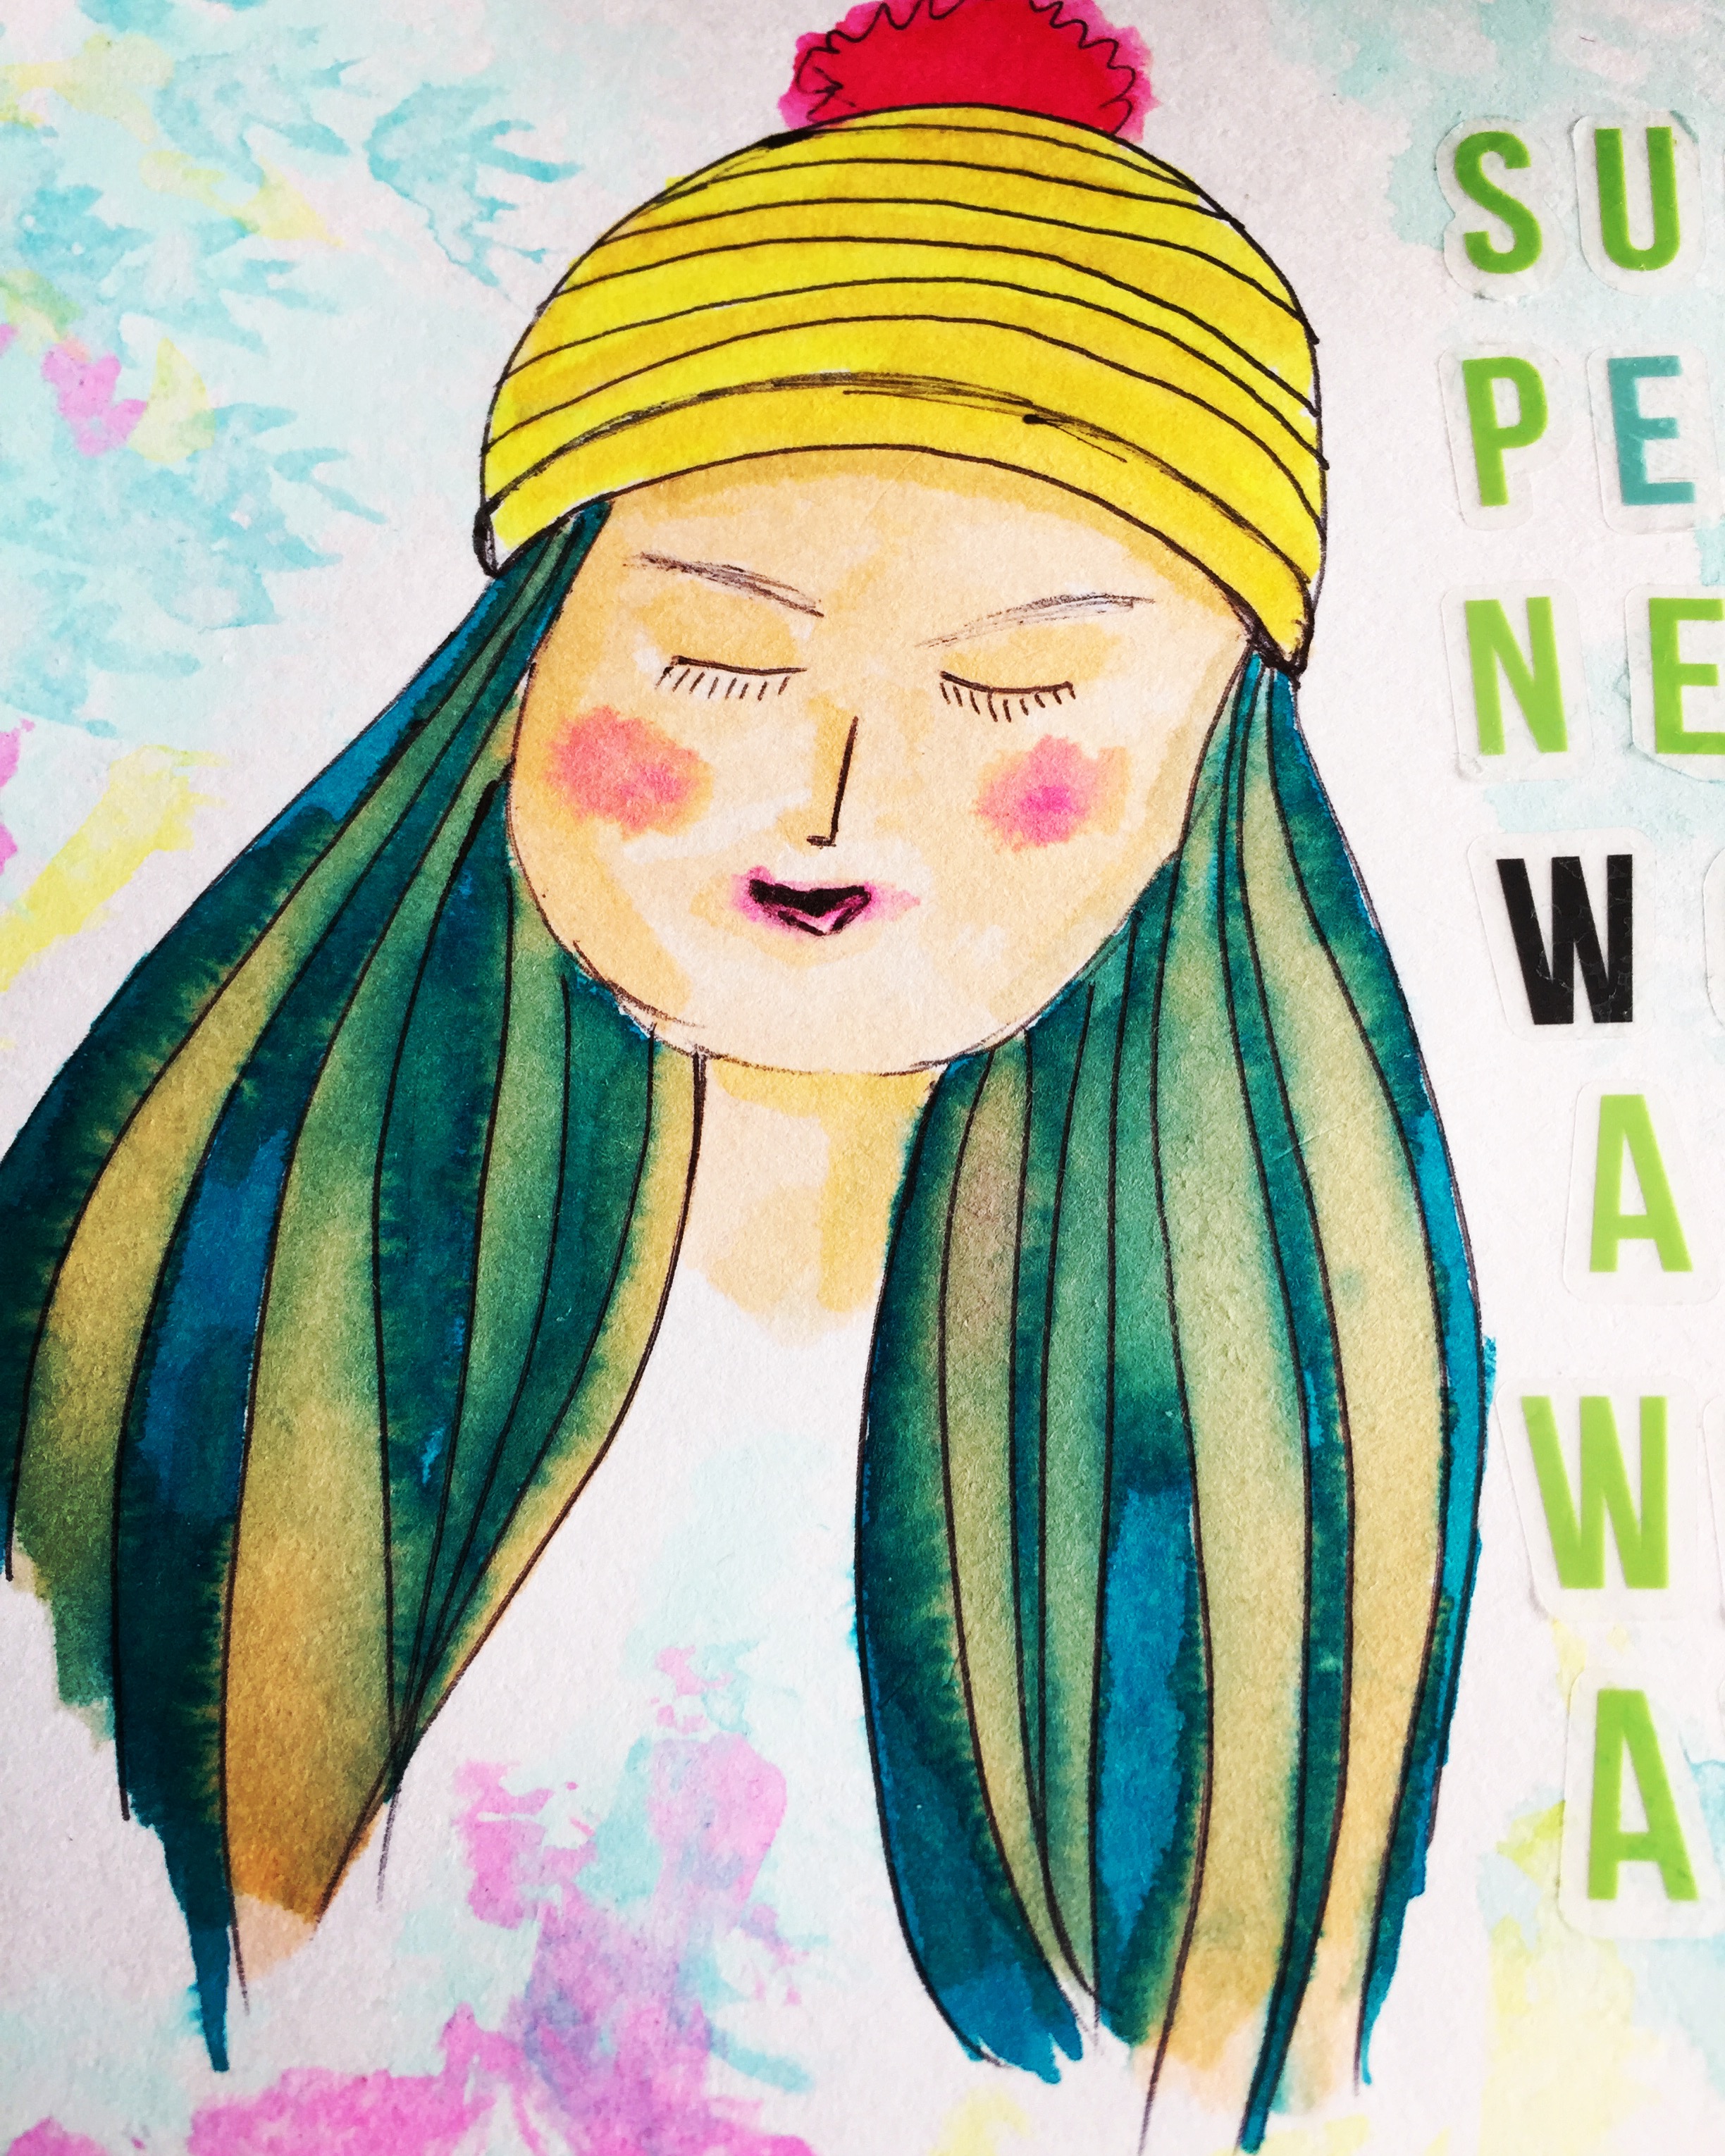
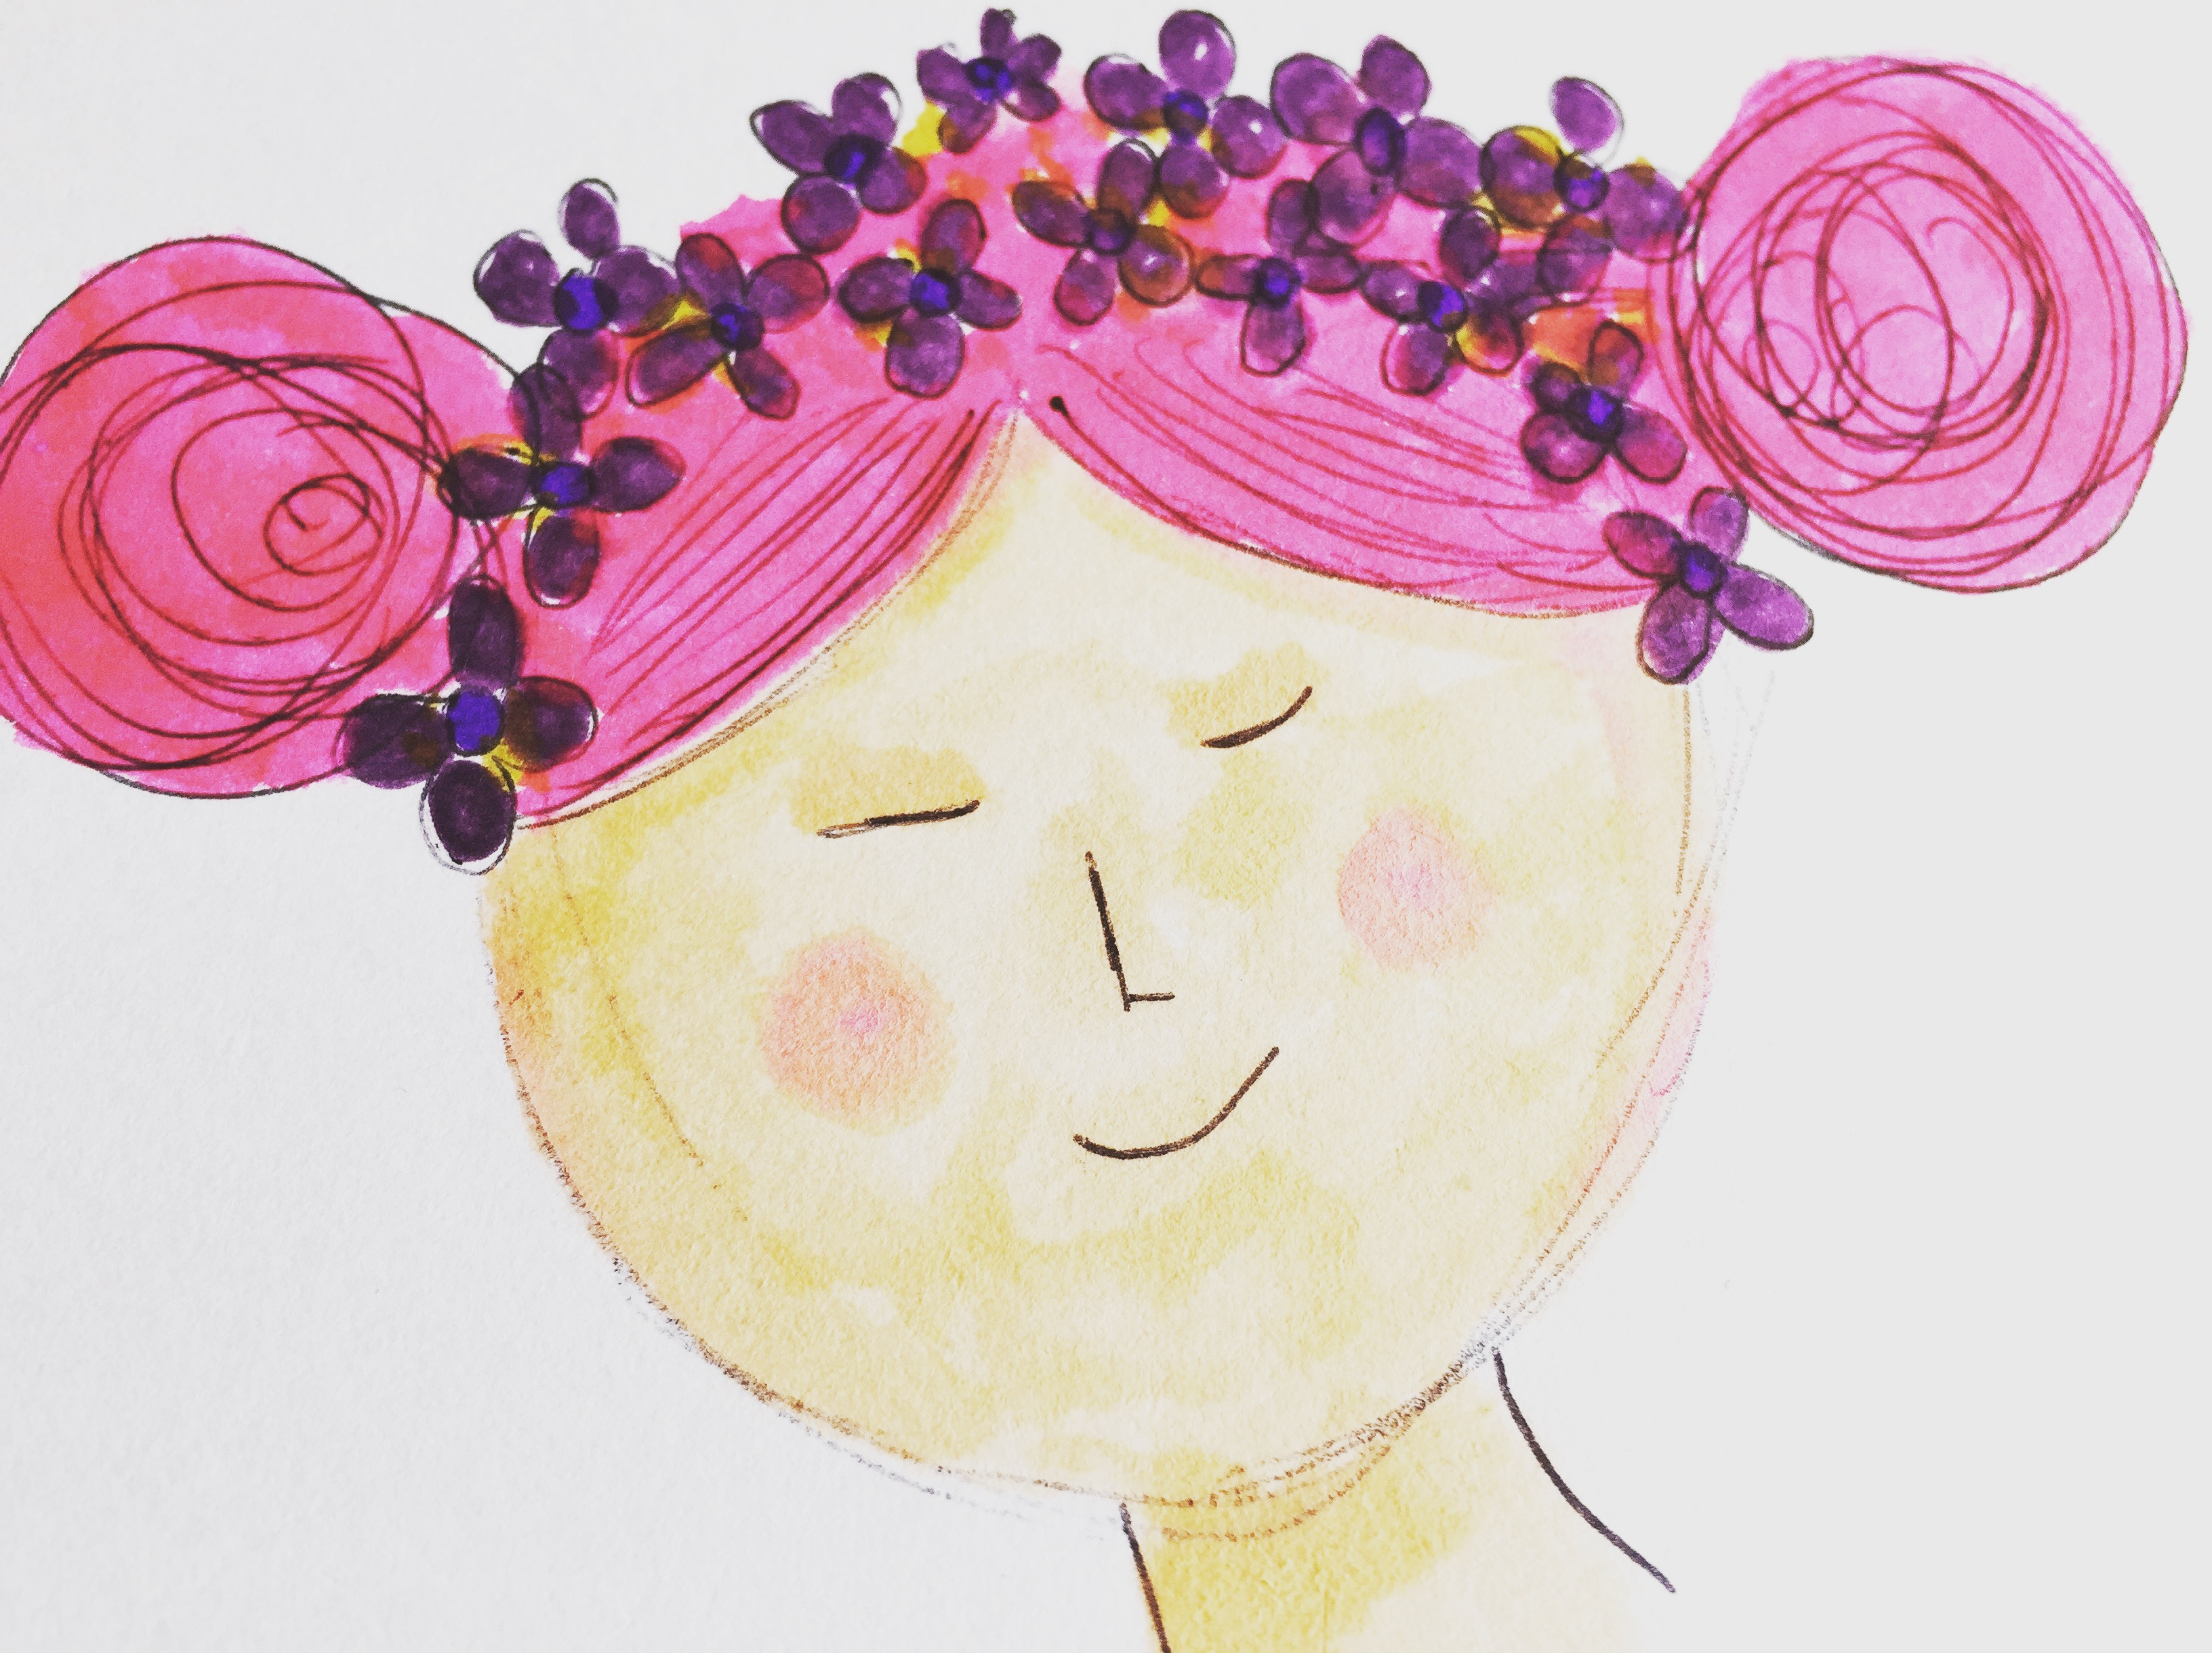
Overall I am really happy with these two young ladies. I don’t always make art directly in a journal, as I am a fan of paper pads. I love the feeling of working on a single sheet that I might stick into one of my art journals later, pin on my inspiration wall or make into a gift for someone. If I could change one thing it would be the mouth of my bobble-hatted girl. I made a bit of a hash of that but it could be a lot worse and I have learned for next time. I reckon I will carry on creating sketchy girls particularly following Anna’s instructions for mixing skin colours, as I definitely became side tracked by the brush pens – which I love by the way. 
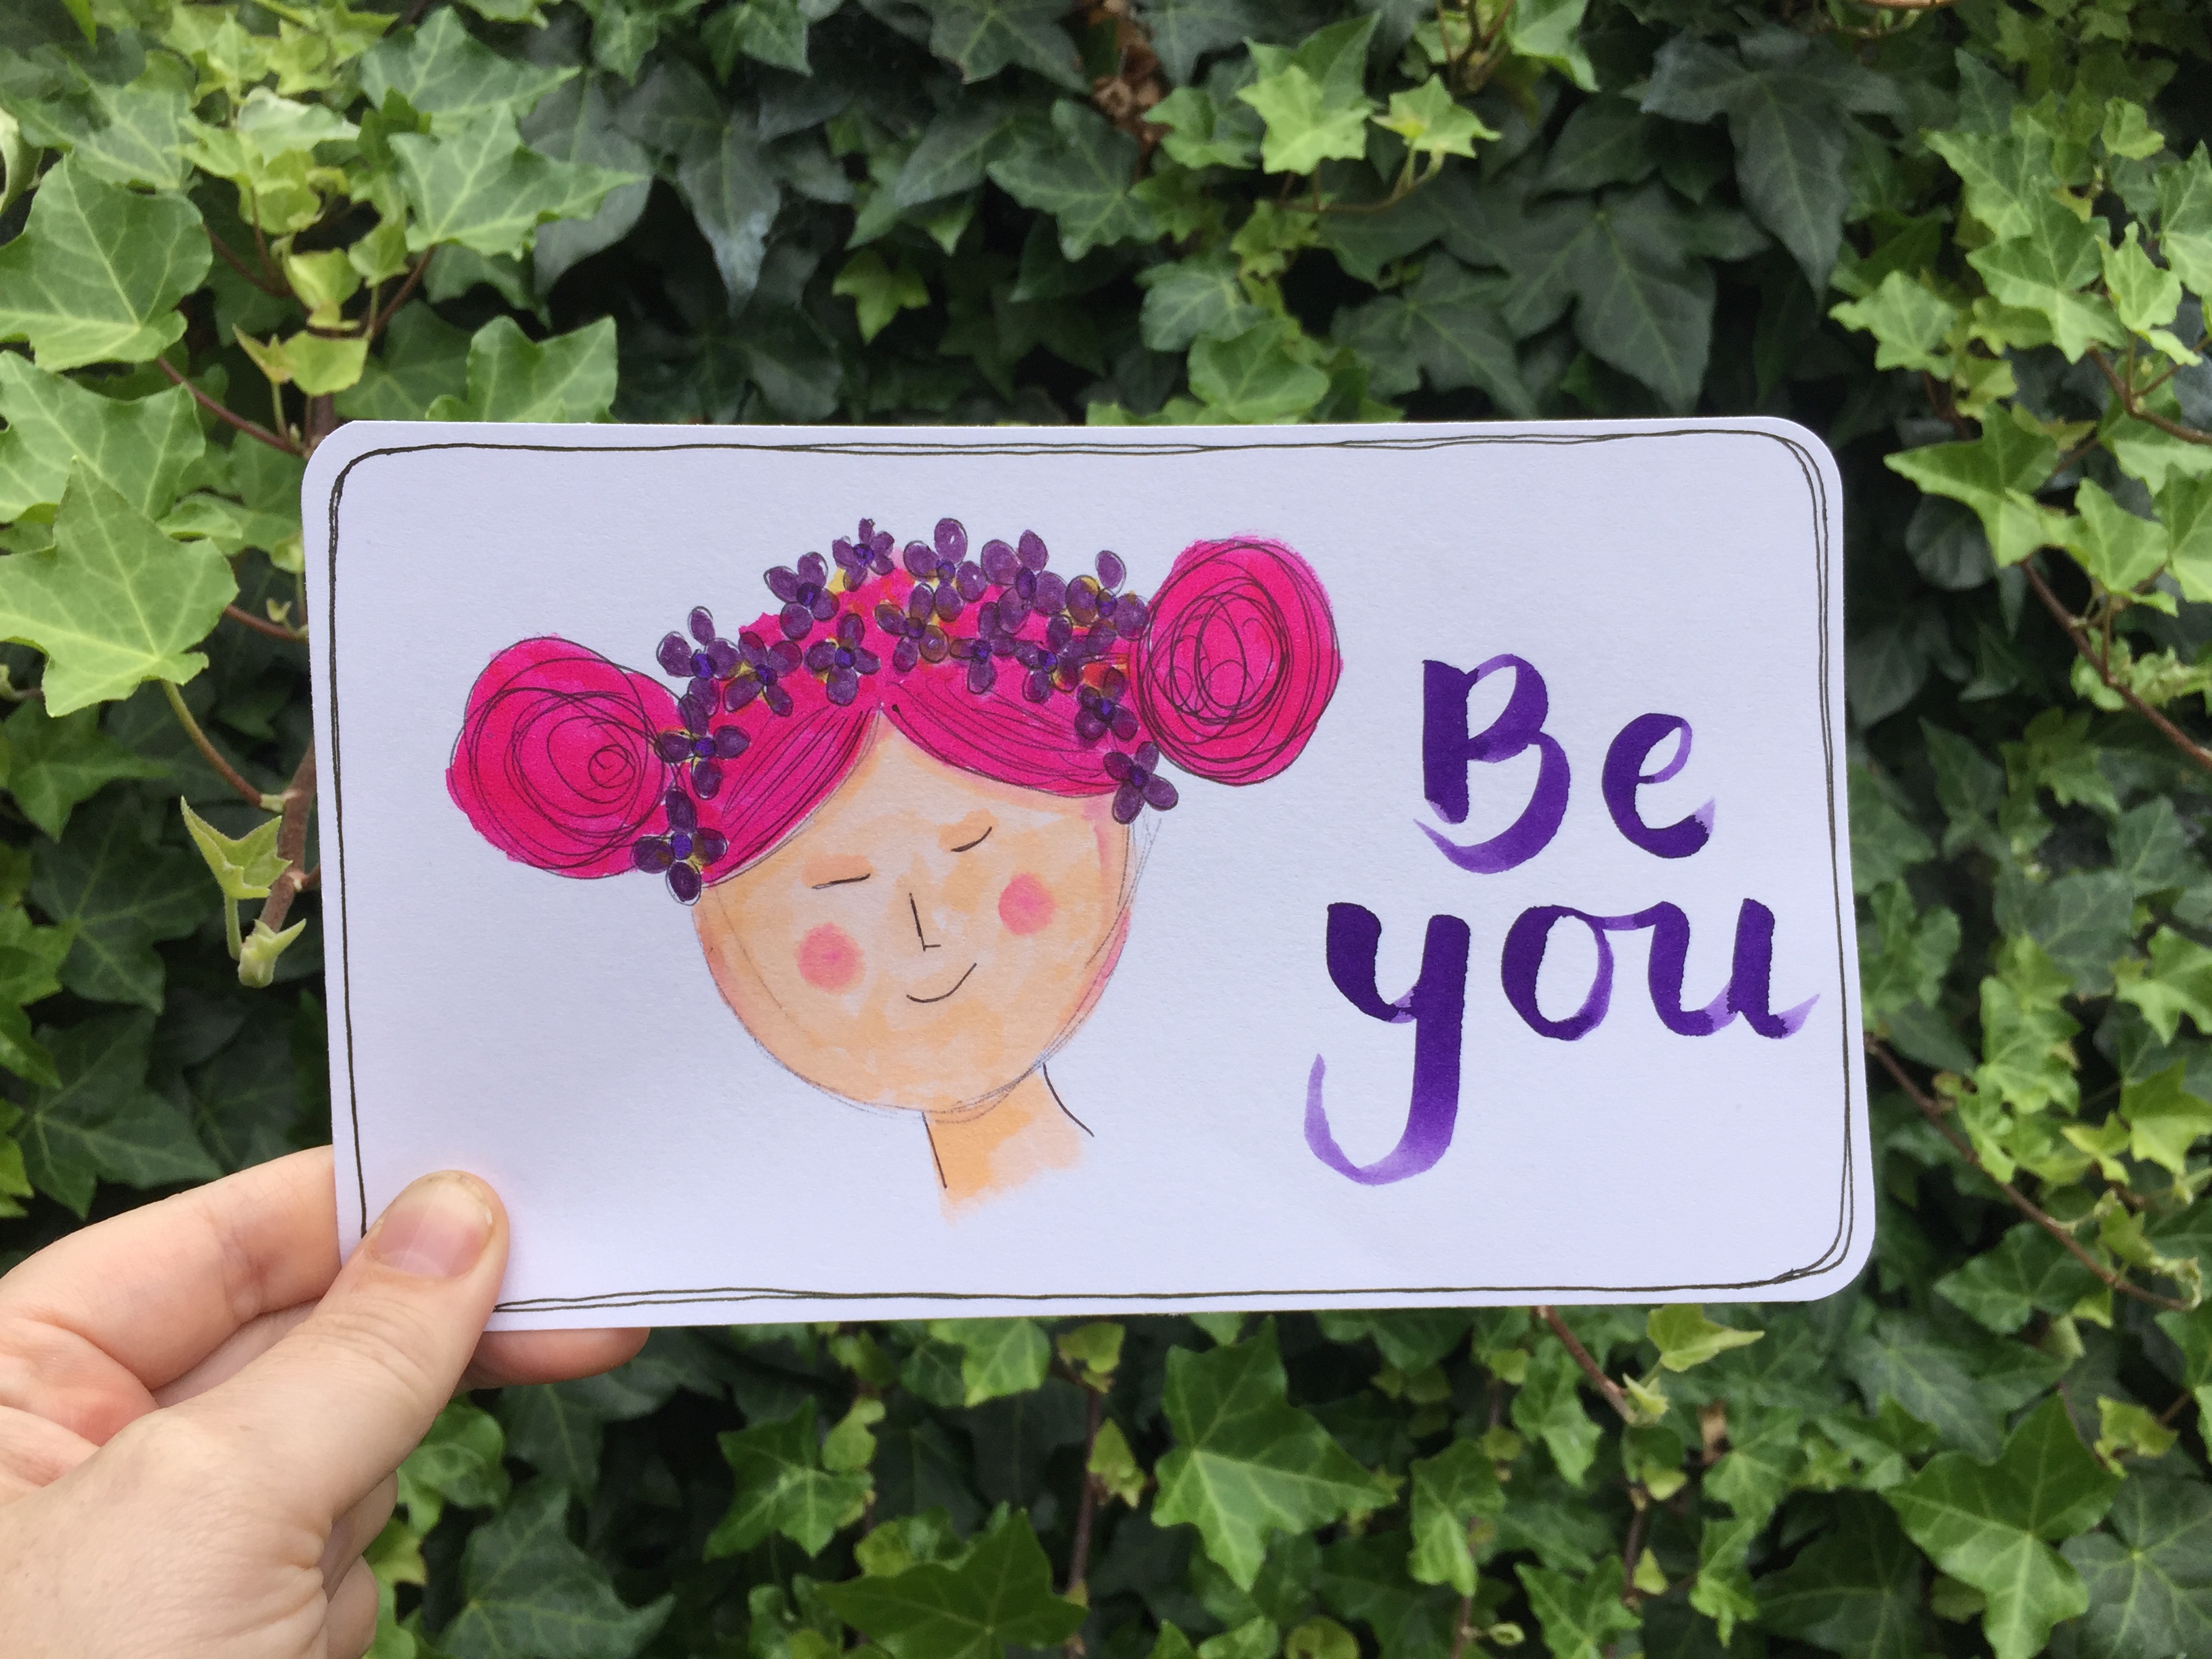
There is a motivational quote upon which I have been intending to focus and for this project I seized the opportunity. I am naturally wired to helping others and I can fret over this far too much, therefore, this quote - 'Successful people never worry about what others are doing’ – has been aiding my personal progress lately.

  IMG_7441

IMG_7436 

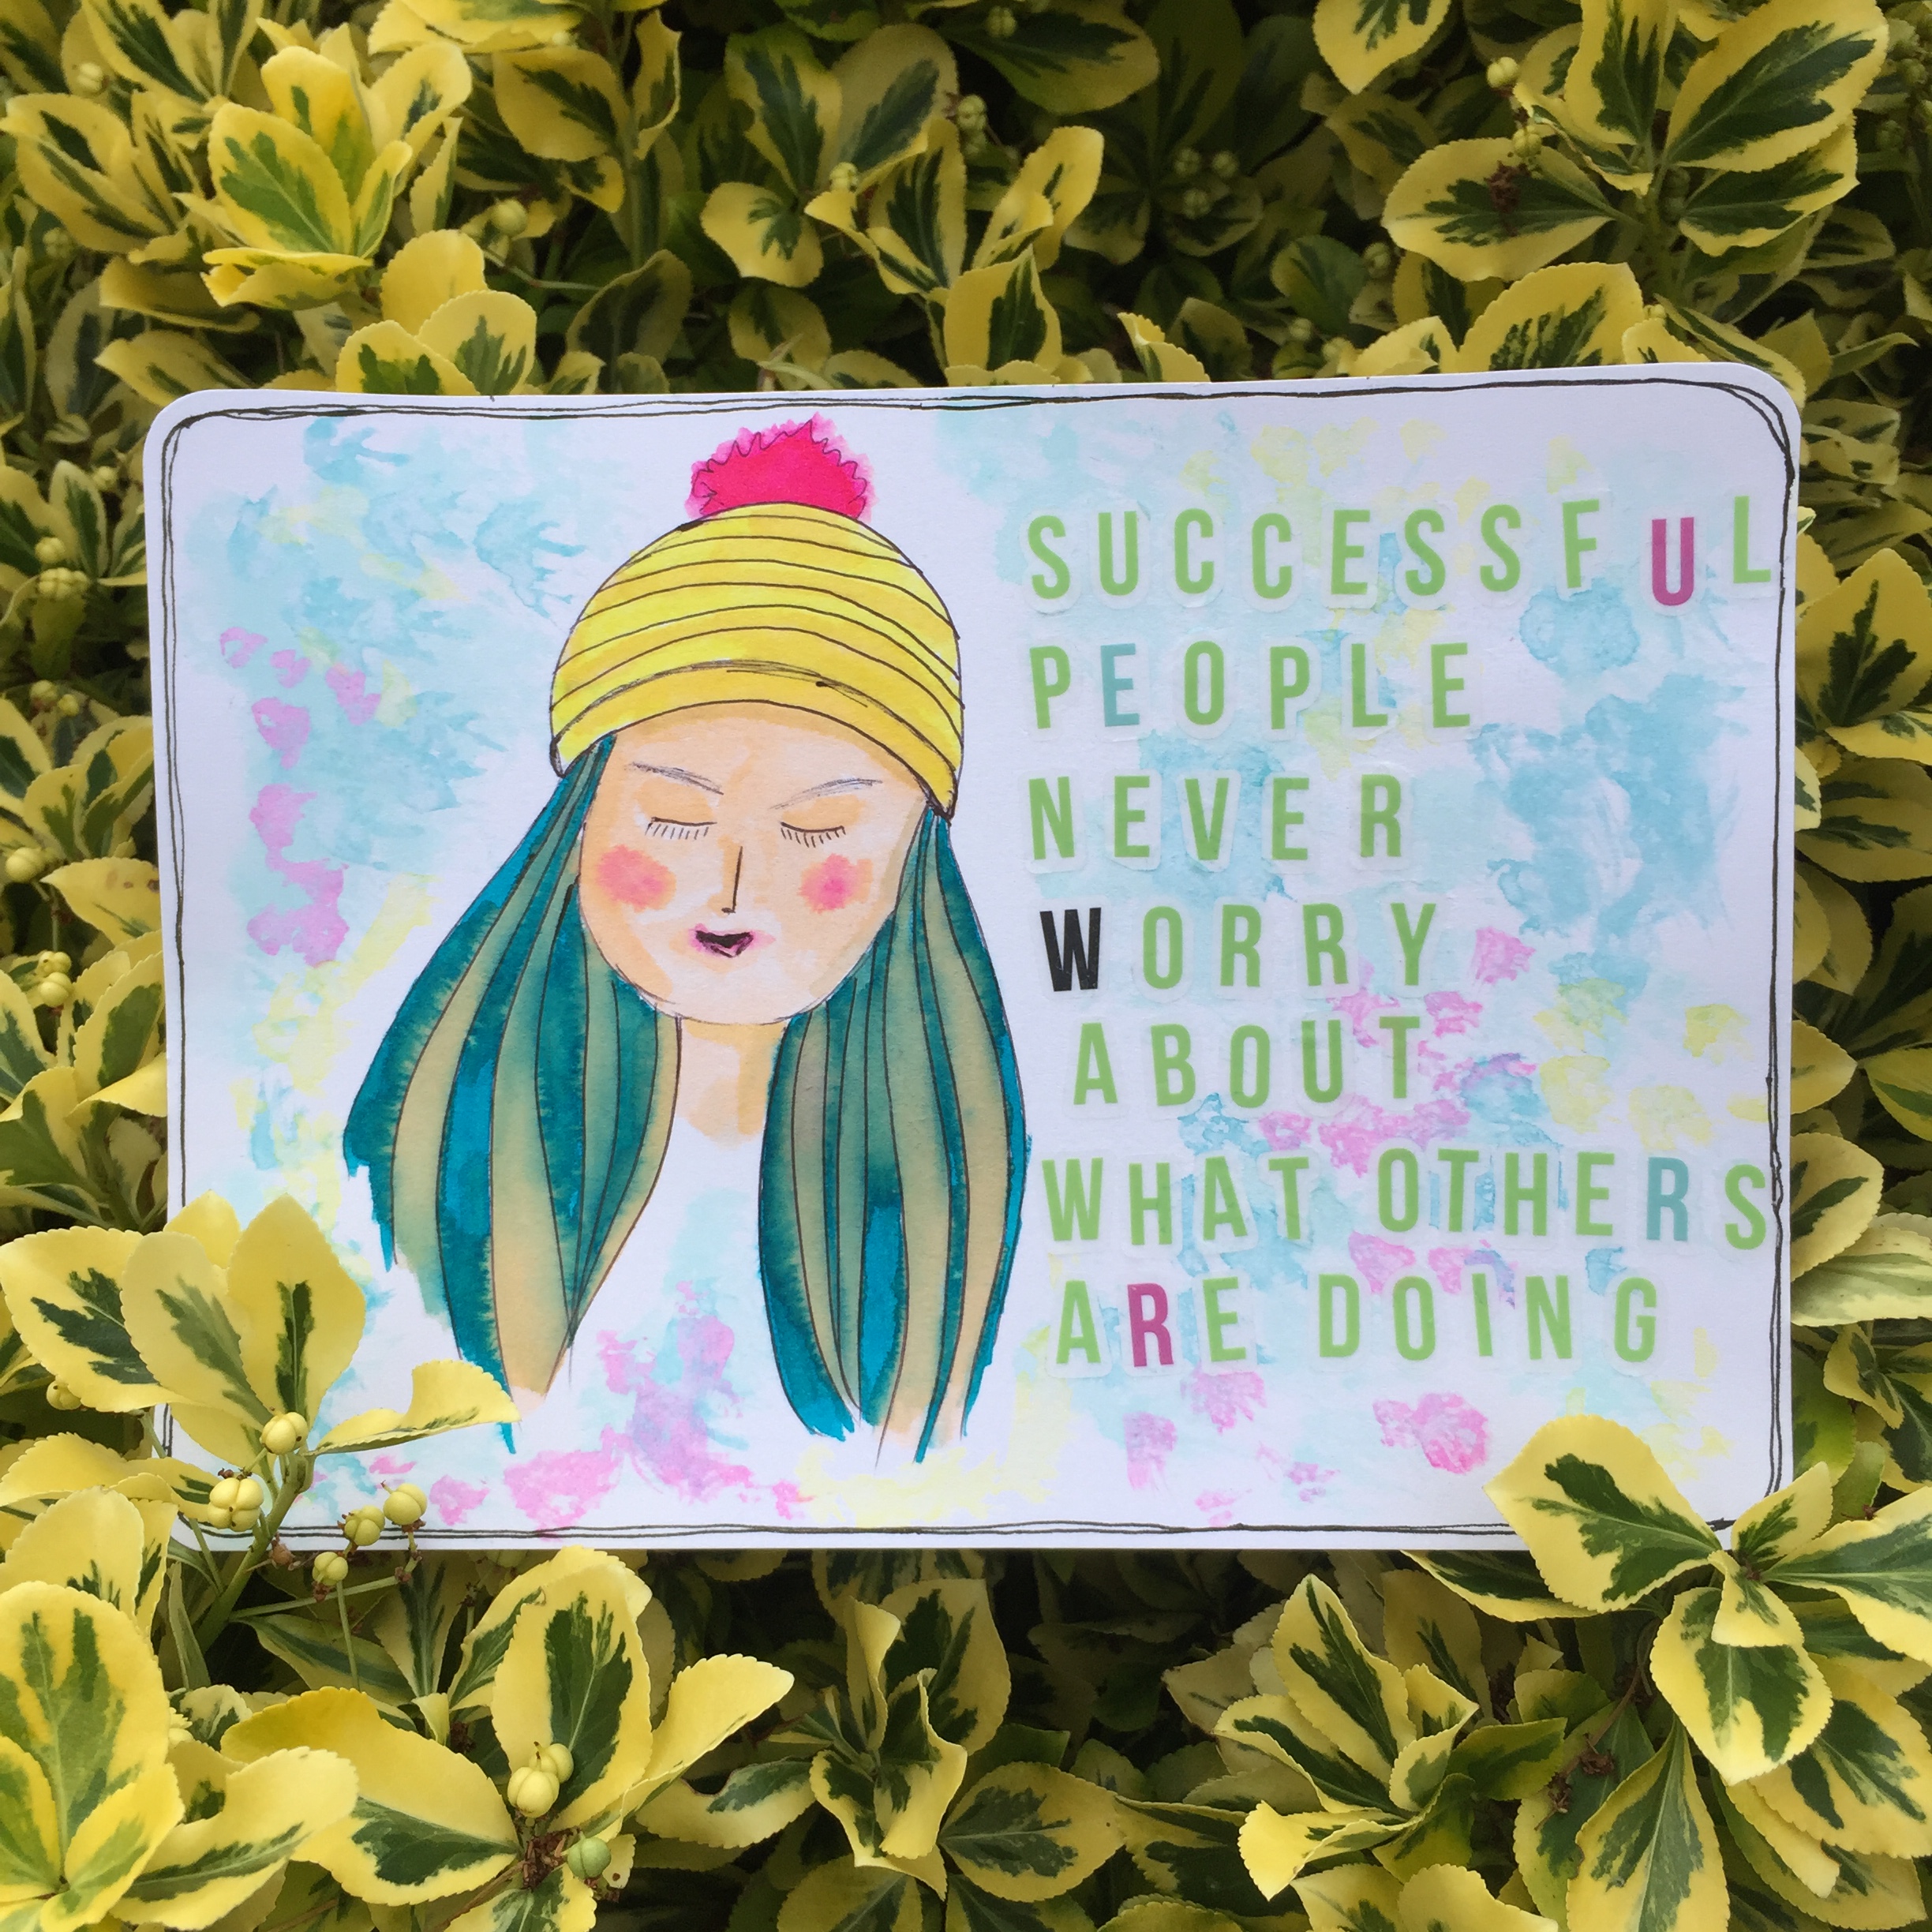
 I also thought I would have a go at brush lettering for the first time. Gosh, I really am loving all these firsts this month!

  IMG_7445

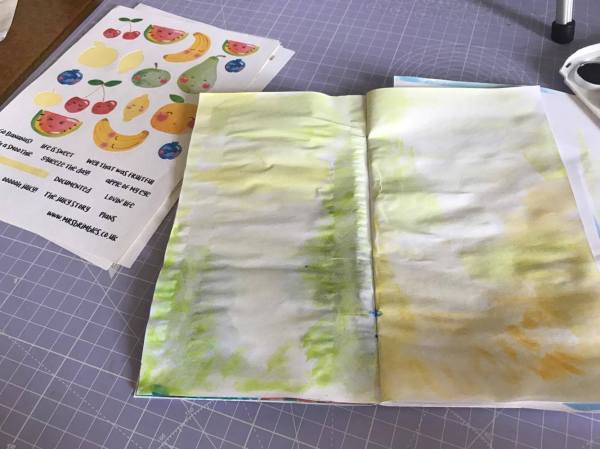
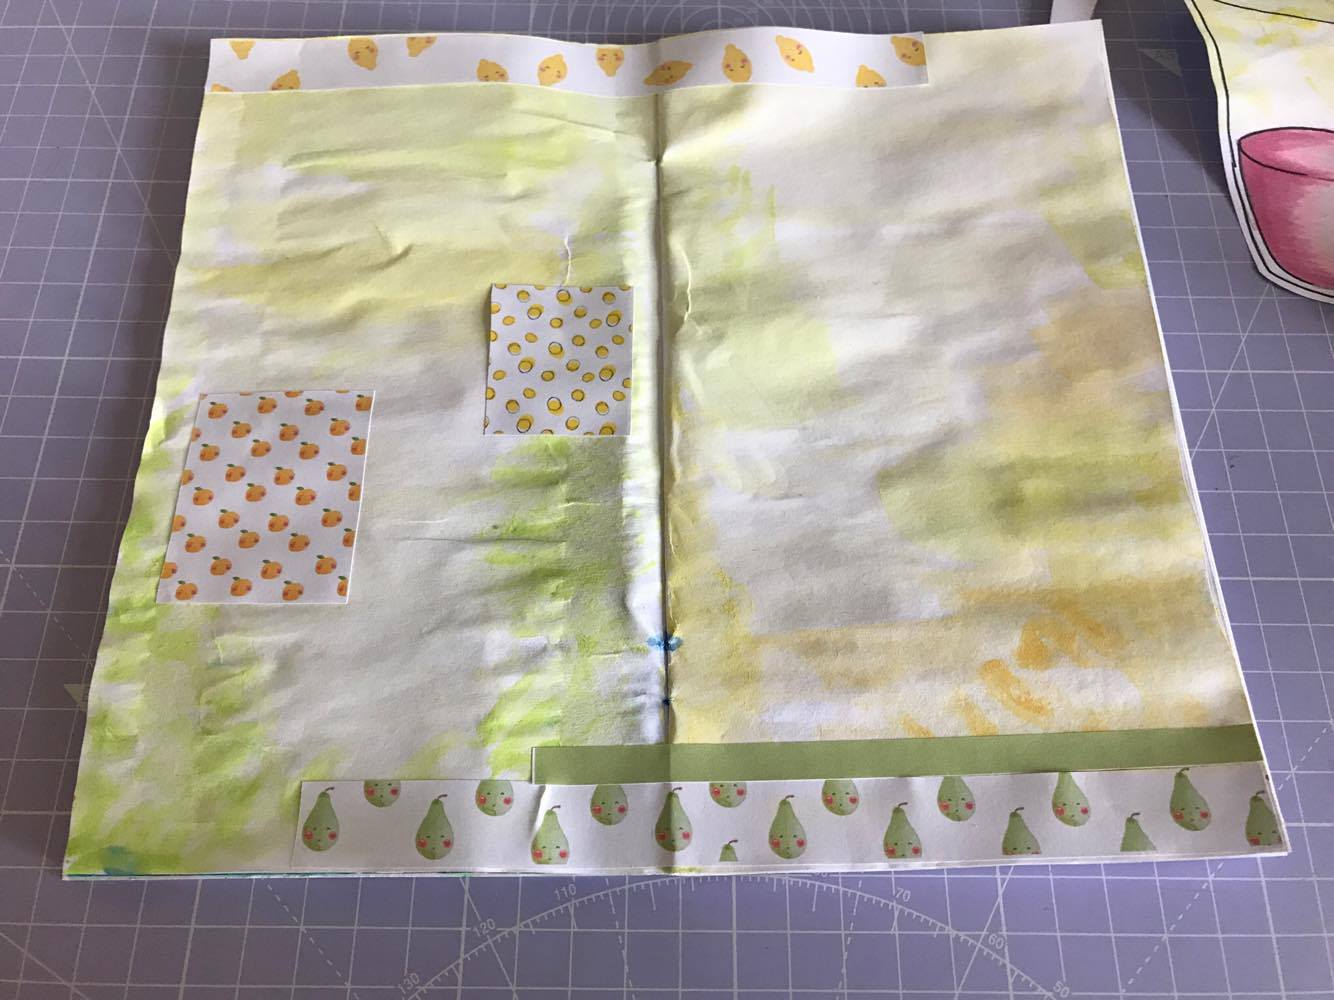
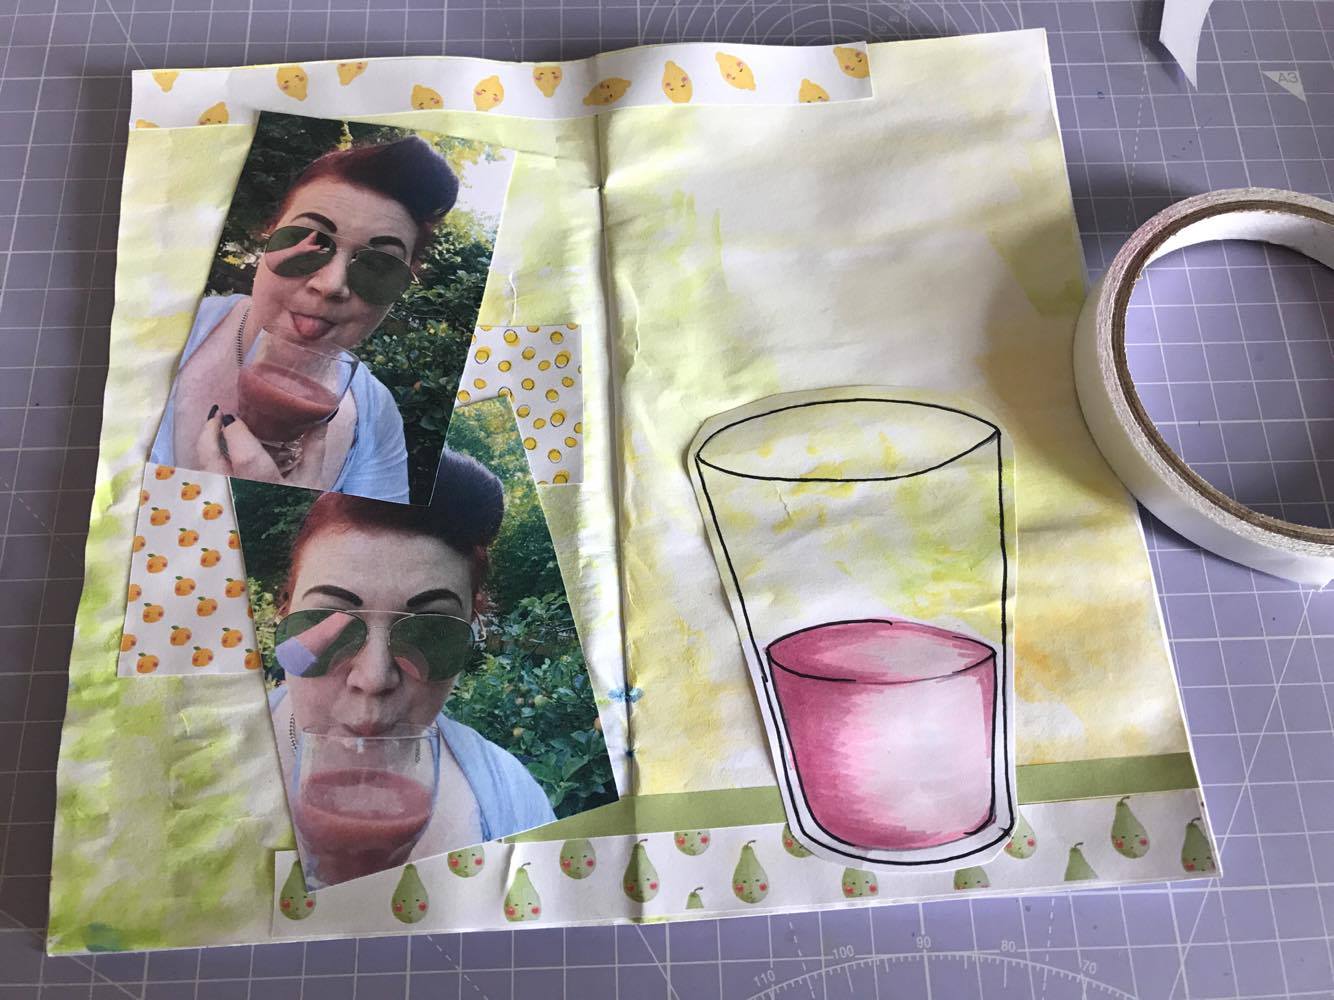
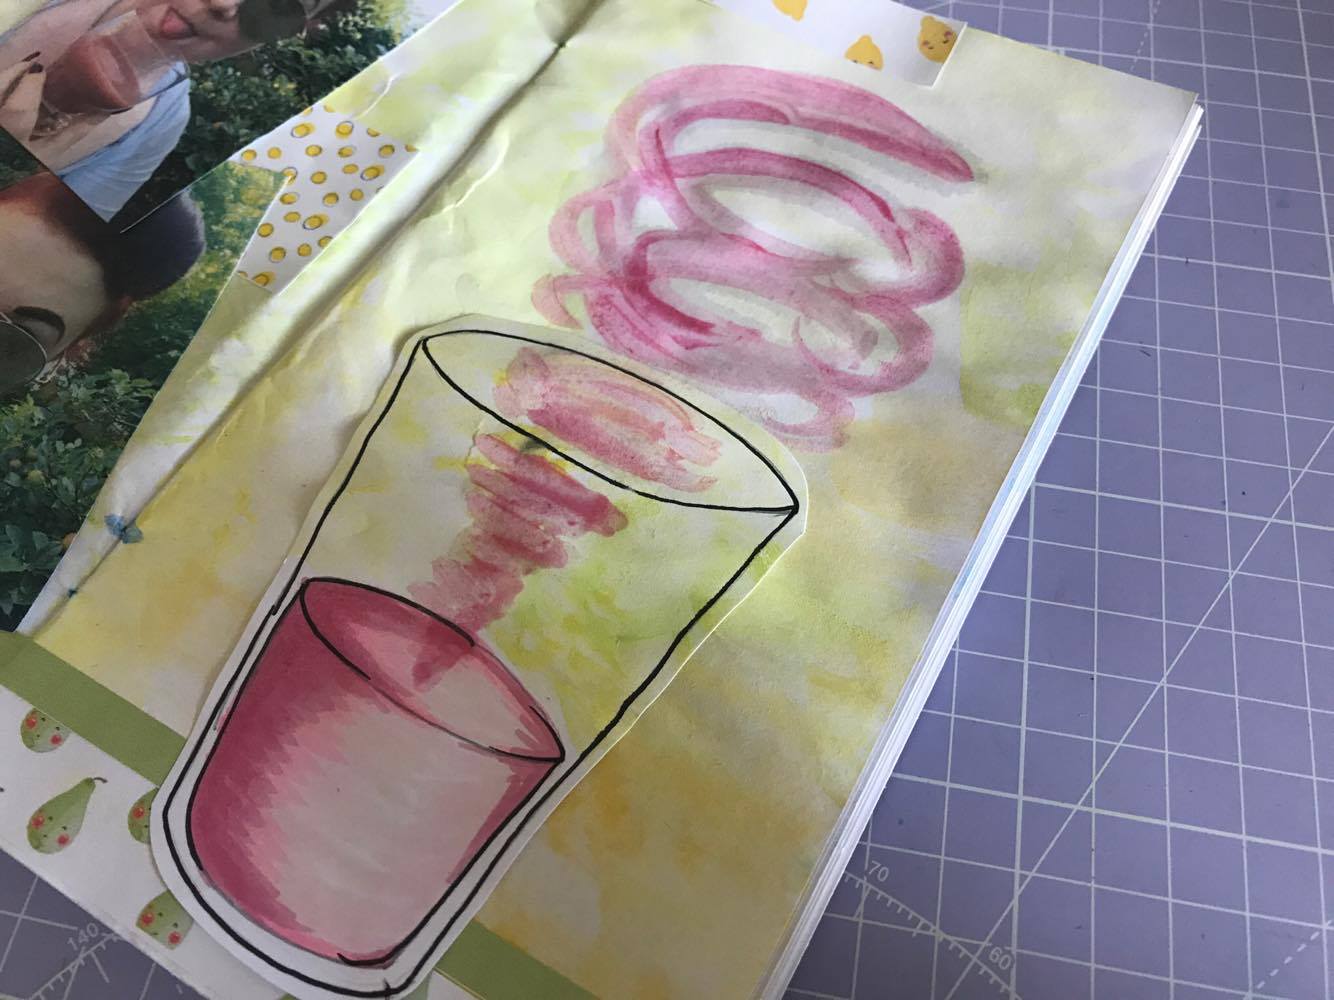
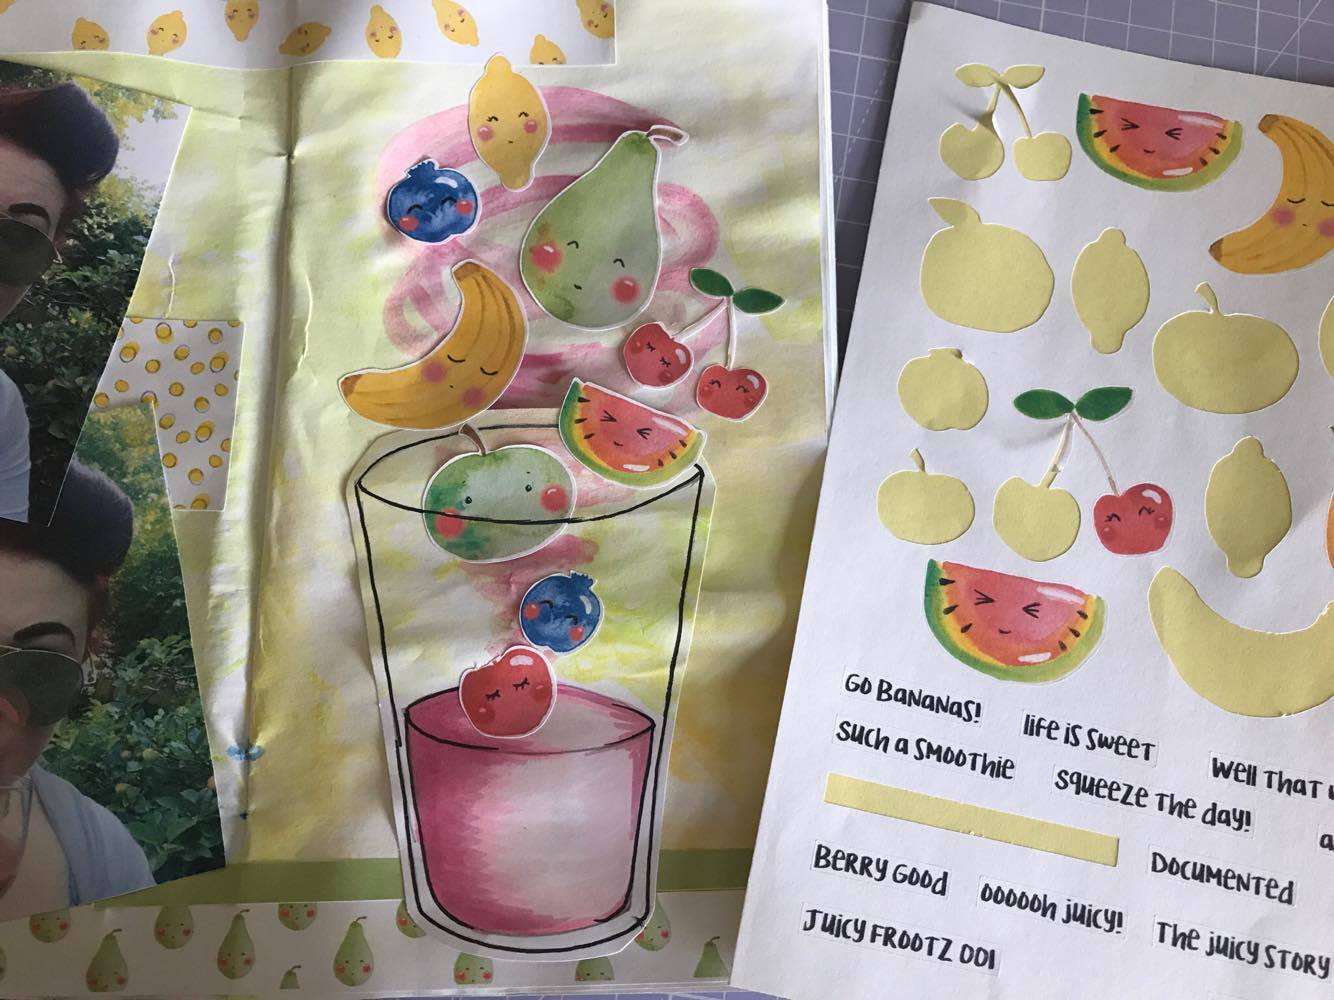
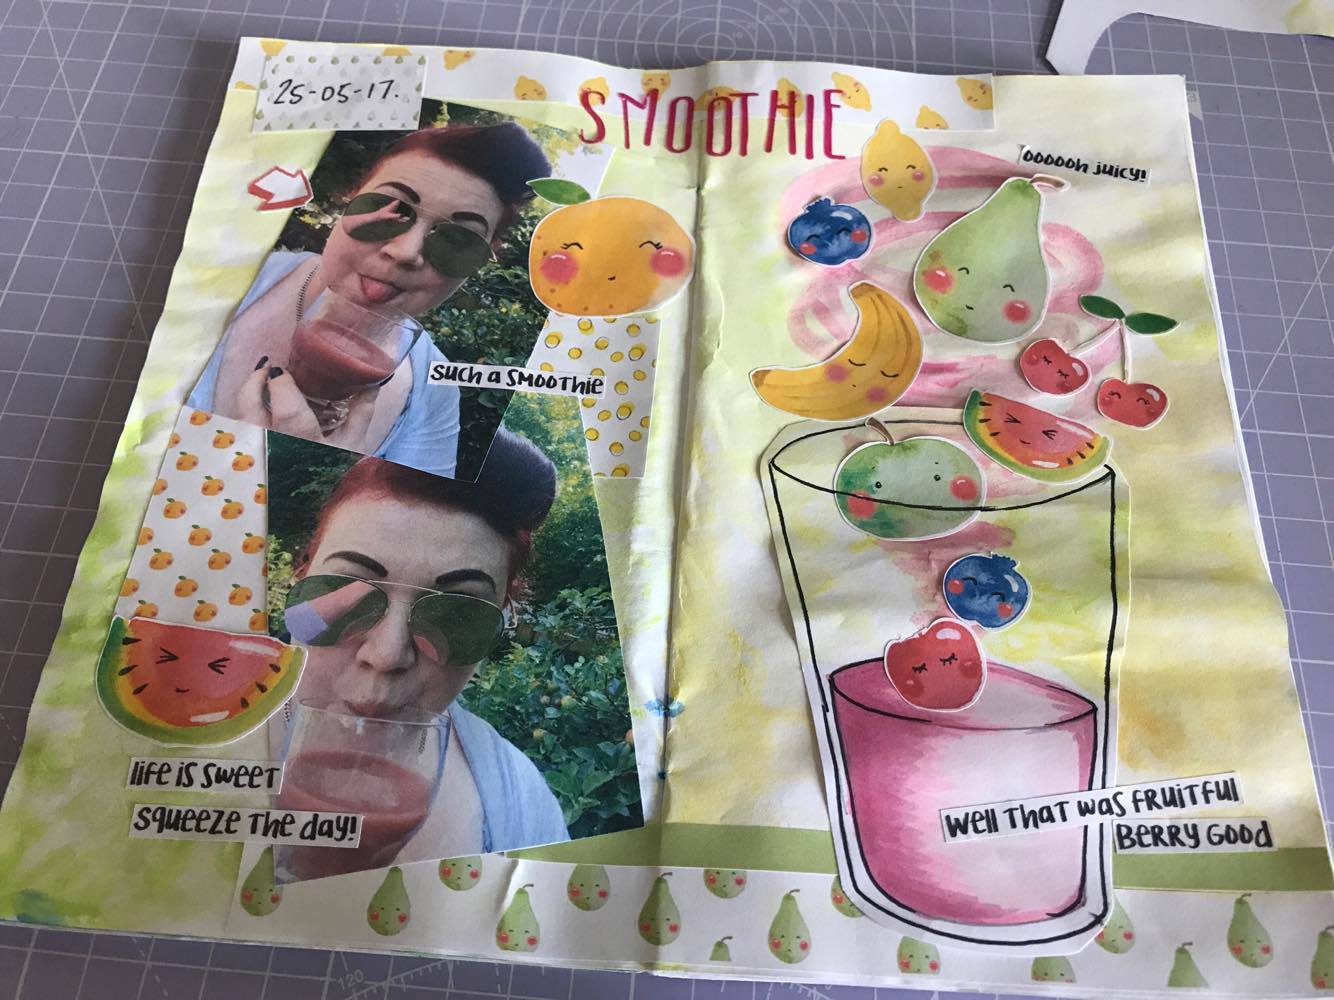
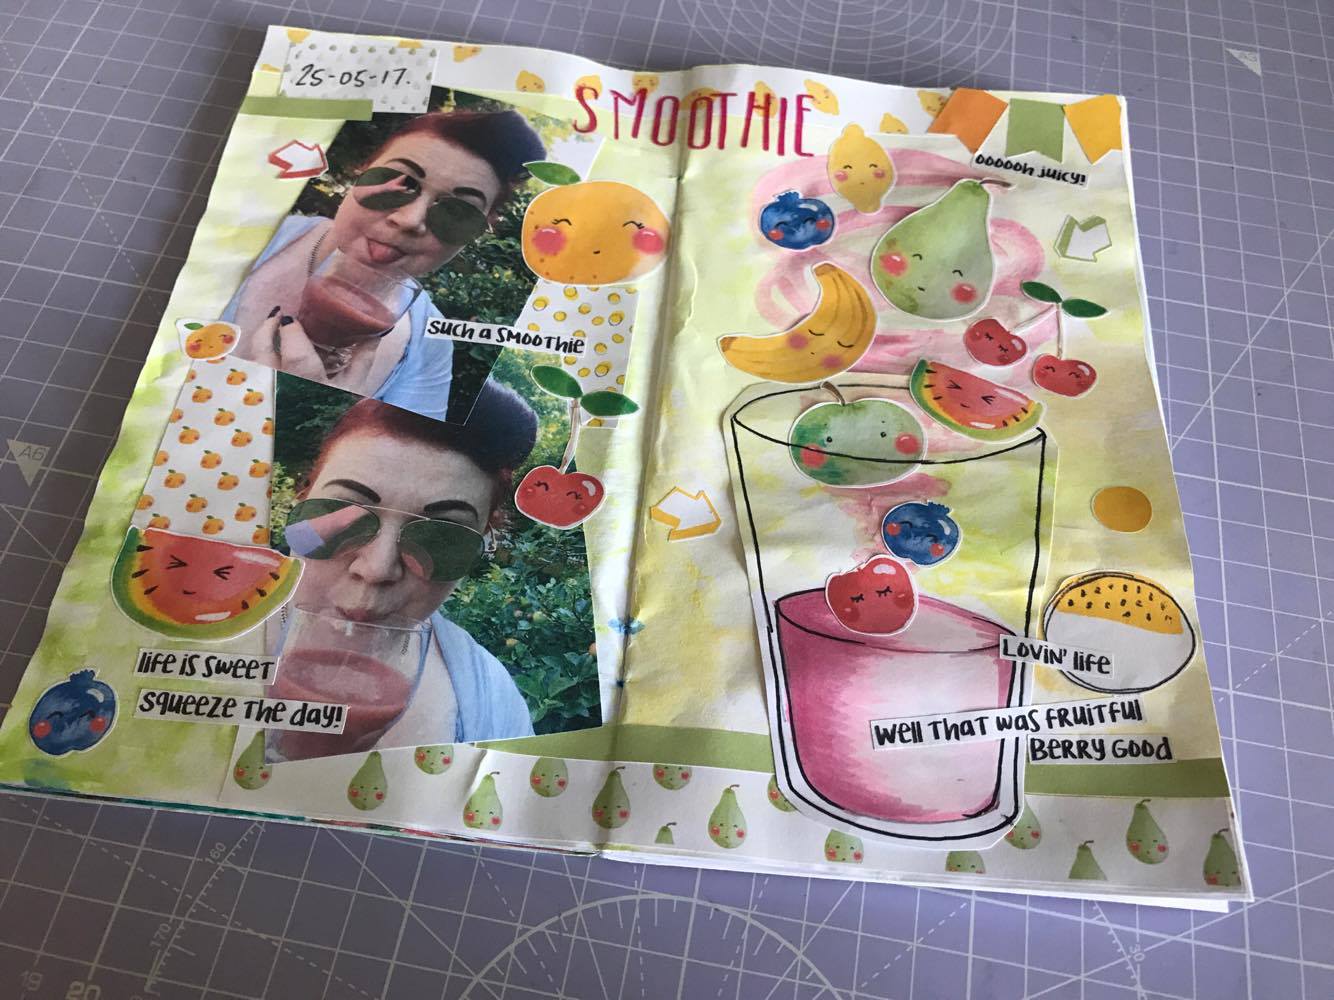
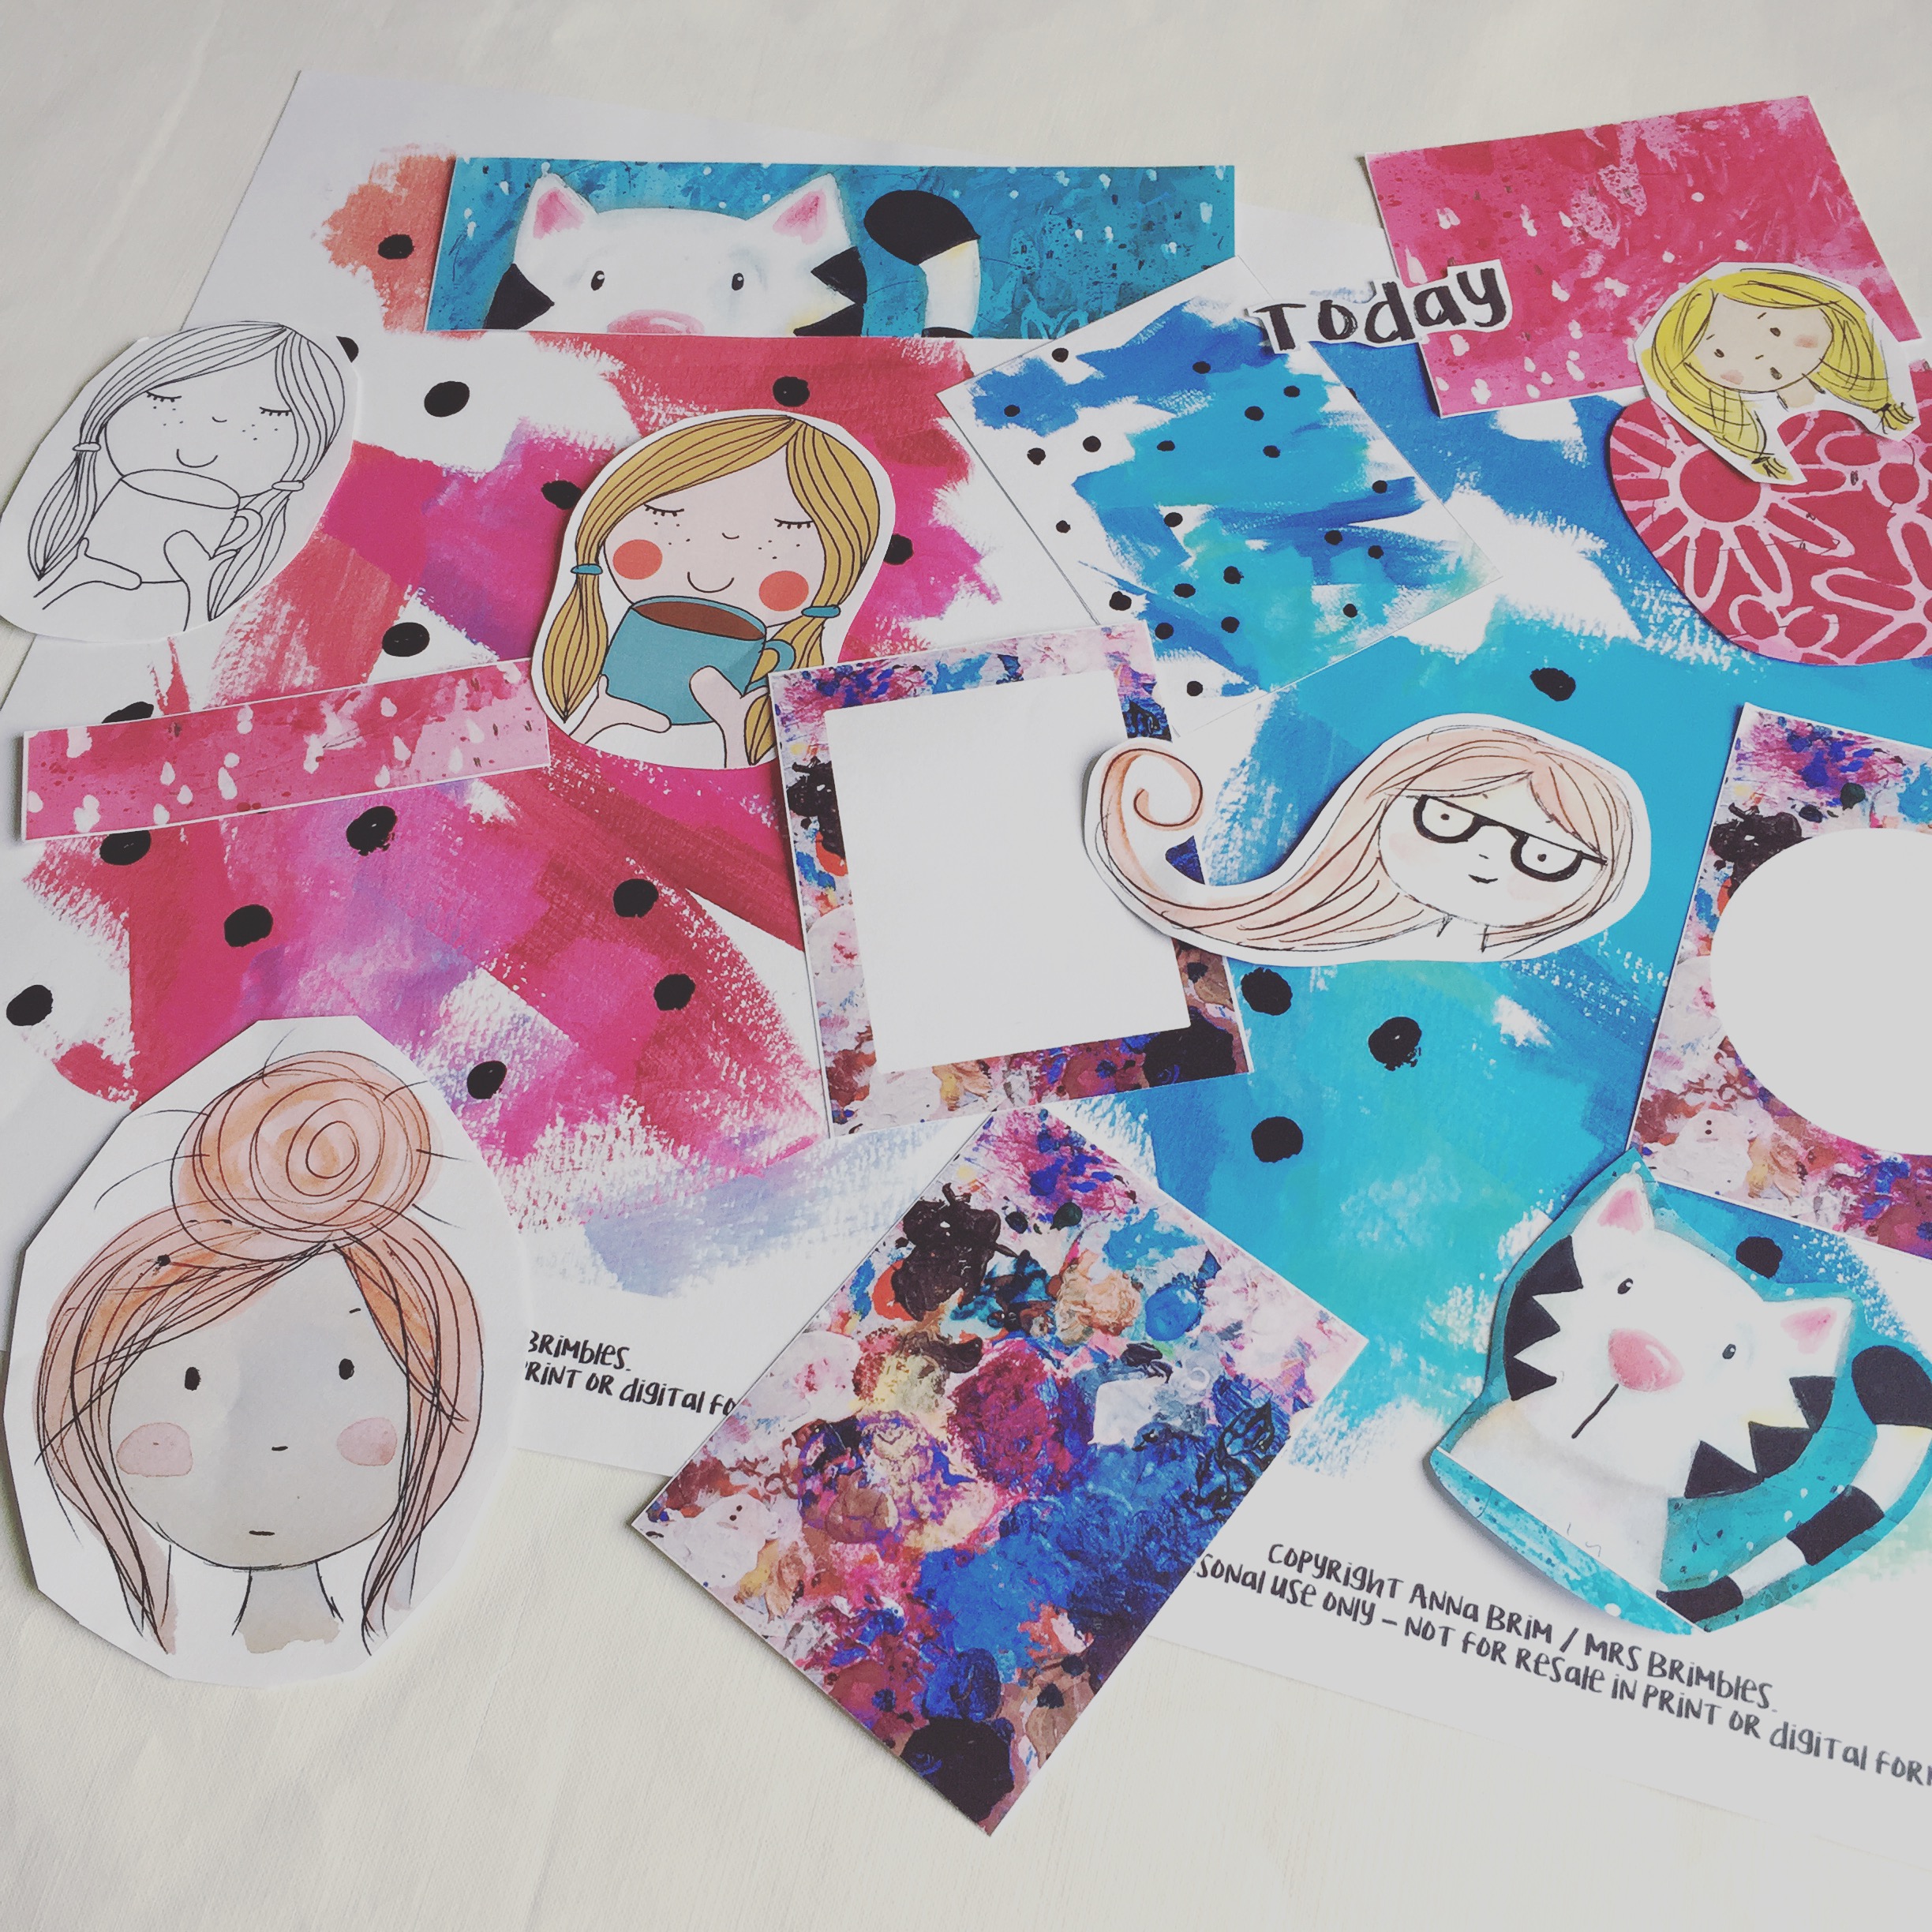
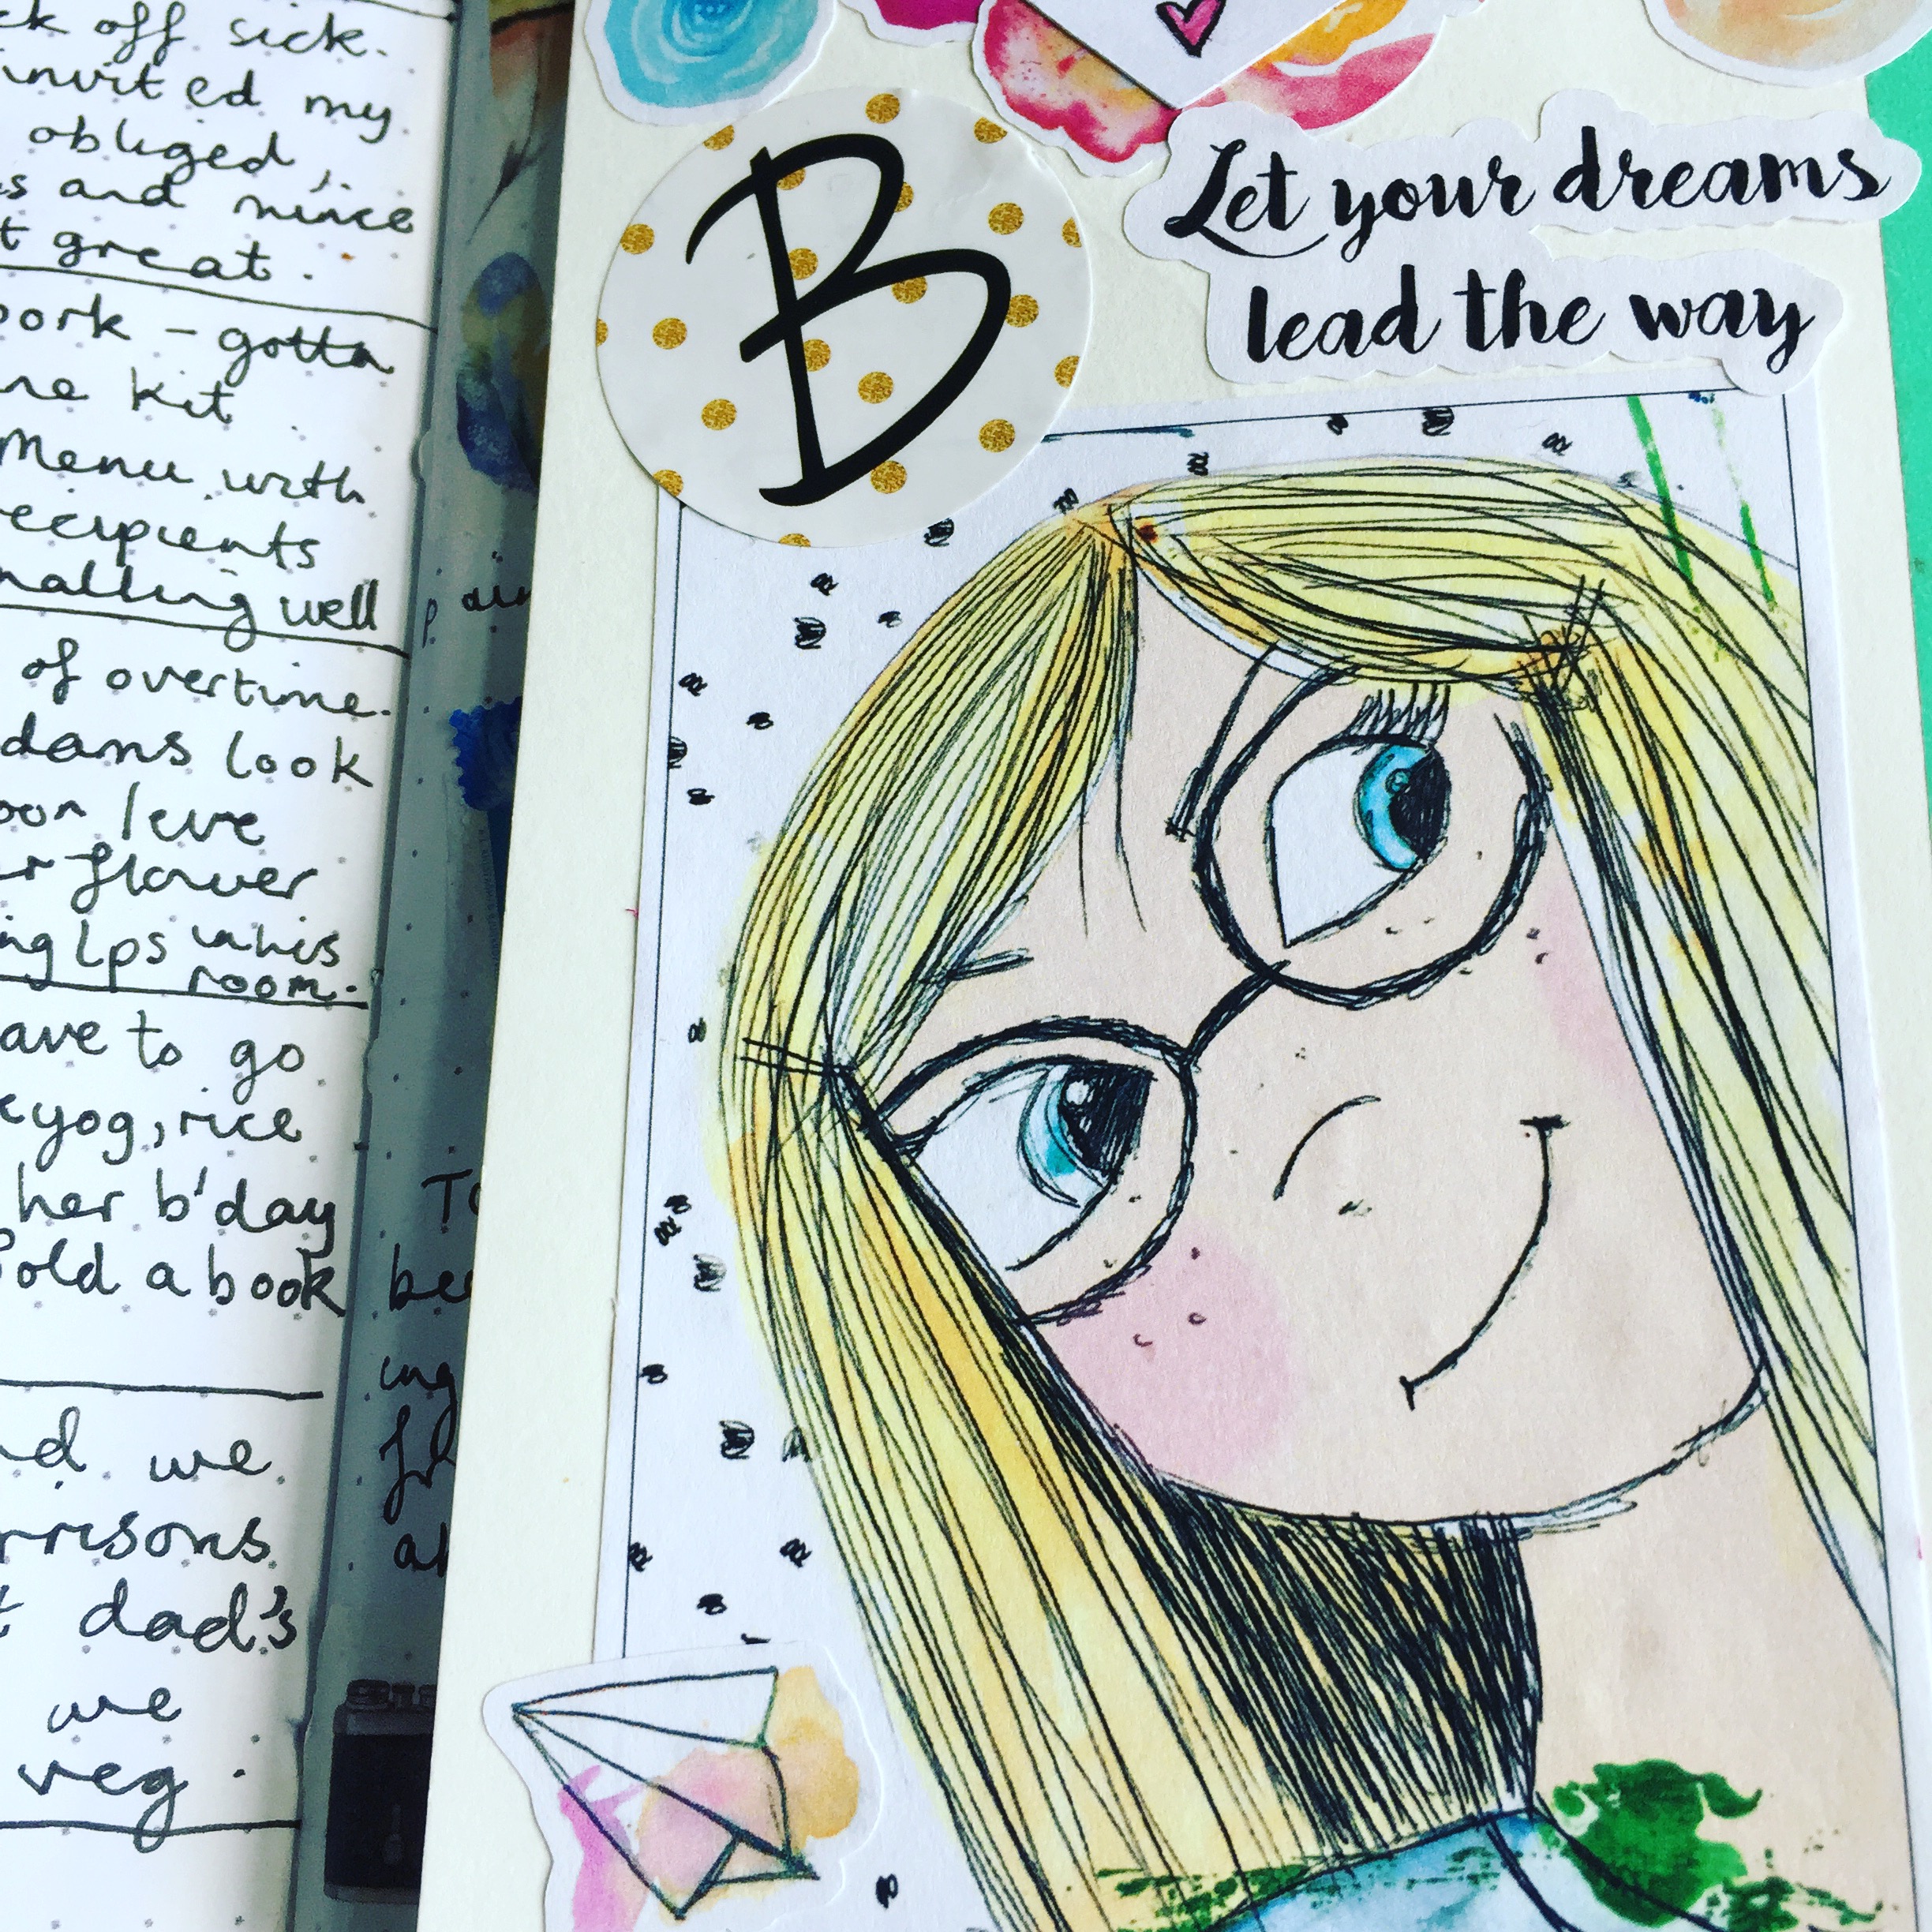
I have enjoyed having a little play with the collage sheets provided by Anna in her July Patreon too. You can download them as files to your computer and print them off as many times as you like. How awesome is that? Here are some of my favourite pieces:
  IMG_7355.JPG

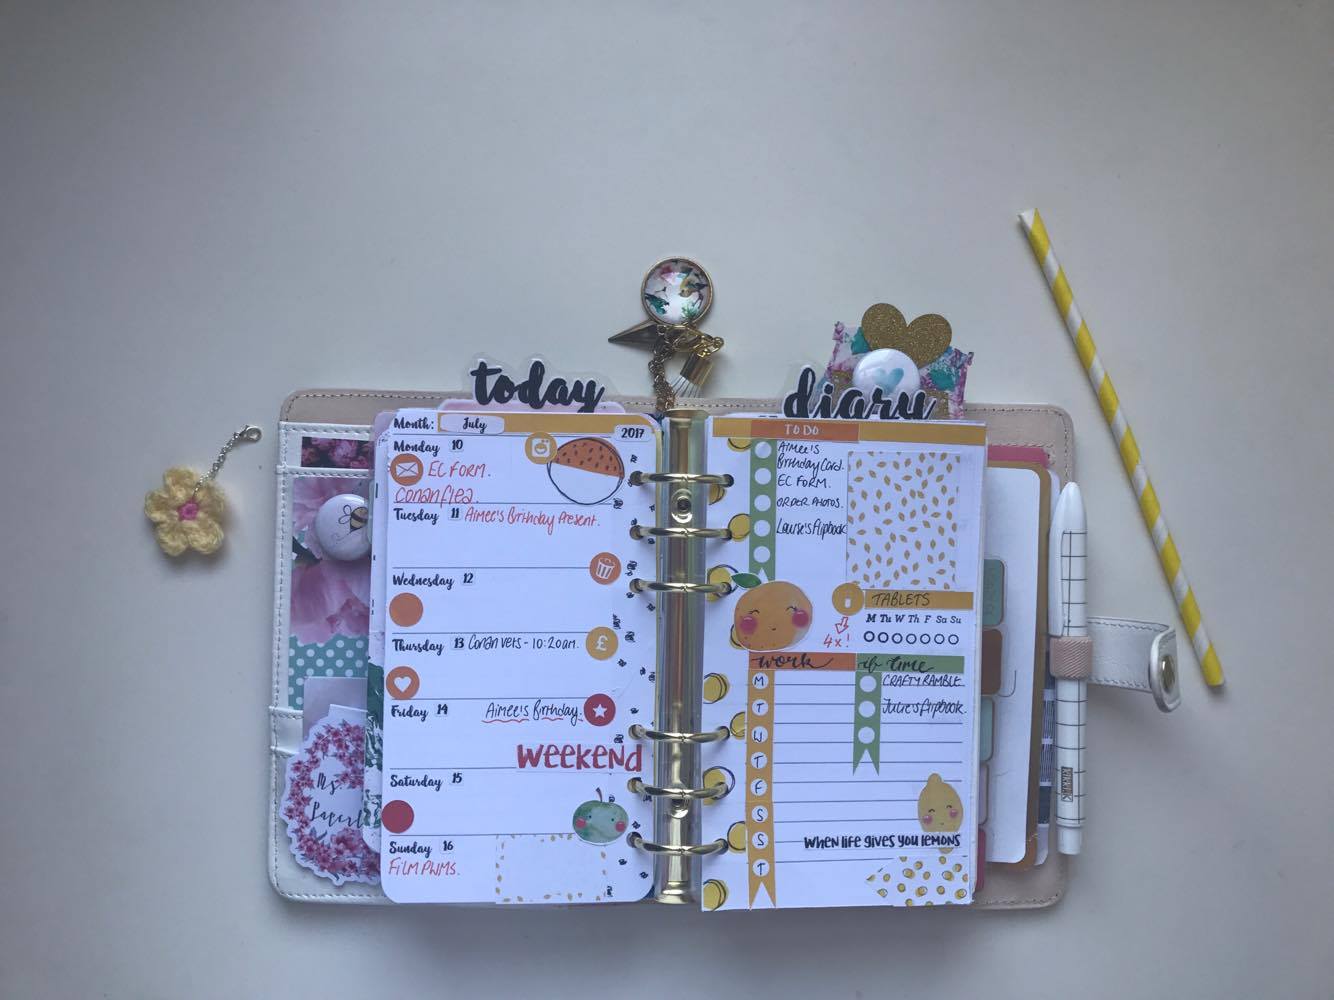
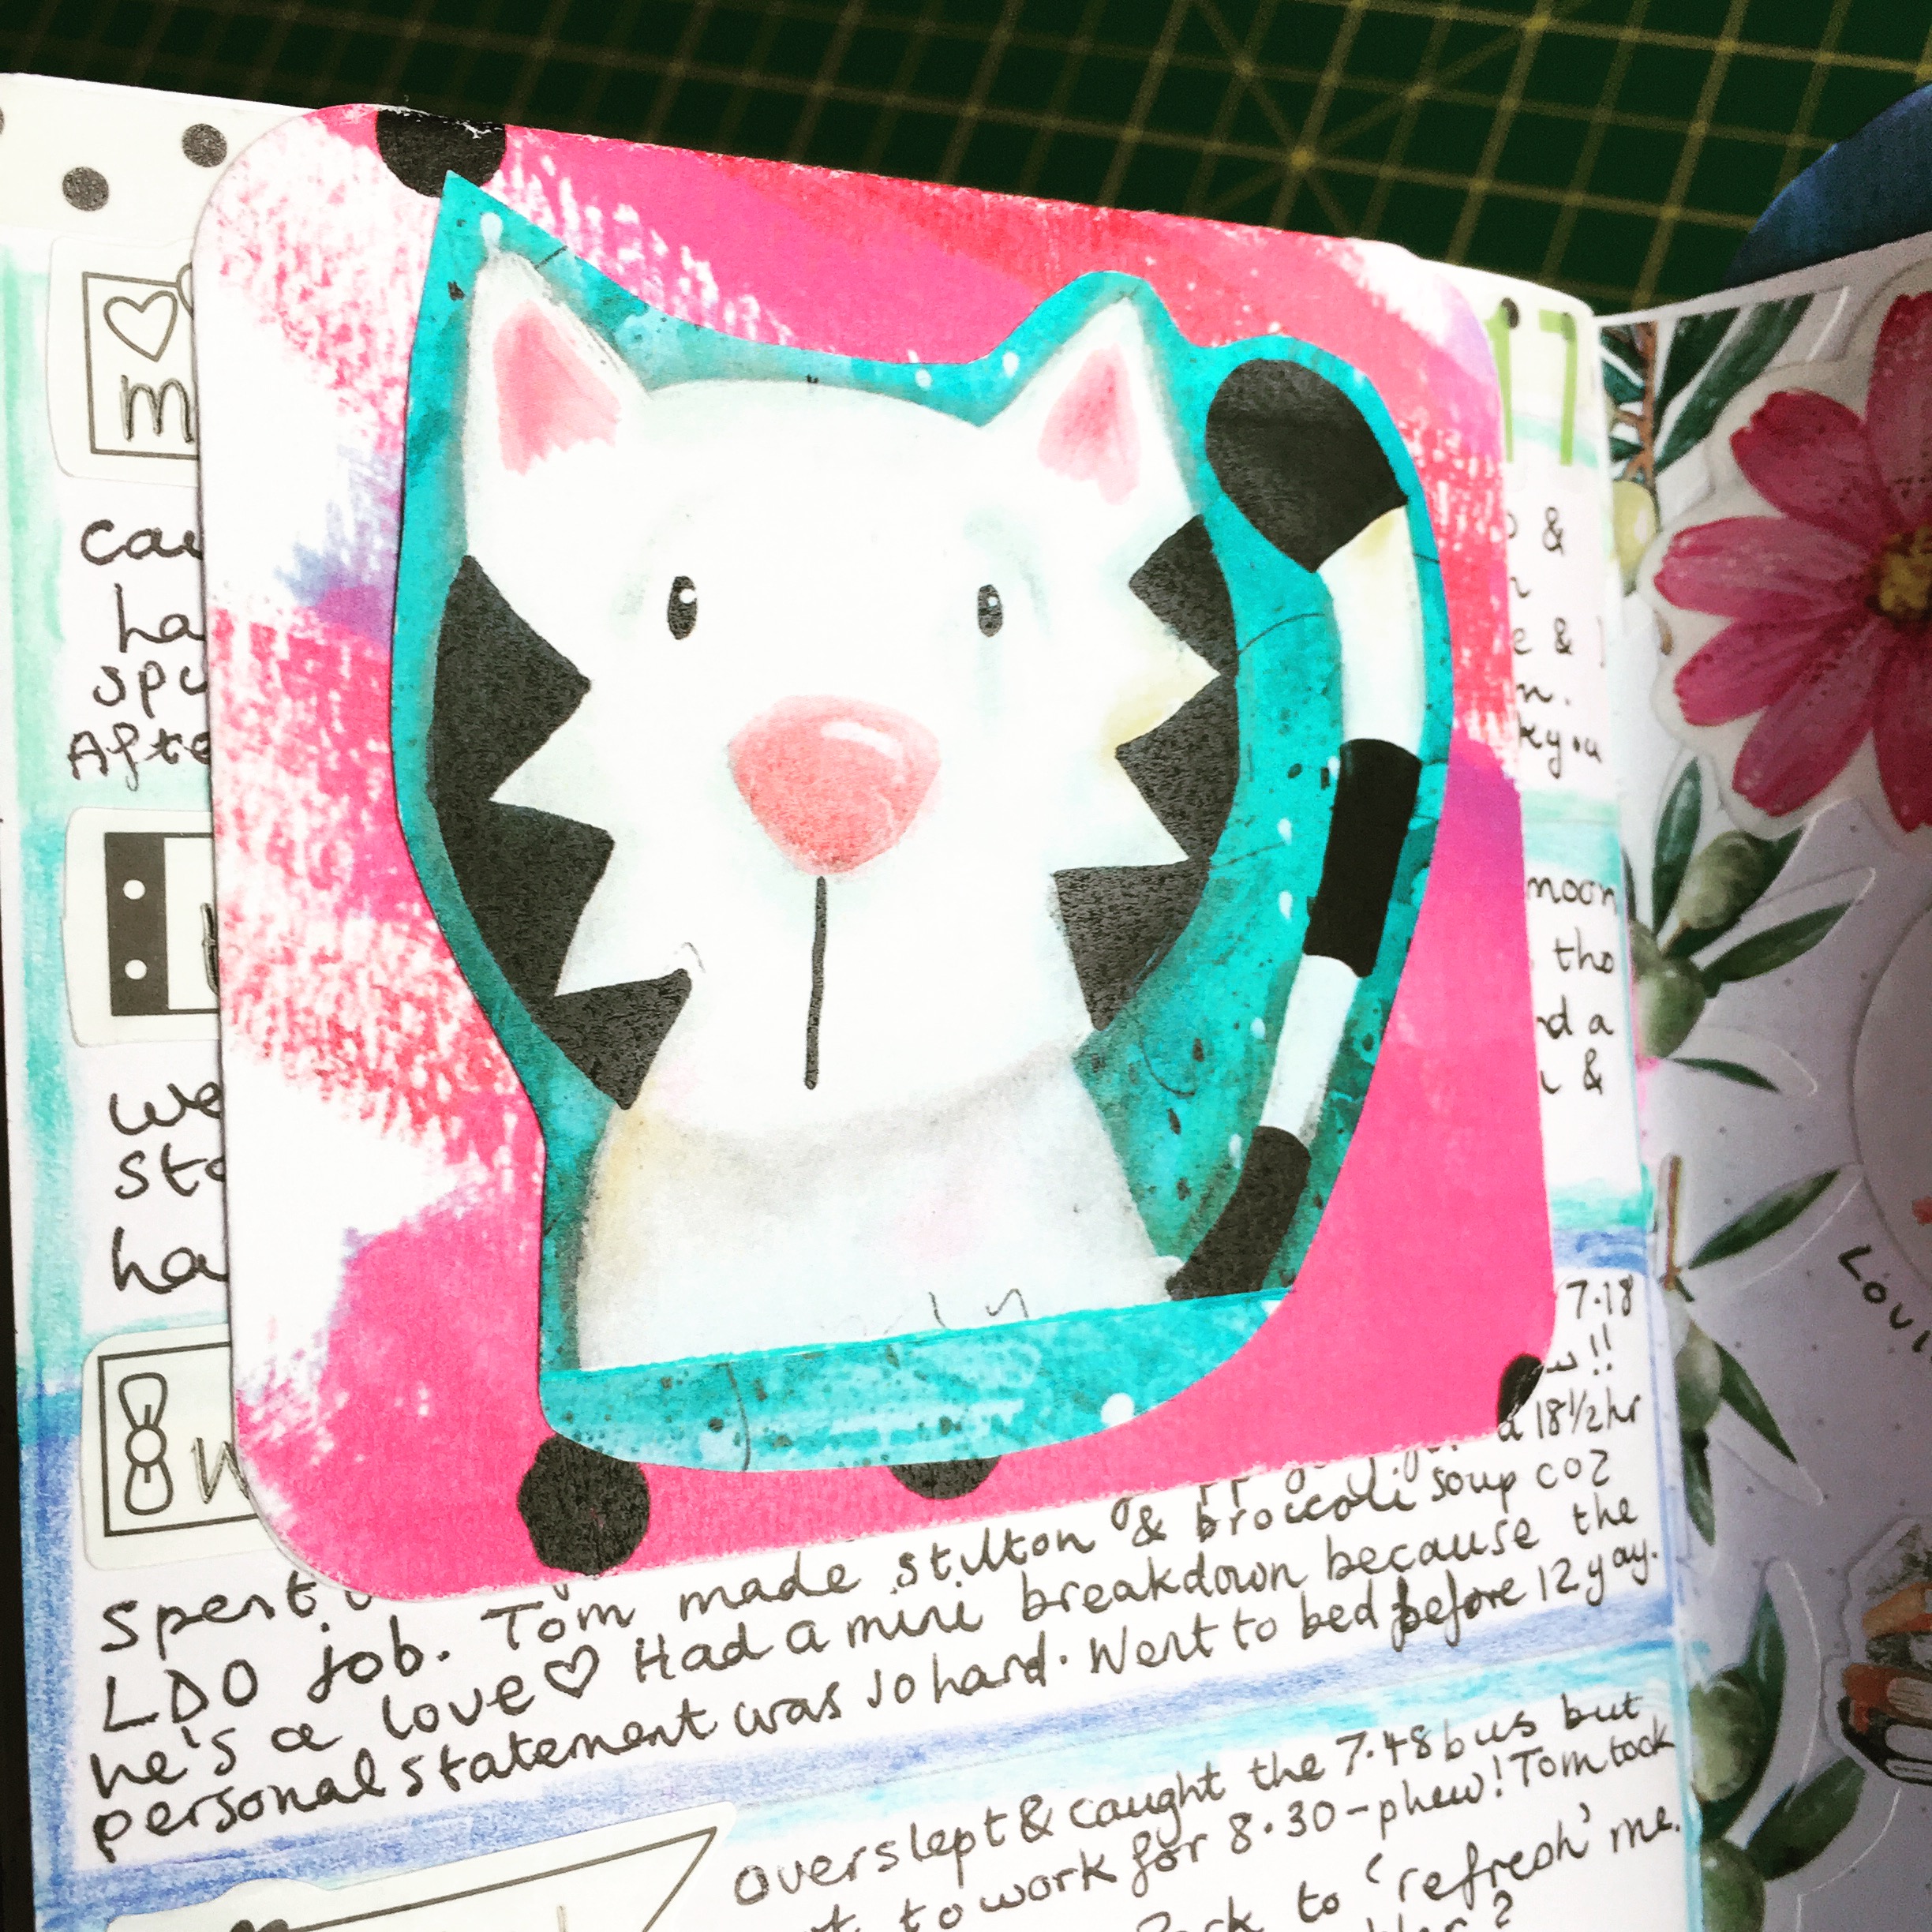
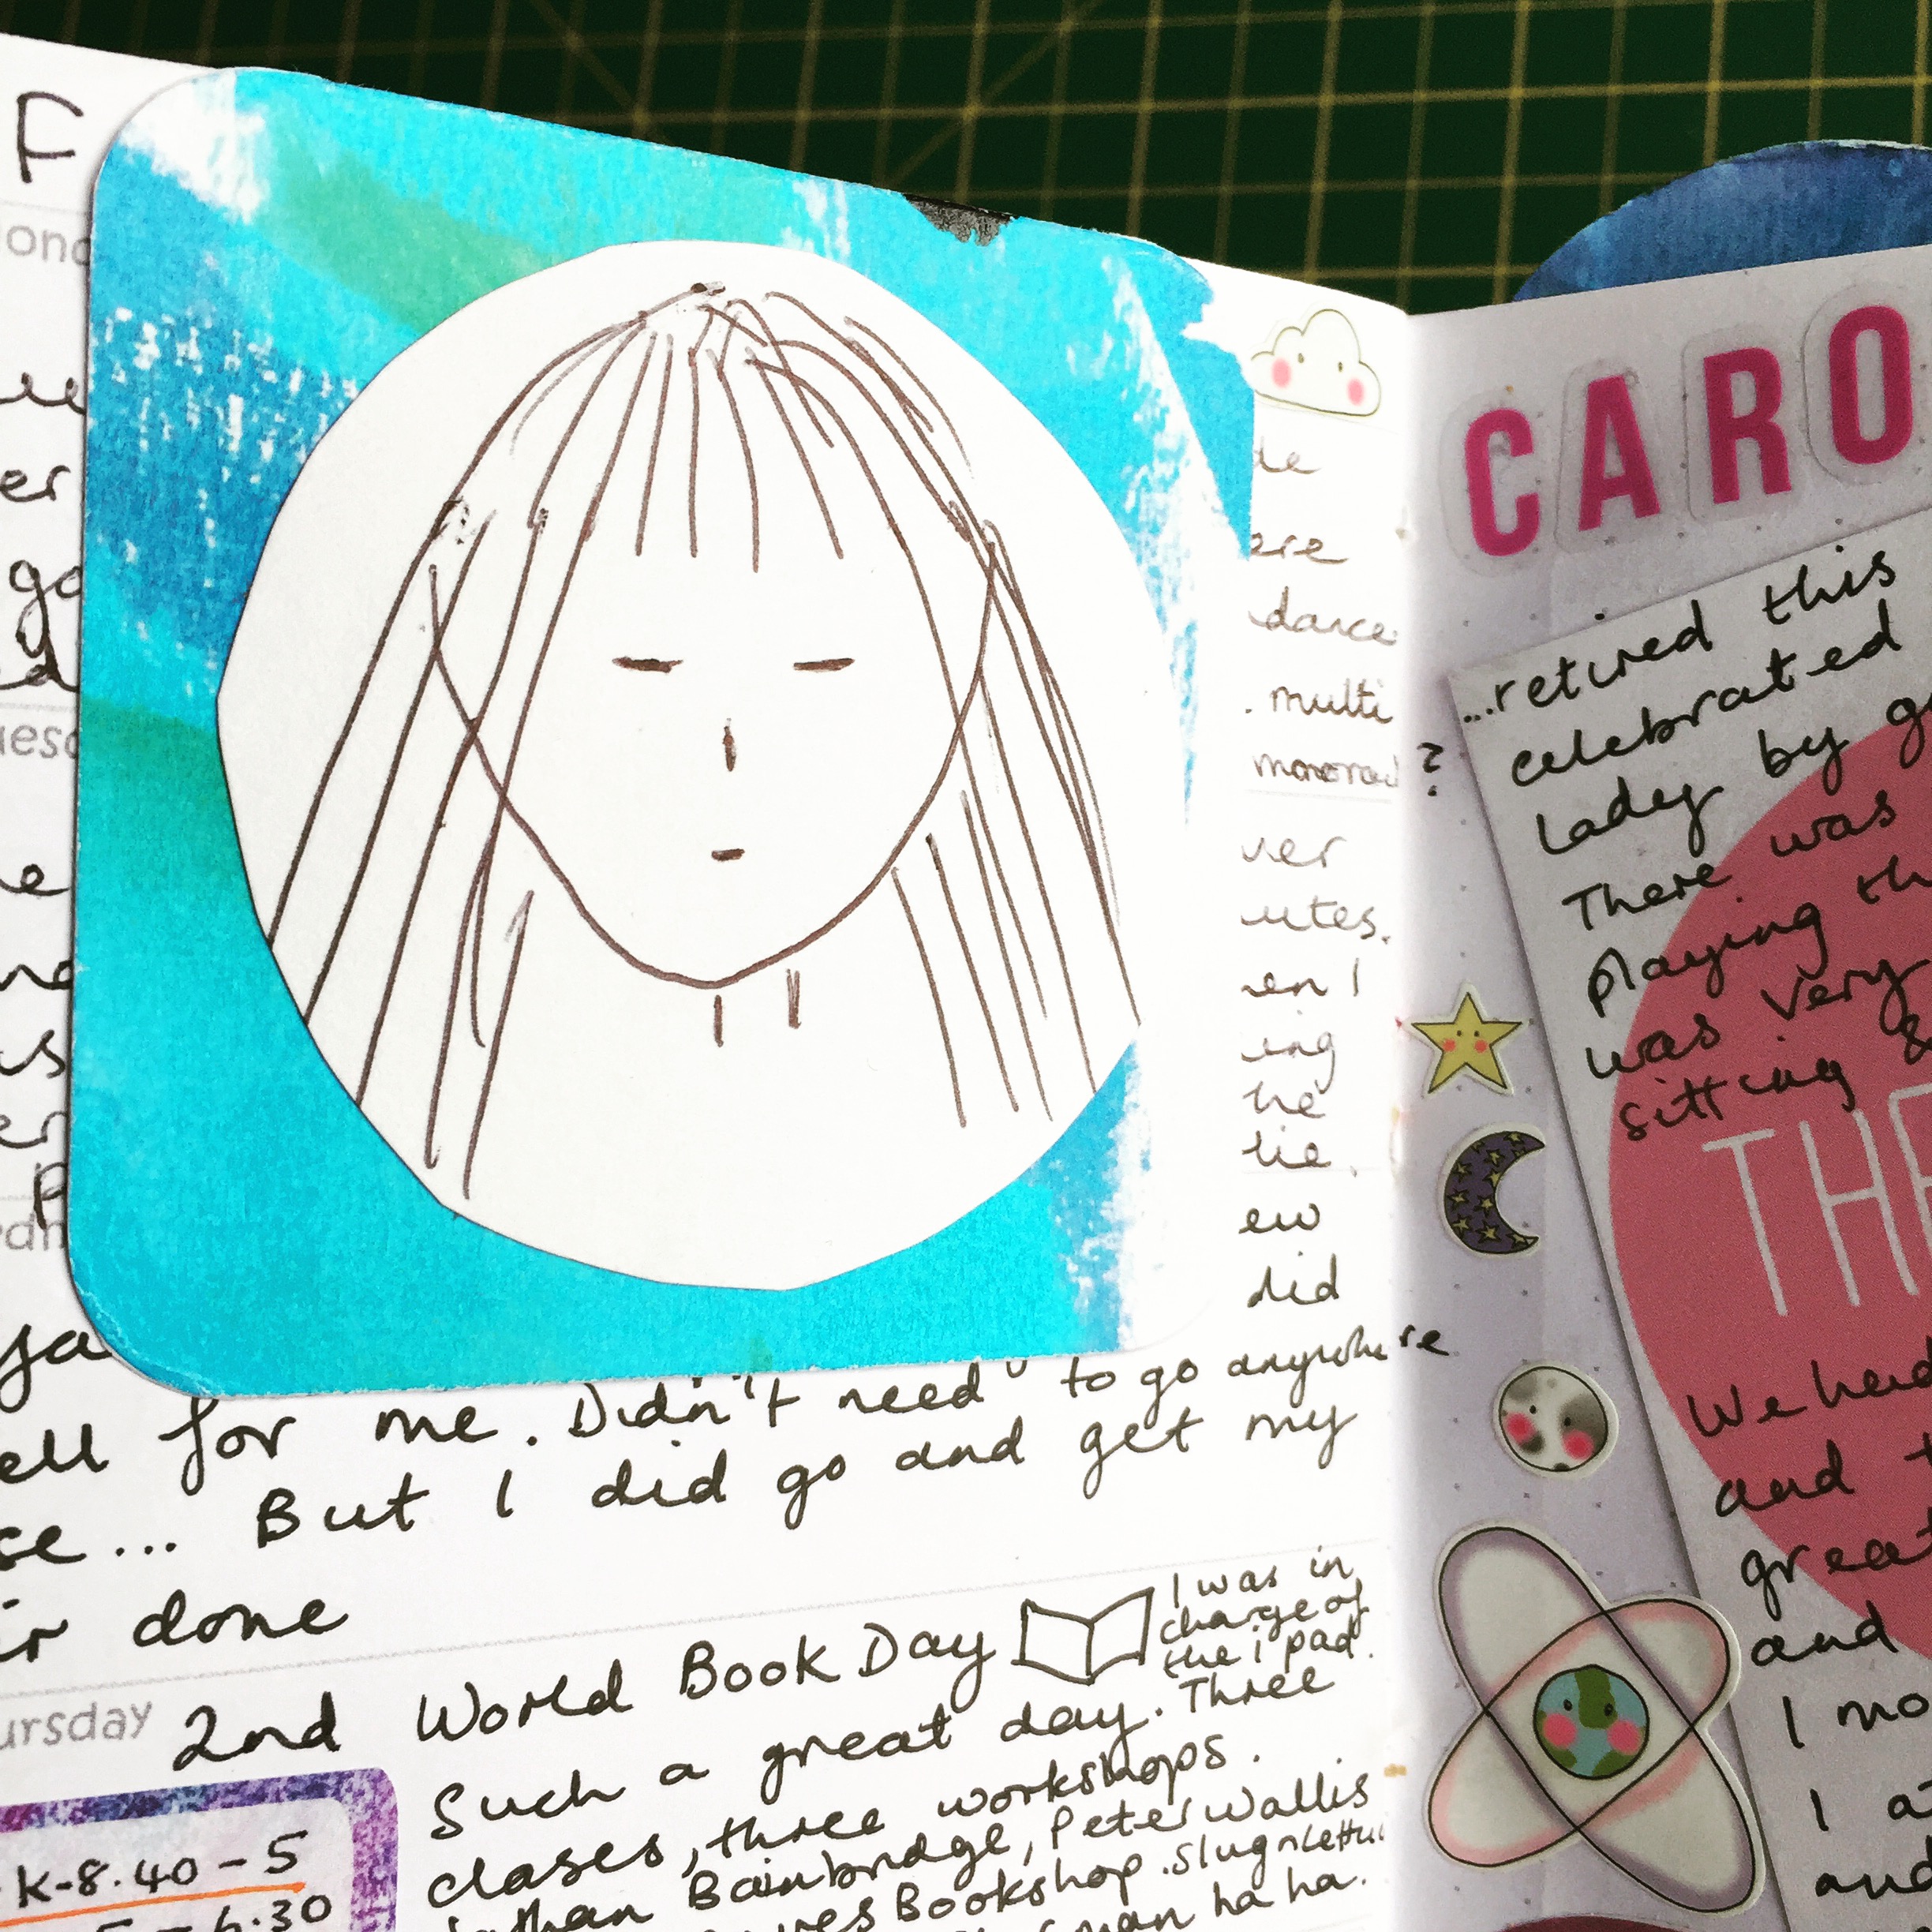
There are a whole bunch of projects that I have thought about doing with this amazing resource but so far I have done a couple things. One of them is to paste my favourite sketchy girl into my memory keeping creative journal. Here she is:

  IMG_7287

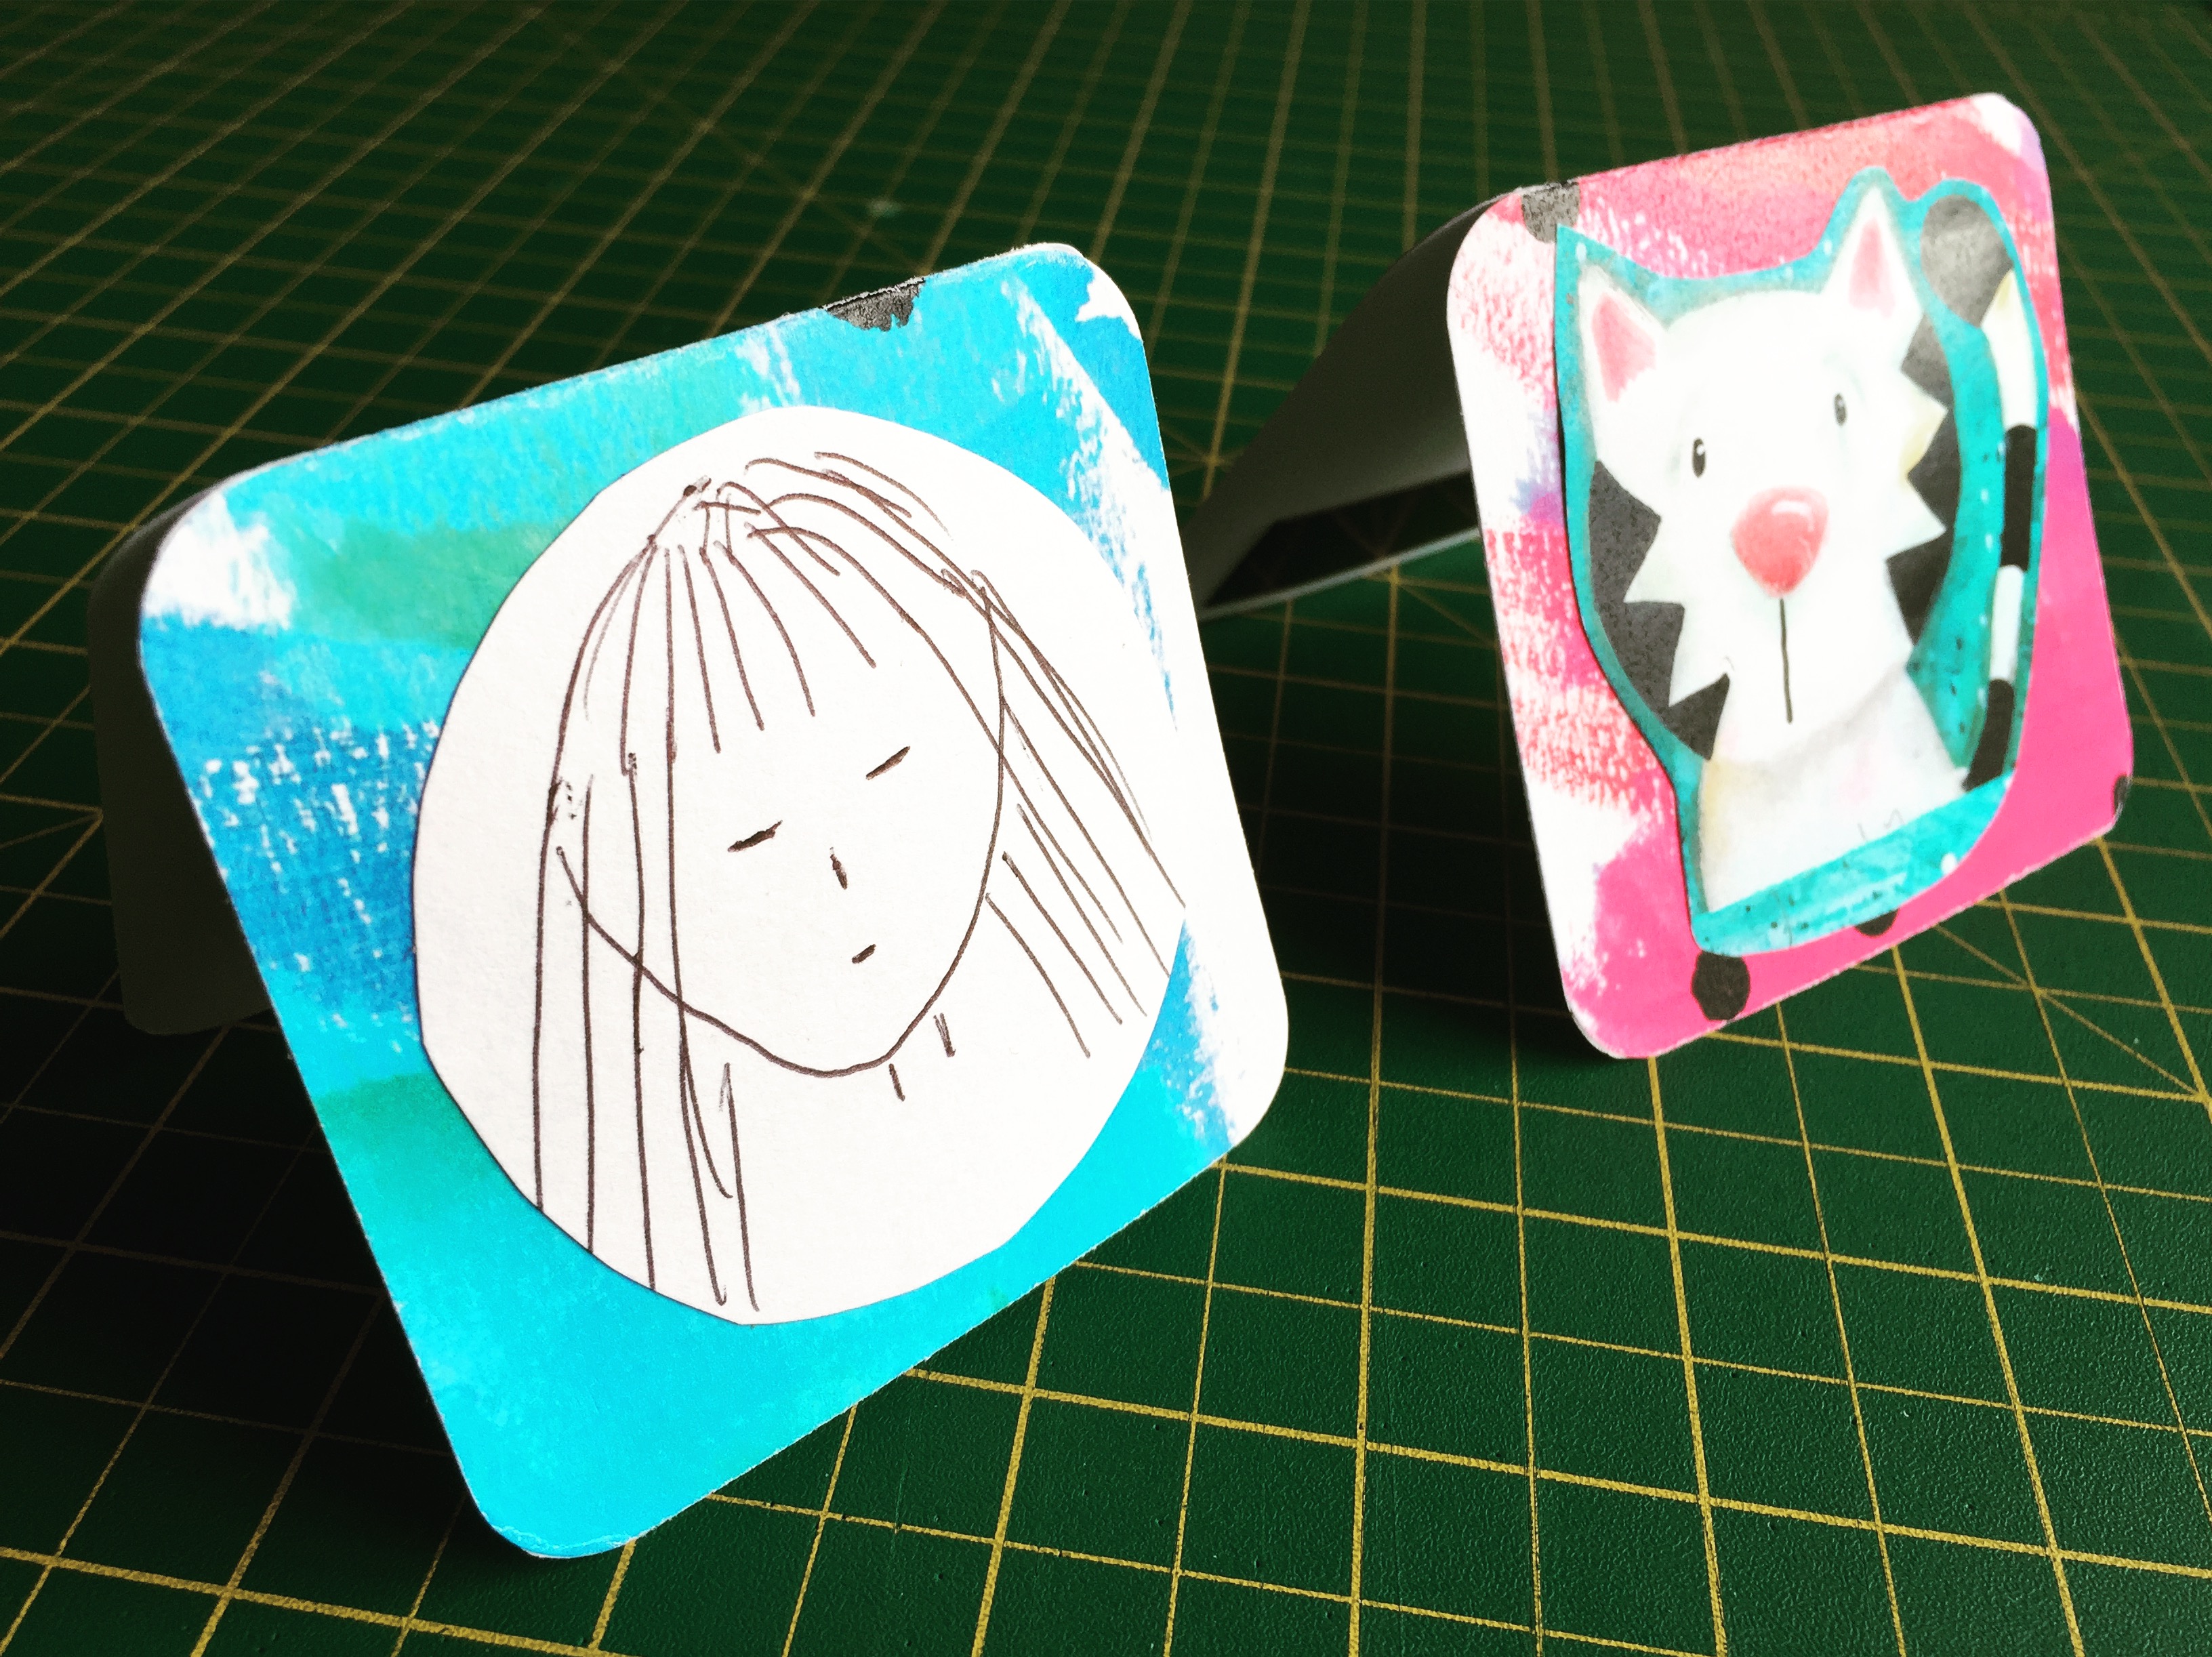
The other thing was to feed my obsession with fun and colourful magnetic page markers. I use them all the time to help me find often used pages in my planners and journals. Recently, I found a roll of sticky magnetic tape in a local shop so I thought I would have a go at making my own. I get really frustrated when the folded part isn’t wide enough to keep the structure strong so I kept the shape simple and functional. I have made two of these so far, one depicts Anna’s cat painting from the collage sheets and the other is of one of my original sketchy girls from my first practice sheet. They are both on a background of Anna’s beautiful artwork cut out from the collage sheets and they make me beam from ear to ear. I love them and I will be making more I am sure.

  IMG_7448

IMG_7449

IMG_7453 

 I hope you have enjoyed reading about my Brimbles adventures for this month. I’m now off over to the Happy Place to see what you guys are sharing. Until next time... Steph x x x 

 Here are links to my Instagram and Blog