Monday 26 October 2015

Easy DIY Planner Pockets and Planner Decor Ideas


Deb here from Craftin' Chaos and I am on the Mrs. Brimbles blog today. My topic is going to be about dressing up your planner by adding cute elements you can make yourself or purchase. Today I will share a couple pockets I made for my two planners shown below. 

One of the planners is a Kikki K A5 which I love cause I am someone who likes BIG planners. I need alot of space to feel free and not so confined but that is a personal preference. I also share my new Kate Spade Rose gold planner. I will be honest it is a personal size which is not my fav but I purchased it cause #1 I didn't own a Kate Spade Wellesley planner or any Kate Spade items which I totally want a purse and #2 it was rose gold (which I was hoping for a bit more of a pink cast to it). It is pretty but its pretty much just eye candy for this gal although I could see using this for travel so I could have all my credit cards and my hectic retired life schedule in it ha ha. 

Halloween is my absolutely FAVORITE time of the year. I love fall in general and then add the cute little halloween decorations and cute spooky items and its hog heaven for me. Below are pictures of some fun items I added to a not so spooky pink planner but it works! The little paperclips I made with my silhouette cameo and I intentionally made them pink for Breast Cancer awareness and it also goes great for blinging up my pink planner with halloween goodies. This pack of Project Life cards that were halloween I cannot get enough of them. 


 The pocket shown below is in my A5 Kikki so it is a bit larger than the one below and it is a different  look with the slanted pocket. Also this one is not attached to a PL card as I did in the one below. This one you will need a 12 x 12 piece of cardstock to make it this size.


This diagram shows you the sizes I made mine. You can adjust yours depending on if you want to go a bit bigger or smaller. The page is not to scale but hope it gives you a good idea how to
 easily make them. If you have a die cutting machine you can find cutting files easily. If you do not own a cutting machine then you can easily make these with a paper trimmer and making some marks on the paper for guides or cut from regular copy paper or scrap paper a template. 


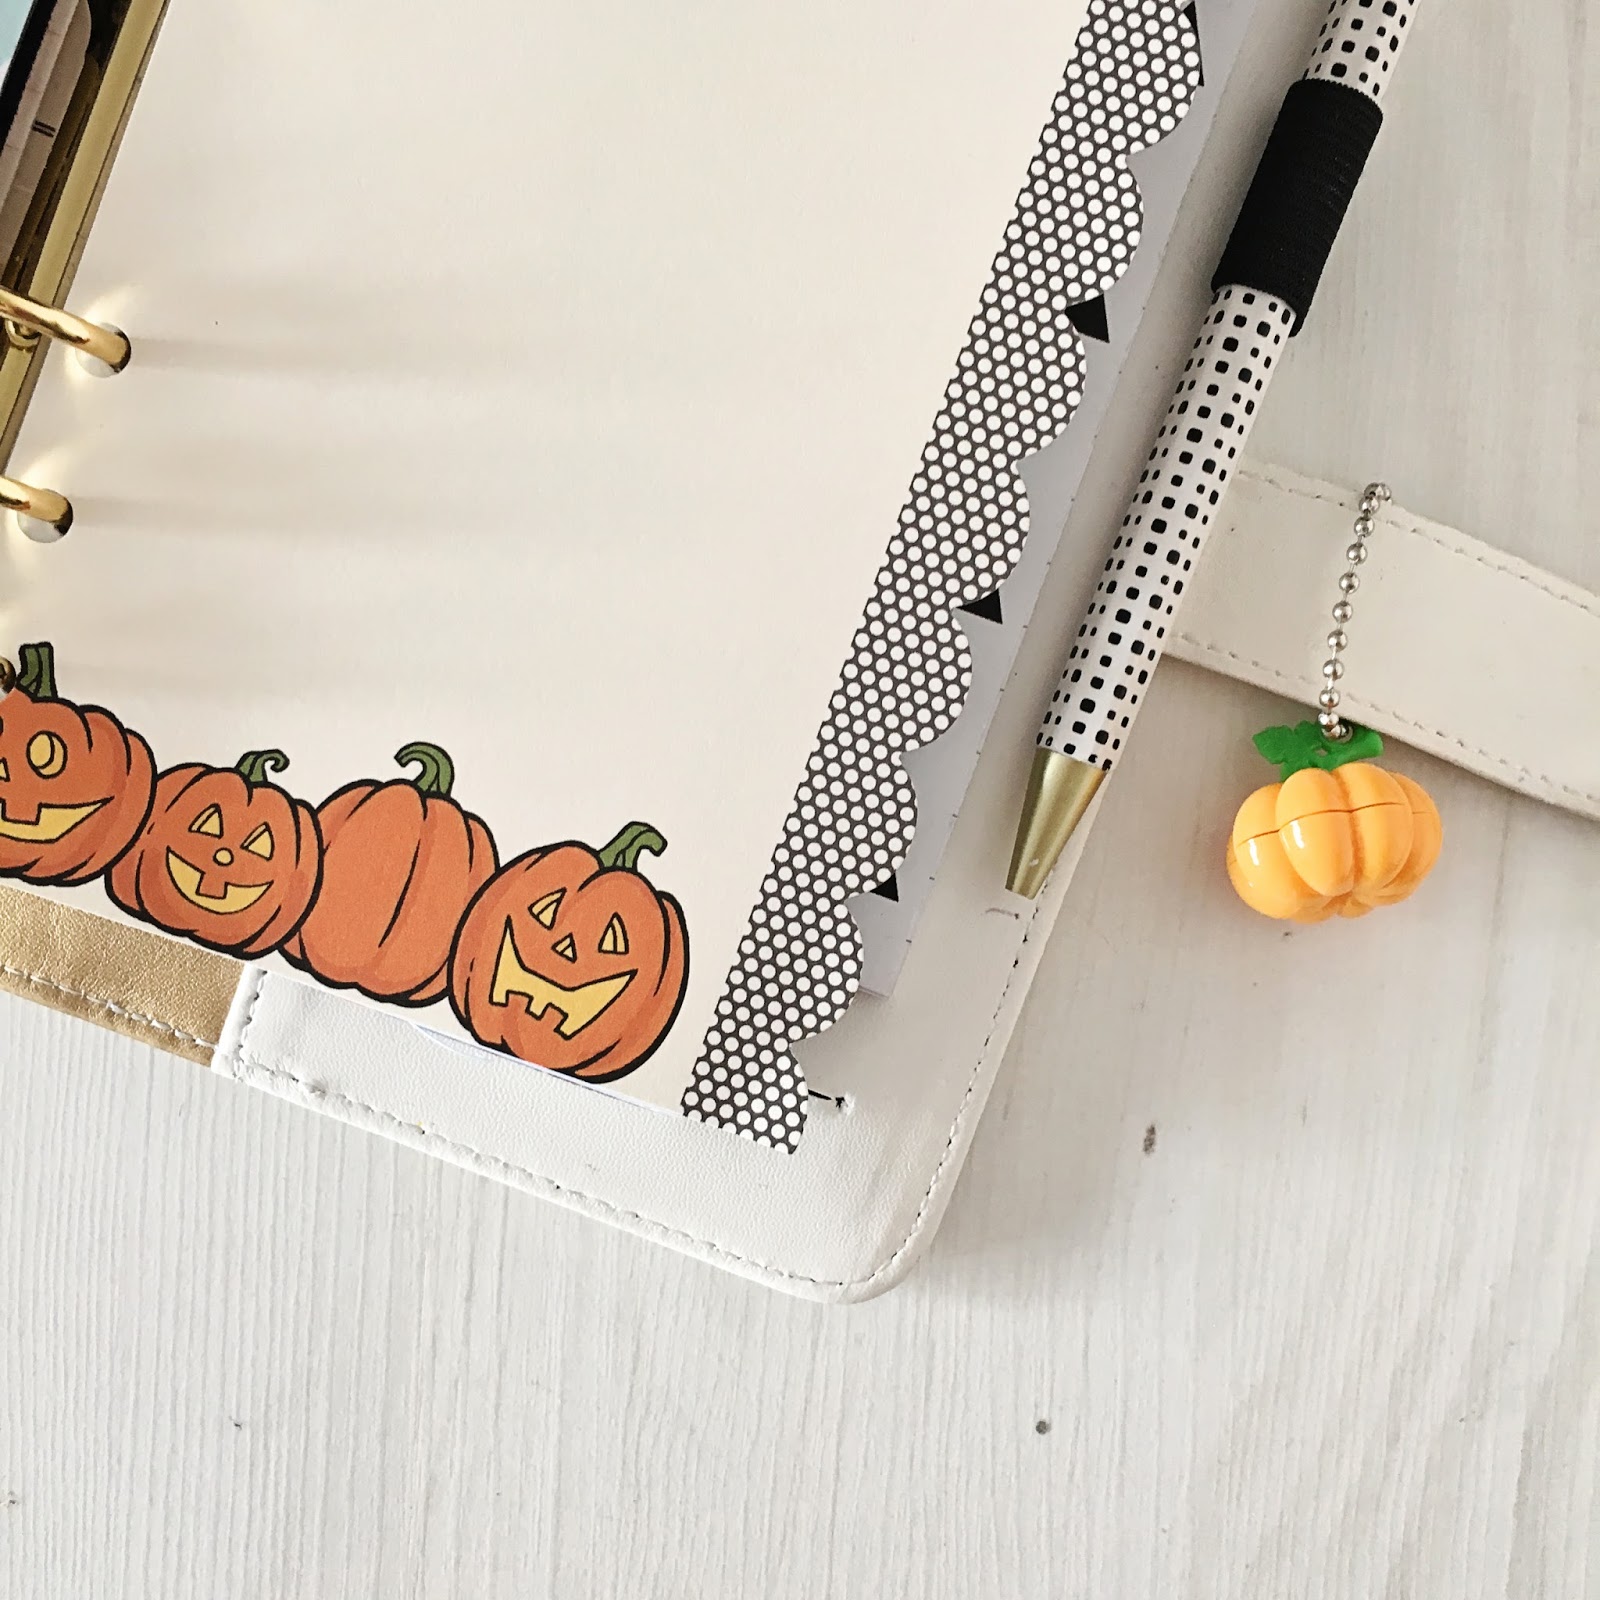
For this pocket below that is in my personal size Kate Spade I made a pocket on my silhouette that I adhered directly on a large Project Life card. I love how it looks. I used some wonderful washi tape that was in my October Brimbles box and cut the little flag ends on it and adhered it to the bottom. The epoxy stickers were also from the October box as well as that adorable little planner charm Jack Skellington (its a bell too!).

Project life cards are definitely one of my favorite ways to make my planner pop and adds some special element that can easily be changed depending on your mood.

Even if you do not have a cutting machine these are things you can hand cut or use a paper trimmer and score and hole punch and you are still good to go. Dimensions will be shown below for mine. As you see the pocket is perfect for the small 3x4 PL cards. You can also use it to put paperclips or important items you may need to save. Remember with the template shown below you can make the folder any size you would like by just adjusting the sizes shown.


Making your own paperclips
This is an easy thing to do with just a few embellishments such as flair, die cuts etc. or even some plastic do dads just look around you probably have things that easily can be turned into a clip. If you are making a clip from flair I advise you to use E6000 adhesive. Just a blop of that on the back and you can secure the clip. I also like to finish it off by putting a little felt circle over it so that it hides the clip. 

You can purchase epoxy stickers or die cuts and create some paperclips yourself or if you are like me and you have a die cutting machine you can go to town! I will most like share in a future post a process video doing some clips. 
Dashboards
Let your imagination take your planner to new places. Post cards and cute magazine covers and pictures of just about anything that you find appealing can be laminated to make you a fun, cute dashboard. I know I save all Anna's cards that come with the kits so that I can hole punch them or create a dashboard with them. If you do not own a laminator you can get those laminating pouches that are self sealing, you can take to your local office supply and pay them to laminate it as well. 

Planner charms
Often times I run across metal charms for .25 cents or less at times or you can also find them in your local hobby store in bags and charms in the jewelry section and you can make yourself a inexpensive planner charm with some of the charms and add beads or whatever you are in to. 

I hope this helps you to see that with some craft supplies you probably have laying around you can create some unique items for your planner without spending a fortune to do it. 


Saturday 24 October 2015

Halloween Smashbook!


Today I'm going to show you what I ended up doing with my Halloween Dividers

At first I really wasn't sure what I was going to do with them. As I've said many times before, the bit I struggle with the most when it comes to any sort of crafting/arty project, is getting started. But I finally figured out what I wanted to do!

The initial thought was to turn them into planner dividers. But I've already got my dividers sorted for this month, so I tried to think about what else I could do with them.
I ended up using the whole set to make into a Halloween/October mini journal/booklet!
It's simply going to be a place for me to document everything I get up to this month, and also a place where I can go wild with anything to do with Halloween. Whether it's art, photos, scrapbooking, .... Just anything I end up doing that's based around Halloween, I will put in here.


To put it together I bought these Silver Rings from eBay, they work similar to planner rings, but they are singular and a little more fiddly! They don't sit straight, instead they wobble about a bit, but that doesn't bother me in the slightest. They keep everything together and that's all I needed them for!
I decorated the front of this little booklet with lots multiple different Halloween stickers, die cuts, washi and twine!

I'll leave some links below to some of the things used:
Puffy Stickers (From the October Brimbles Box)
Pumpkin Sticker (From my local craft store)
Spider Die Cut (From my local craft store)
(Not everything has a link, as it either wasn't bought online or I can't find a link)

I was really happy with how the cover turned out. I do sometimes get a bit carried away with little projects like this and fill every little gap I can see, but I managed to hold back haha! 
The tabs going down the side were already on the dividers, but the tabs along the top I added from the Cute/Vintage Halloween Ephemera/Die Cuts pack. The text on all of the tabs isn't there to organise them, they simply have little Halloween phrases on, and are just there for decoration.


Inside I have started to attach things I've received that are Halloween themed. Above is the adorable Ghost postcard that came in my October Brimbles Box!

I have a few ideas of things I want to add in here, and ideas of the activities I want to get up to this month. Like pumpkin carving, baking, watching scary films, all of which can be photographed and stuck in. I know we are half way through October now, but fingers crossed I'll be able to get most of these pages full!

If I don't then I can always take pages out and keep them until next year. That's the good thing about attaching them all with the little silver rings, compared to something like twine! Things can be taken in and out whenever I want.


I hope you've enjoyed seeing the little project I've got on the go this October. Make sure you check Mrs Brimbles' shop to find most of the products used to create this bundle of Halloween fun!
I will be sharing some of the pages I've completed on my blog (MyGreenCow), so keep an eye out if you want to see how I end up filling this booklet with Halloween goodness.

I will also do a full flip through over on my YouTube channel once I complete it.

- Daisy X

Friday 23 October 2015

Decorate with me!


I am back again sharing my page decoration for the week!

I filmed it again as I am rather enjoying doing that at the moment. I don't know if I will do it every week but it is fun for now!


Products Used

Planner: Websters Pages Color Crush Planner in White with matching folio
Planner Inserts: Websters Pages week on two pages
Washi Tape: Black with white spots from my shop and the others I was sent last year from a subscriber.
Pen: Target $1 spot
Stickers: Polka Dot Flag and lollipops from PinkHedgehogPretties on Etsy and all the others were from Craftin' Chaos on Etsy.
Tag: From the October Letter Bee Box

**None of the links are affiliate links although some of the links are for my own online shop**


Thursday 22 October 2015

Happy Mail with Geraldine

geraldinejayne.com

Hey! So, I'm very excited to share with you what I did with my gorgeous goodies from Mrs Brimbles September happy mail box! But first, I'm not going to start with happy mail. As you can see from the photo above I placed one of the postcards, featuring a painting by Anna Brim herself, in a white frame. Fortunately, there were two postcards in the box. One for my penpal and, well, one for me! And why not! I think it needs to be framed!

geraldinejayne.com

Next, I actually got down to the whole point of the box...writing to my penpals! I used one of the cute envelopes from Heidi Swapp's Wanderlust range.. They come in a pack of four. In the above photo it is the pink with gold spots. I added one of the Dear Lizzy labels and wrote my penpals name with one of the gorgeous Paper Doll pens. To buy separately from Anna's shop, they come in a set of three and are, at the time of writing, on sale. The second envelope in the photo above is from a collection of very cute notecards called Just A Little Note. They came in a beautiful tin with five sets of cards and envelopes. Using the 'Hello' self inking stamp, I stamped on the corner of the envelope for extra decoration. As a side note, I must add, I noticed these cute note card fit perfectly into the Heidi Swapp envelope I mentioned above. It just goes to show that there is so much scope for play and experimentation with these goodies.

geraldinejayne.com 

Moving onto my next penpal, I again used a Heidi Swapp envelope to hold my penpals letter, one of the Dear Lizzy sticker labels...
  geraldinejayne.com and placed it with her gift... geraldinejayne.com

I really hope you enjoyed seeing how I used Septembers Happy Mail Brimbles box. You can see other ways of how I use these boxes and my style over on my IG account, @geraldinejayne or my blog geraldinejayne.com geraldinejayne.com    

Wednesday 21 October 2015

The Letter Bee Box - Stationery, PenPals & Journals - October Unboxing

It's Letter Bee time again! 

The Letter Bee box is a monthly box curated by Patty from Furthermore Press. The box is aimed at everyone who loves letter writing, stationery and journals. Each box is themed and all the goodies inside the box relate to that theme in some way.

About the box:
Boxes can be ordered through Patty's Etsy shop - Furthermore Press
Letter Bee box: $35US inc shipping in US   $30US + $22.50US shipping for UK which in totaly equates to £36. Patty also offers a Petite Letter Box: $22US + $5.95US shipping, outside of the US you need to get in touch with Patty so she can give you a quote.
As many of the items are unique and hand made there are a limited number of boxes each month so get in quick if you want one!


PLEASE NOTE: I was given this / these product(s) in exchange for my honest review and opinion, the fact that I was given these does not alter my opinion in anyway. This review is my own personal opionion on the product / company, given in good faith and has not be sponsored or endorsed. The photography unless otherwise stated / credited is also my own. None of the links are affiliate links 

Monday 19 October 2015

Planner Page Decoration with Charlie

Decorate With Charlie {seasaltandpaper.com}

Hello! It's Charlie from seasaltandpaper.com! I'm so excited to be back today to share with you how I've been using my October Brimbles Box. In this months box I received:

♥ Halloween pumpkin charm pen
♥ Halloween stickers
♥ Pumpkin notepad
♥ Witch Hazel tidbits

Decorate With Charlie {seasaltandpaper.com}

I couldn't wait to use this months goodies to decorate my Halloween pages in my planner! First of all, I used the gorgeous washi to give my pages a bit of colour - using a strip of washi on the edge can instantly transform any boring page into something super cute. I haven't got any washi like this in my current collection so it was very welcomed, I'm such a washi tape addict!

Decorate With Charlie {seasaltandpaper.com}

The Witch Hazel tidbits set included these divider tags and I simply glued one to the page of the page to make a permanent handy page marker/ mini divider. The kids will be home for half term so I am sure I will be referring back to these pages constantly as we plan out our week together.

Decorate With Charlie {seasaltandpaper.com}

I then went on to decorate further using the Halloween stickers and tidbits - how cute are the flags!? I also used the large sticker to decorate my planner dashboard to make it more seasonal.

Decorate With Charlie {seasaltandpaper.com}
Decorate With Charlie {seasaltandpaper.com}Decorate With Charlie {seasaltandpaper.com}

Of course, I had to use a sheet of the pumpkin notebook and finish off with the cutest Halloween paper clip EVER made by my fellow design team member, Debbie.

Taking inspiration from Anna's post - 'Setting Up My Planner For Halloween' I'm definitely going to go all out and completely kit out my planner this year. Her white colour crush looks adorable and I want in with the cute planner action!

How are you using your October Brimbles Box Goodies?

Charlie

Friday 16 October 2015

Pumpkin Picking? - This weeks pages

I really enjoyed doing my last 'plan with me' video or as I like to call it 'decorate with me' so I thought I would do it again this week. I am a bit late in sharing this weeks pages as it has all been a go-go what with vlogtober and all that so please forgive me for sharing them late. I will try and get back to sharing my pages like I used to do, earlier in the week!


Anyhooo these are my pages:


Products Used

Planner: Websters Pages Color Crush Planner in White with matching folio
Planner Inserts: Websters Pages week on two pages
Washi Tape: All from my shop
Pen: Target $1 spot
Paperclips: made from the bade flair buttons in my shop
Stickers: Bunting and weekend banner stick from HandcraftedbySheree on Etsy. Polka Dot Flag from PinkHedgehogPretties on Etsy and all others from my shop

**None of the links are affiliate links although some of the links are for my own online shop**


Thursday 15 October 2015

Snail Mail decorating with Daisy


I thought I'd share how I've been using some of the goodies I received in my Happy Mail Boxes from Mrs Brimbles! 

I haven't had the time to write to my penpals recently, purely because I have just been so busy. With the internet issues we've been having, everything takes a lot longer to do. So instead of working for 5 hours then taking the time to chill. I've been working 10 hours, just to get what I needed to get done, done. It's stressing me out beyond belief, but I'm working with what I've got.

I've used a few things out of the boxes over the past month, but a week or so ago I just wanted to get stuck into them and use as much as I could. It's what they are there for after all!


I decided to use some of the adorable busy bee paper, and the chipboard mail themed stickers that I got in the August Happy Mail box. Along with the Hello stamp, and the Dear Lizzy label stickers from the September Happy Mail box!

I feel like my decorating style when it comes to mail is quite mis-matched and reflects a lot from my Smash Book style. I take a little bit of this and a little bit of that and figure out a way to make them work haha.
I used two Washi Tapes, the heart one is from Cloudy Cow and the Green one is from Paperchase.
I use this heart one on practically everything, it's one of those ones that just goes with whatever project you are working on, love it!


I used the yellow label sticker from the Dear Lizzy pack to write the address on, the colours went great and it was the perfect size for this envelope. 

This letter was going to a penpal in the USA, I went through all my picture stamps and stuck the right amount on. I tend to save my picture stamps for penpals outside of the UK, I think it's because I know they won't be able to get their hands on them if not. Obviously anyone from the UK can purchase the stamps if they want them, it for anyone outside of the UK it's a little harder.


I finished off by sticking on some orange striped Washi Tape (Also from Cloudy Cow), and a little envelope chipboard sticker. I love these chipboard stickers so much! They aren't too bulky either, so once I'd stuck it on the width and weight of the letter didn't change so it wouldn't cost me anymore to send it.

Whenever I'm putting together a penpal letter, especially one going abroad, as the pricing is very different to sending to the UK. I always have my scales handy so once I've finished it and packed it up, I can see if there's any 'free space' in the weight to add a few more stickers etc. I always assume that like me, my penpals keep cute stickers and pretty things that are stuck on envelopes, so if there's a chance to send a few more without it costing anymore, then why not!

I hope you enjoy seeing how I've used my recent Happy Mail boxes! I'll include a full list of supplies below:


Have a lovely day! - Daisy X

Wednesday 14 October 2015

Setting up my planner for Halloween

I have been seeing all of these gorgeous photos in the planner community accross various social media sites and I was starting to get a little jealous that I didn't have one so I thought it was about time I did. I decided to swap into my white Color Crush planner even though most of the planners I have been seeing have been orange or black. I thought I would be a little different. I haven't had a good play / crafty planner session for ages so it was really nice to play and have some fun and whilst I was doing that I thought I would record what I was doing so that you can see too!


Most of the items that I used for this were either from the October Brimbles Box or were raided from my shop stock (one of the perks of having such things in stock is that you can raid them he he!).

So if you didn't watch the video or just like to look at photos, let me tell you what I did. First let me say that this is actually quite a lot for me to do in one go. Usually I switch and things just seem to get added organically over time. It is unusual for me to just switch and go the whole hog with decoration. Most of it isn't needed I just like it! It felt kinda good to go whole hog but I probably can't add any more as time goes on!

I took the pumpkin charm off of the pen that came with the box and added it to my strap to replace the charm that came with the planner. I think the little pop of orange looks cute there!


I decided to decorate the inside. I used one of the 'reject' dashboards from the Box, the ghostie one. I thought he looked pretty cool! I made a washi on the go card from a Halloween Project Life card and I also added a couple of other cards and stickers just to look pretty.


I stuffed some Project Life cards into the pockets and used paper clips to clip in some bits of ephemera. They serve no purpose other than to look awesome! The bunny clip was made exclusively for the box by Craftin Chaos and I love it. The other paper clips I made out of the Halloween badge flair buttons.


I 'modified' the WP logo a little by adding a pumpkin puffy sticker!


And I also made co-ordinating dividers cut down from the Halloween divider pack.


You remember that lovely shaker dashboard that the talented Geraldine made for me? Well I just had to add that in too didn't I!


 All in all I am totally loving this eye candy and hope you do too!