This months Brimbles Box was so cute! It had a slight Valentines feel but also a Happy Mail/Letters/Memory Keeping feel to it.
When I got the box I decided I would use the planning stickers for my Bullet Journal and most of the other box contents for my art journal.
What came in the box?
12x12 scrapbook paper x2 (one side multicoloured paint splashes/one side lovebugs)
12x12 scrapbook paper x2 (one side loveheart envelopes/one side pink type writers)
12x12 scrapbook paper with journal cards
Hearts washi tape
Ephemera
Sequins!
Lovebug sticky notes
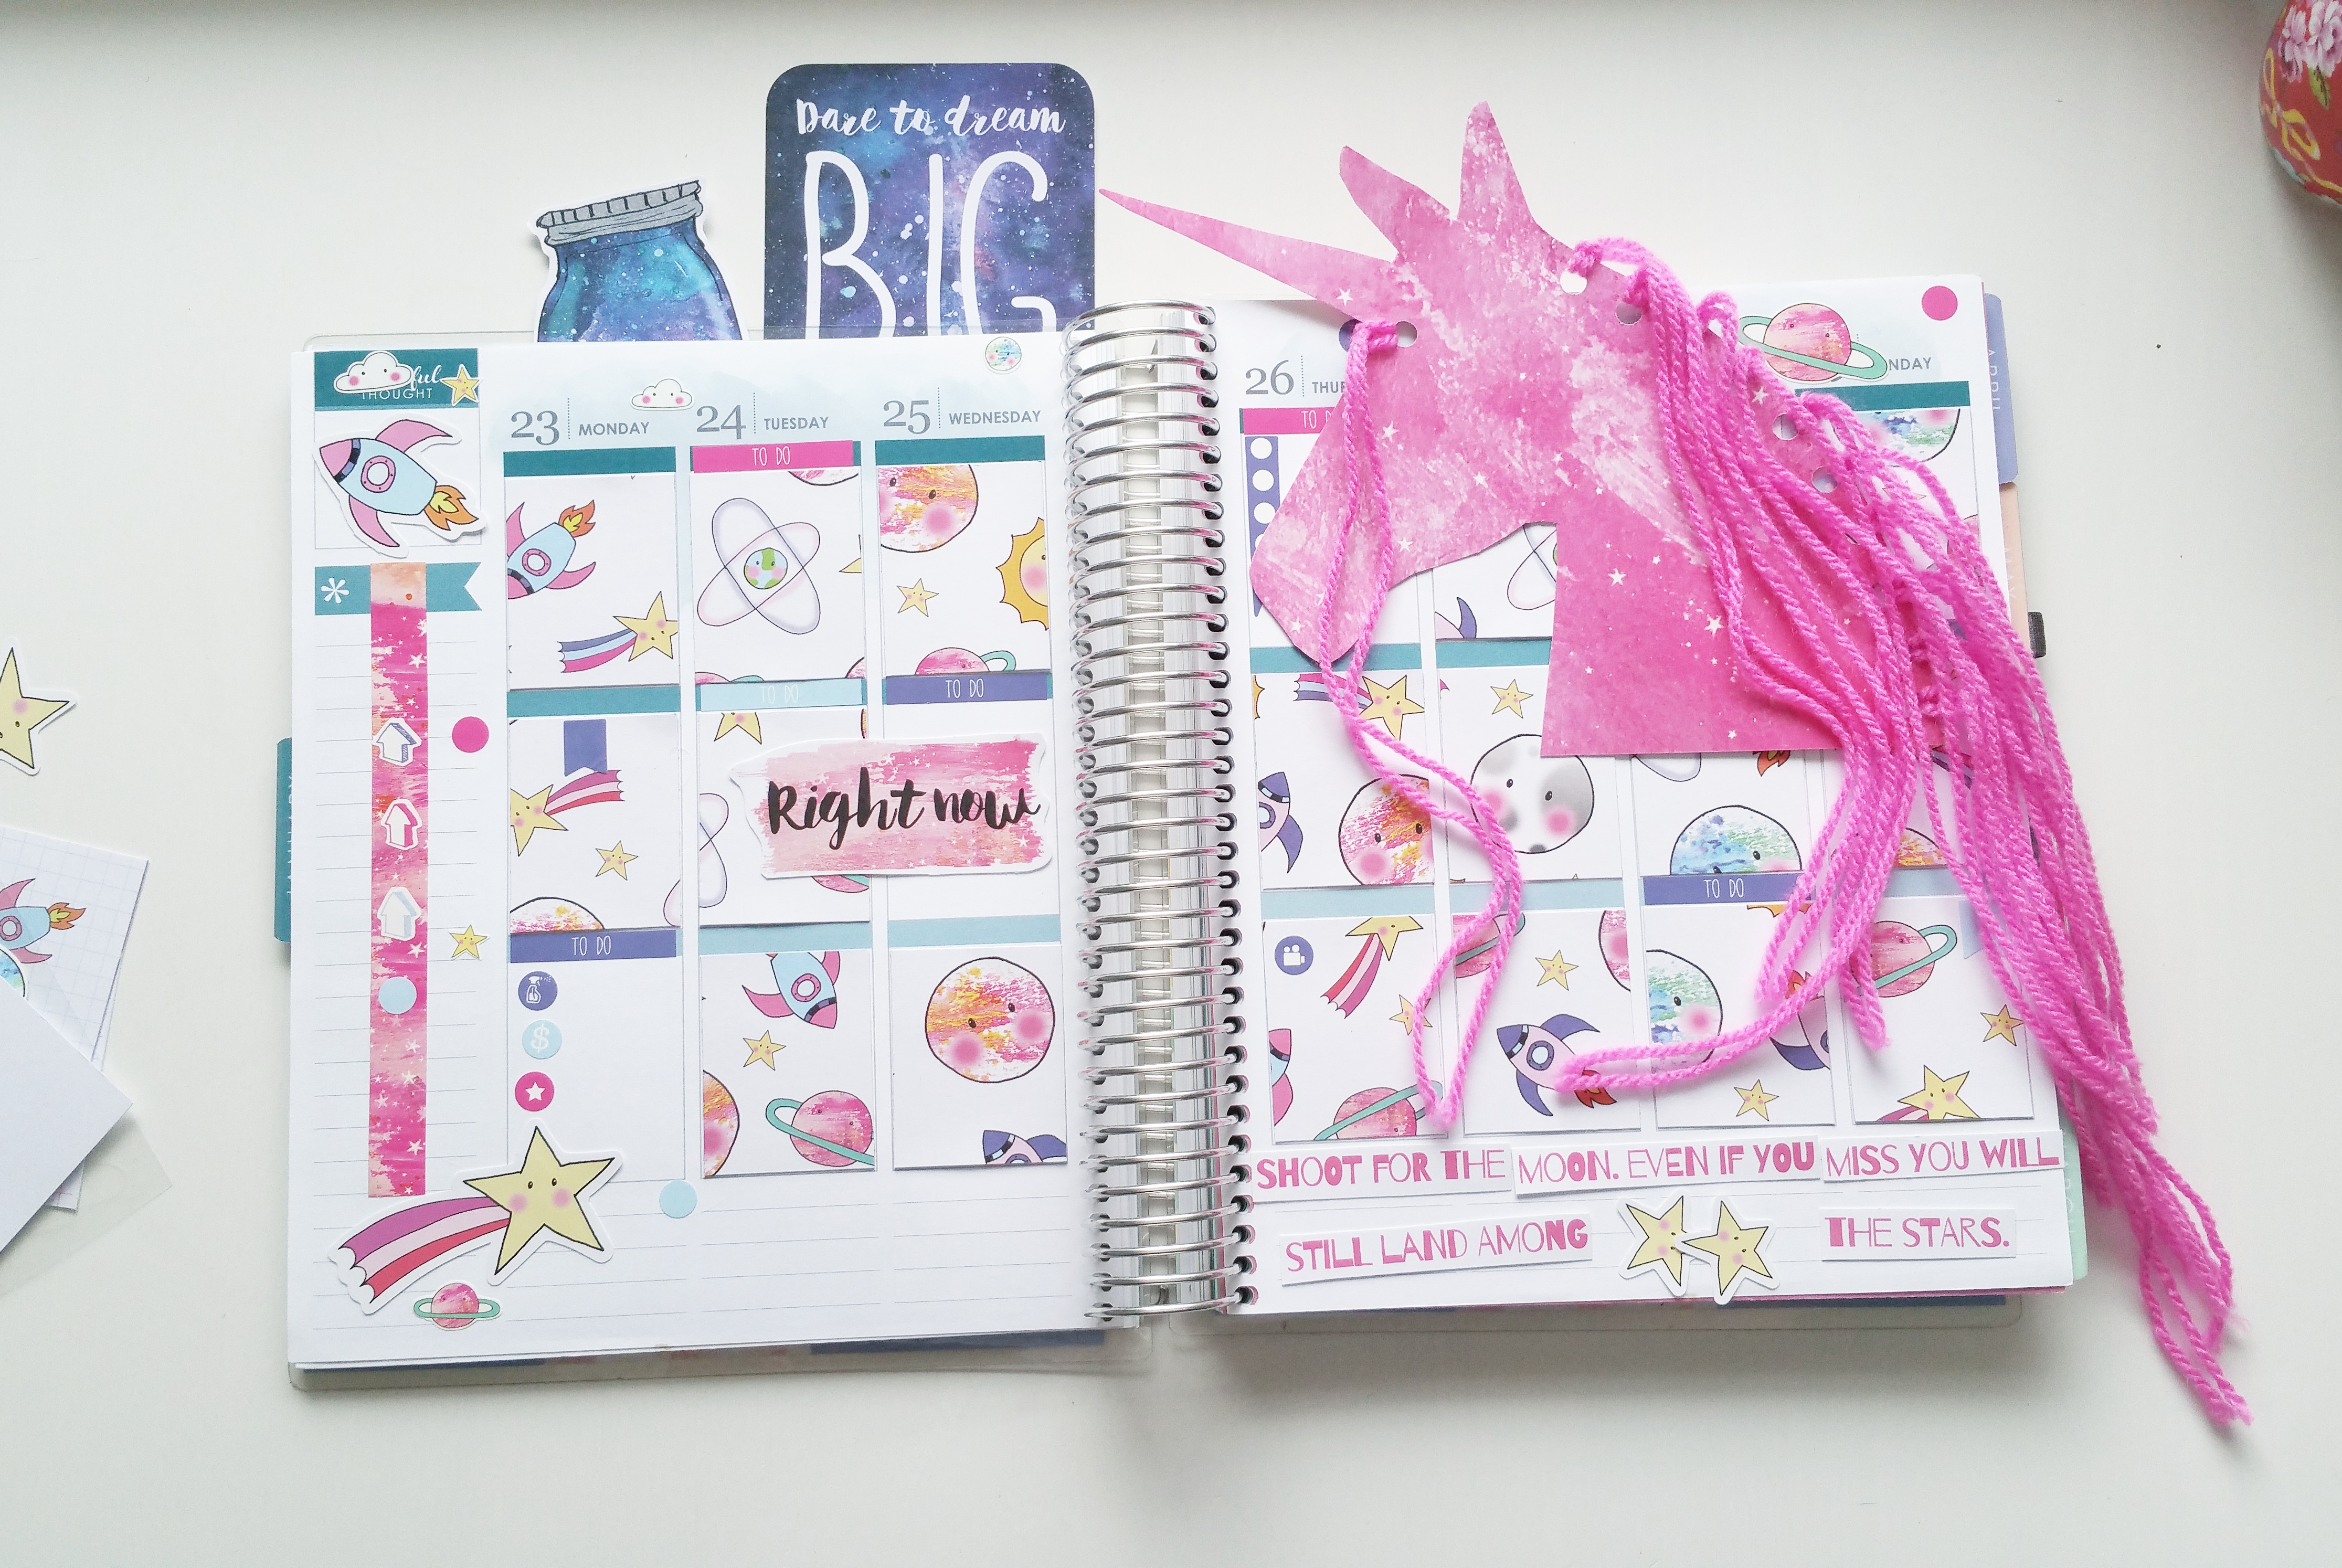
Planner stickers
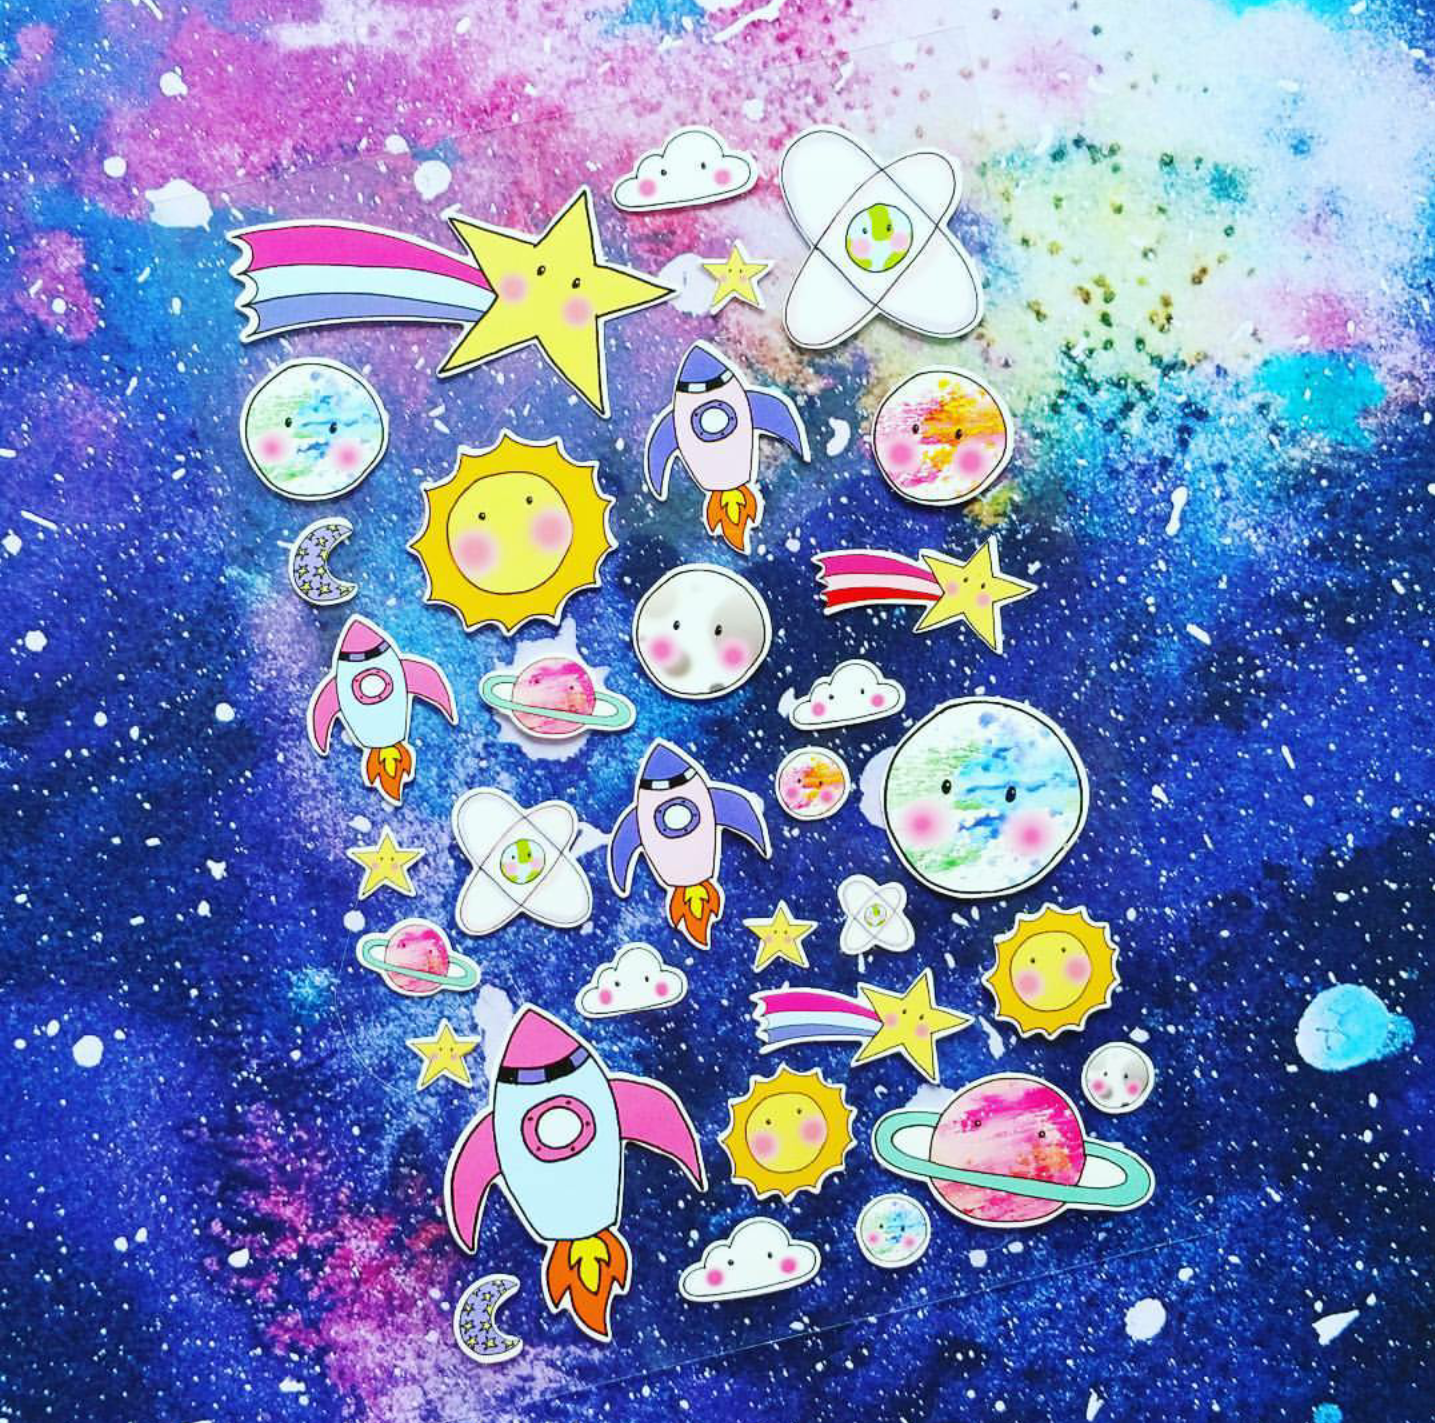
Decorative stickers
Enamel dots
Before I get into it, I just want to say how much I LOVE the sequins! I'm really drawn to neon and bright colours with my art journal work at the moment. I've used the sequins in the spread created for this post but I already have another page where I plan to use them again!
What did I do with the contents?
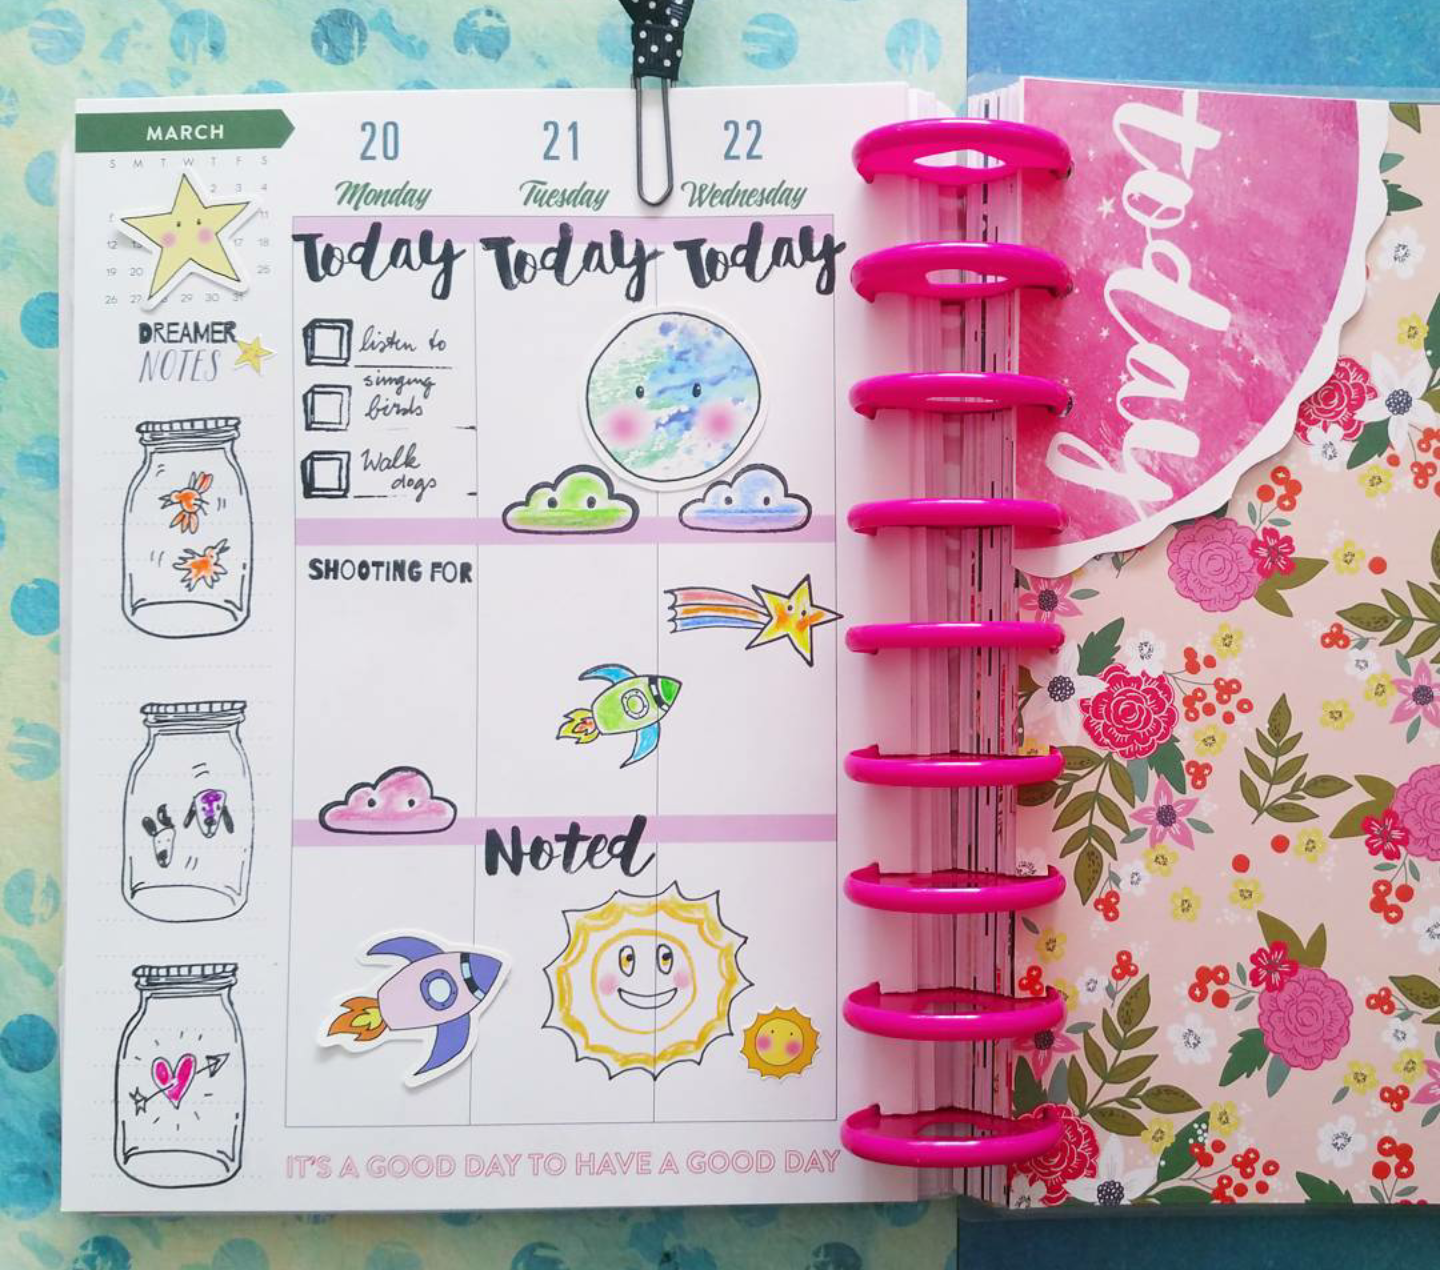
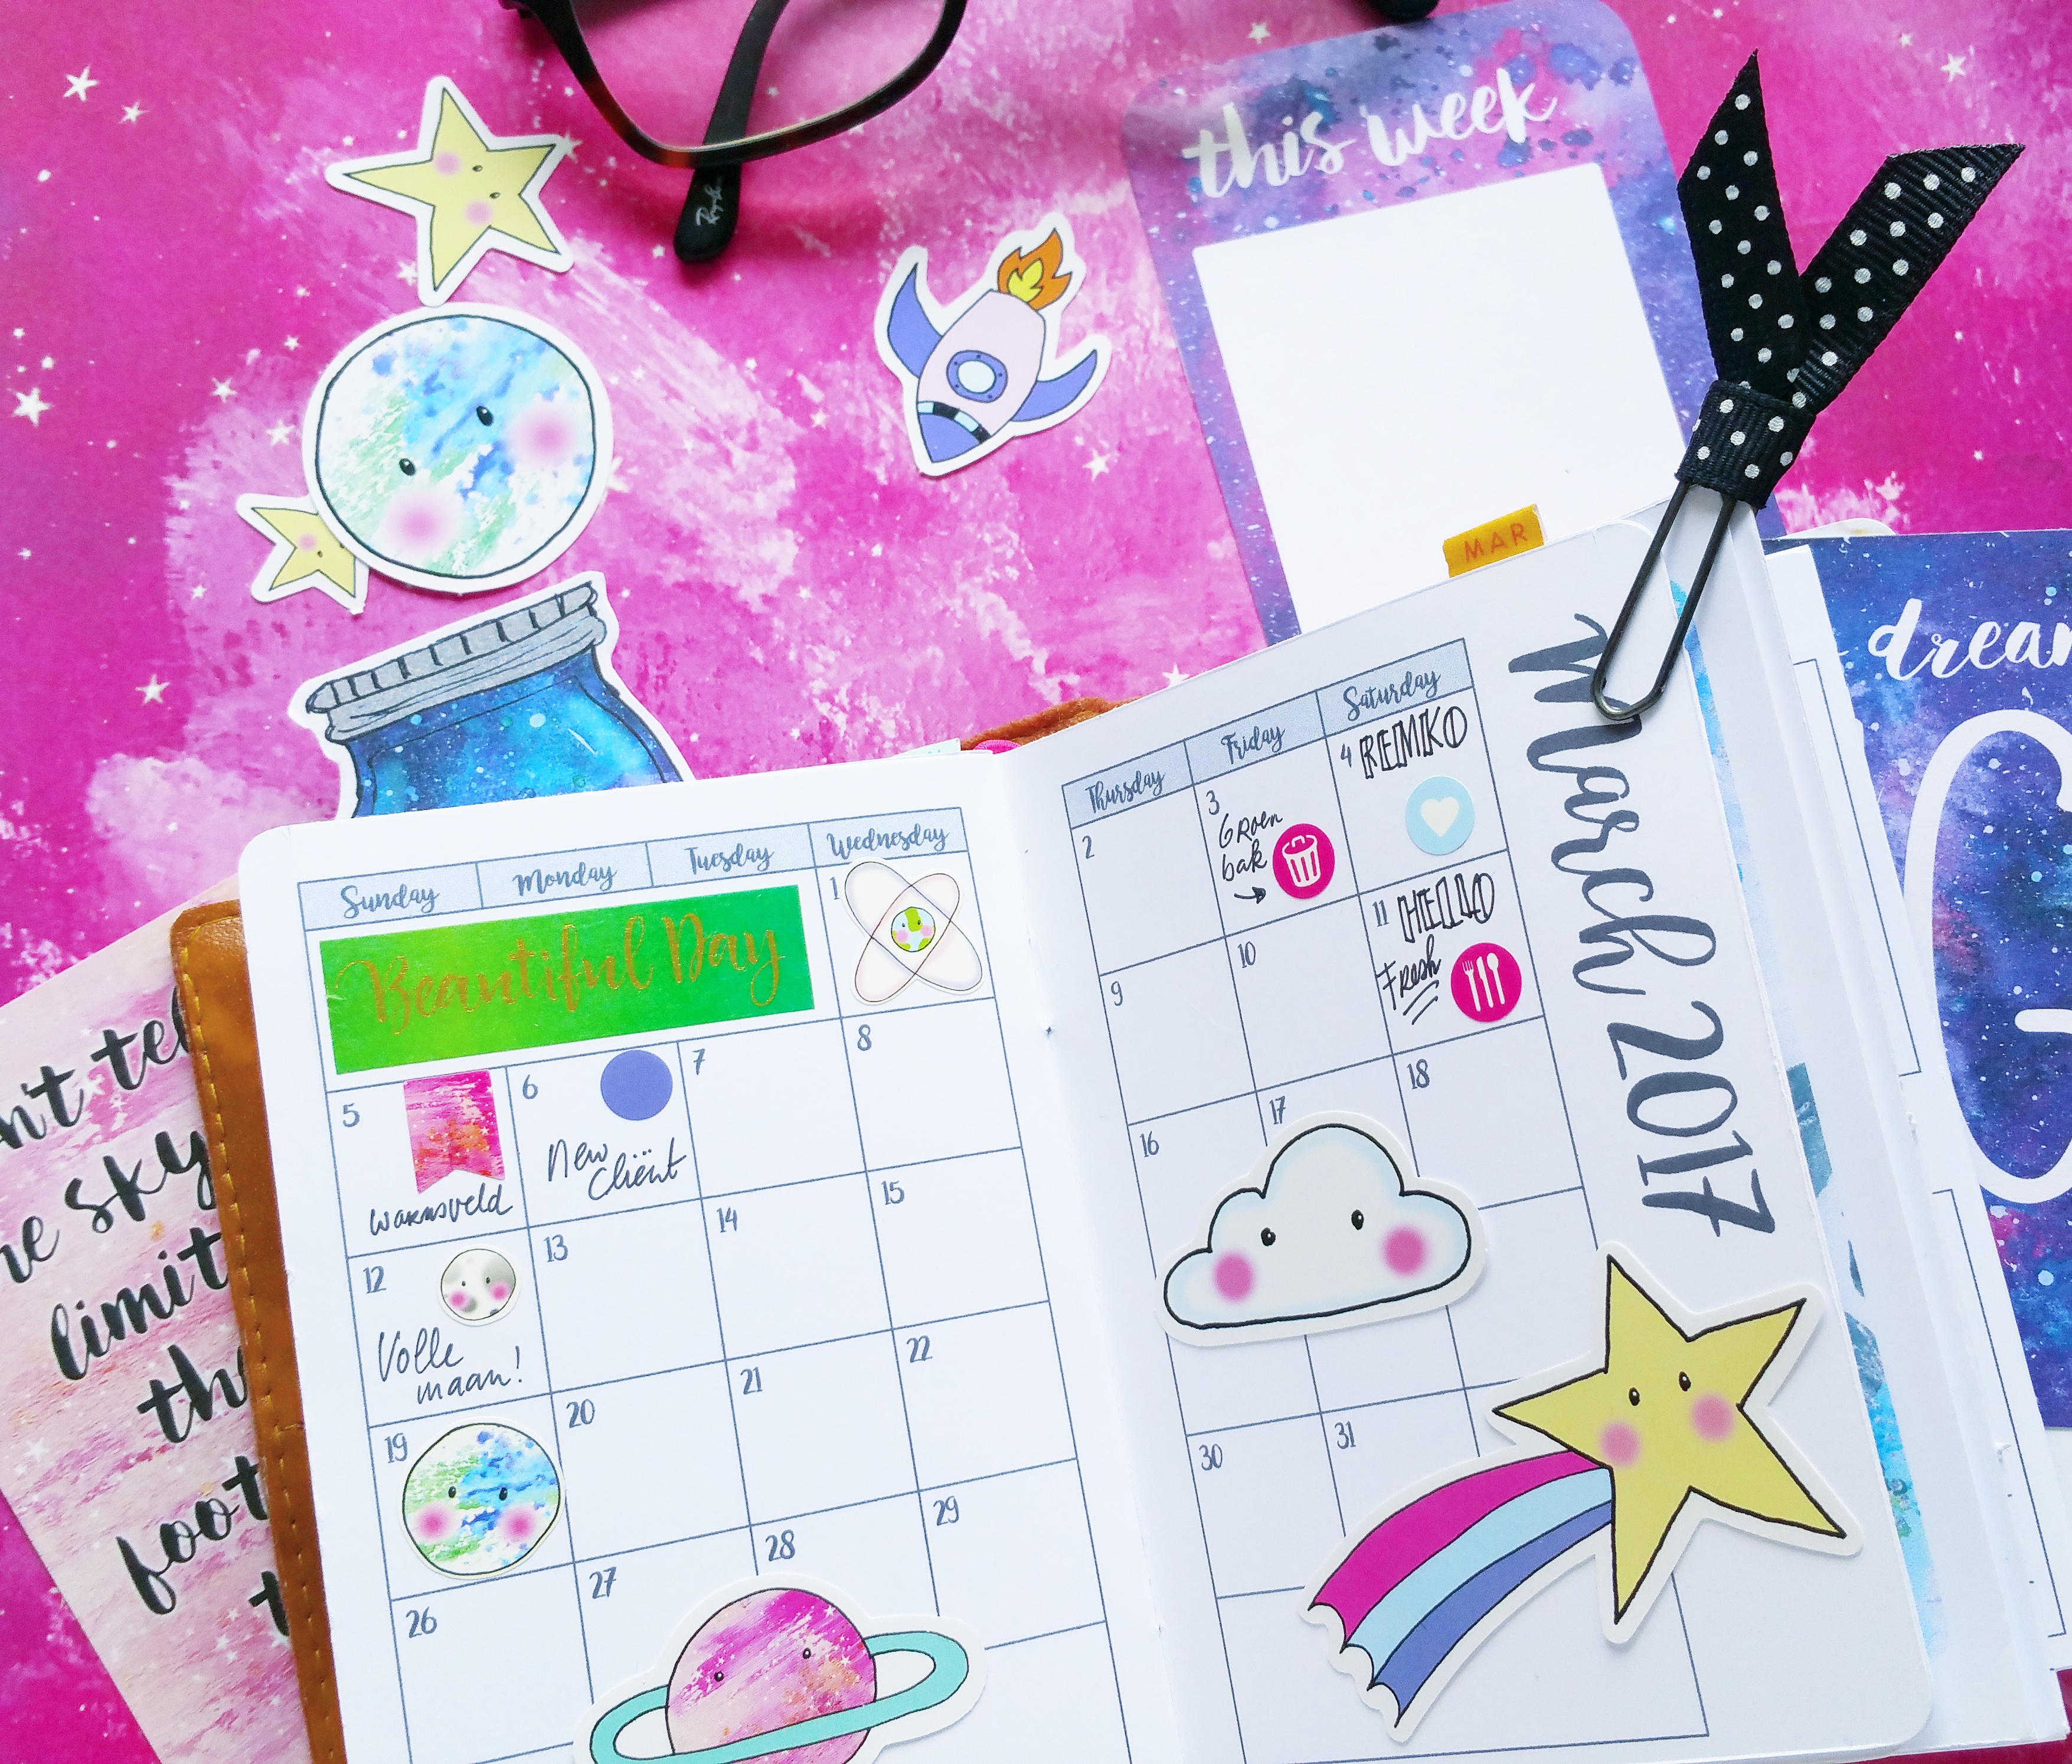
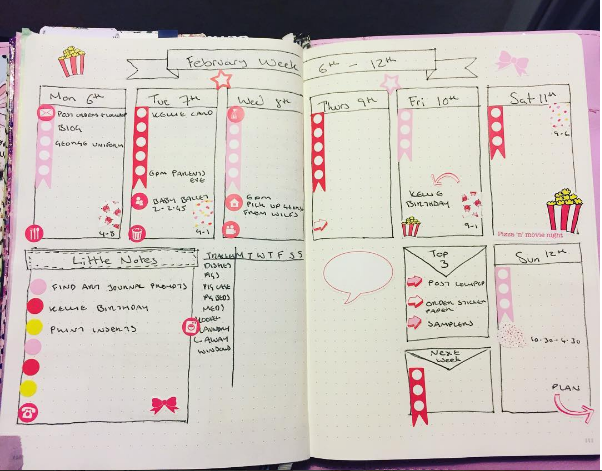
First up I created a weekly spread in my Bullet Journal. I really don't mind a good bit of white space from time to time. I have a lot going on at the moment and being able to have a bit of colour but also be able to write everything out works well for me. Recently I've started planning my days by time. It means I can stay on track and feel like I've been productive at the end of the day.
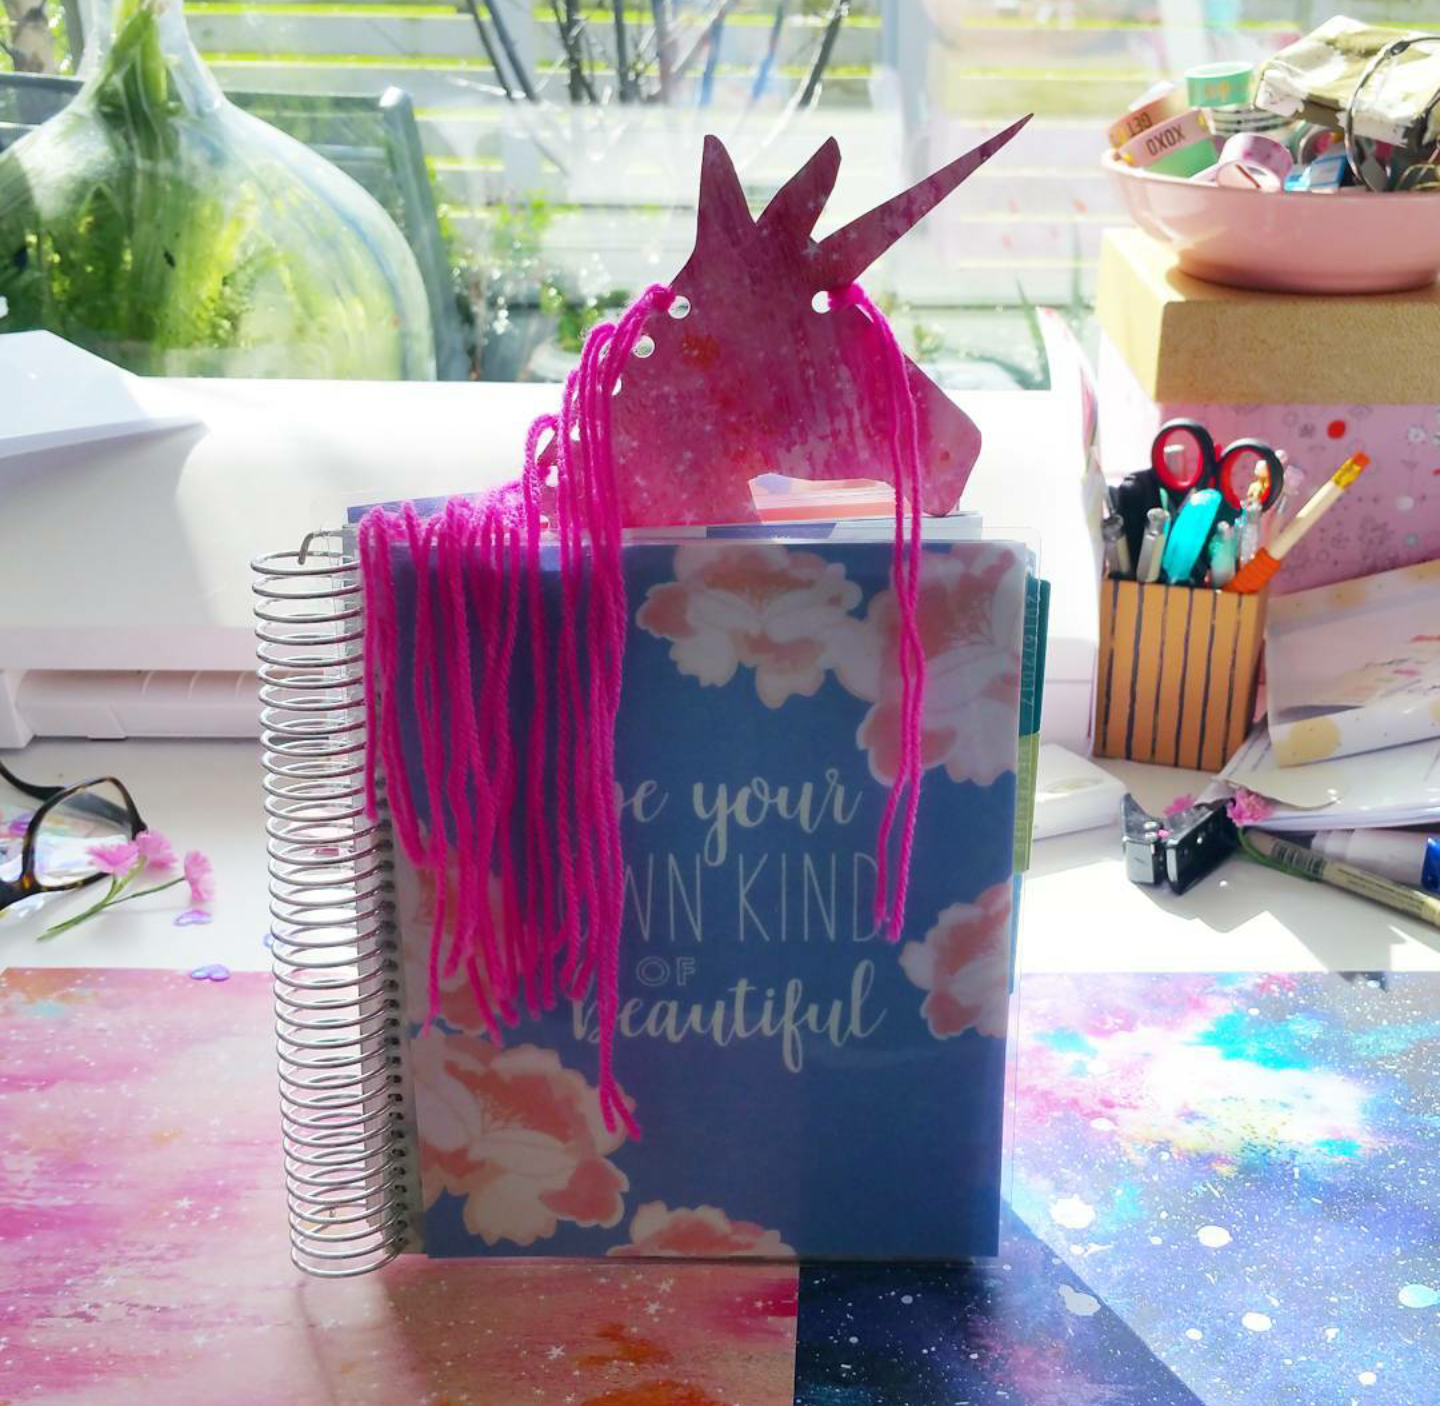
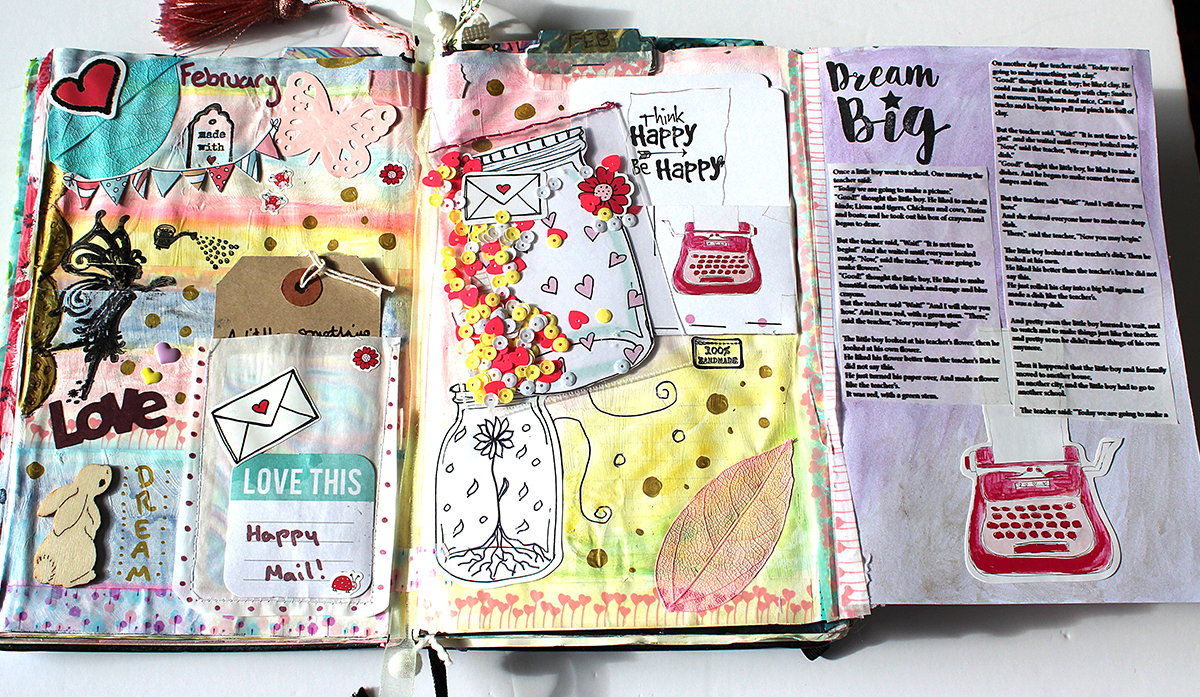
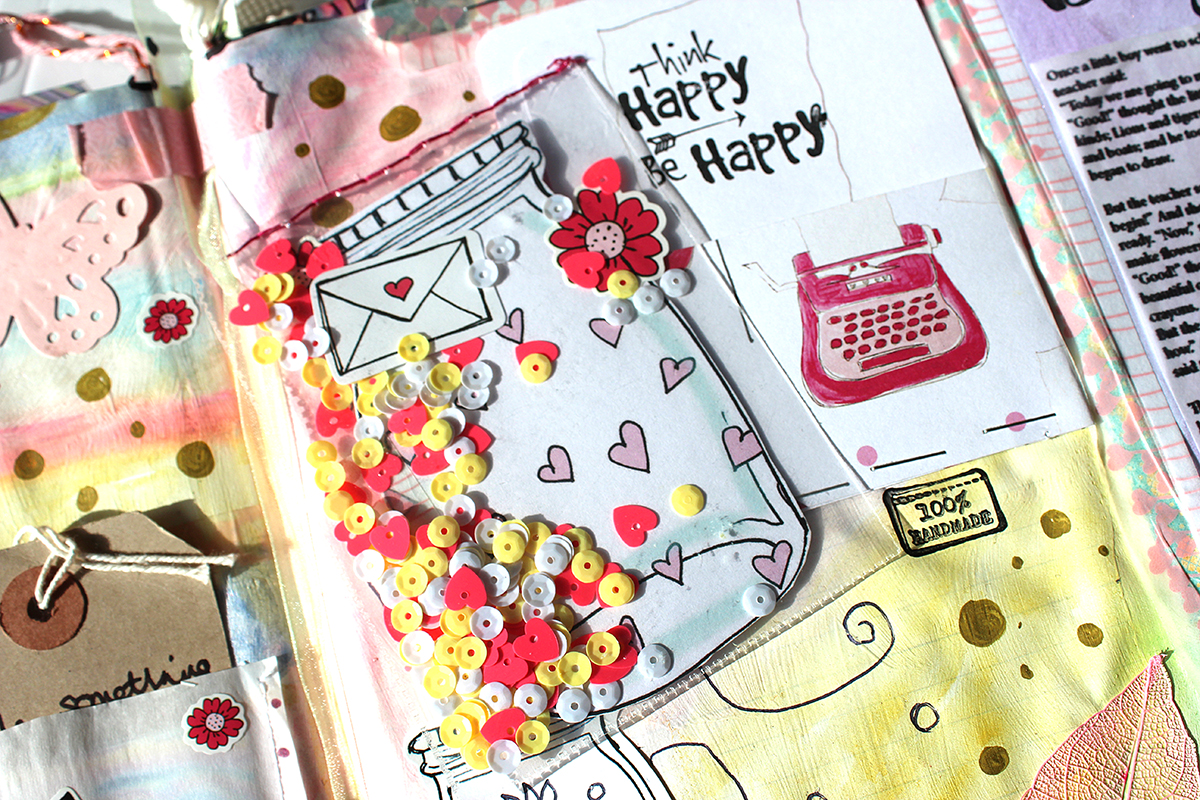
Everything else I've done so far has gone into my art journal. I'm so pleased with how the spread has turned out! It started off with the shaker pocket as I was desperate to use the sequins! The pocket itself is from a
simple stories pocket pouch. These were A5 with two smaller pockets at the top and a larger at the bottom. I cut it down and use one of the smaller pockets. I played with a few bits and pieces to go with the sequins and finally decided to use the large jar and hearts ephemera. This has been held down with flower stickers (from the kit). In addition to the sequins, I added a small envelope/letter ephemera piece. This was then hand stitched to close, a small 1.8mm hole was punched in the top corner and a green ribbon has been threaded through. This was then stuck into the spine on the art journal spread.
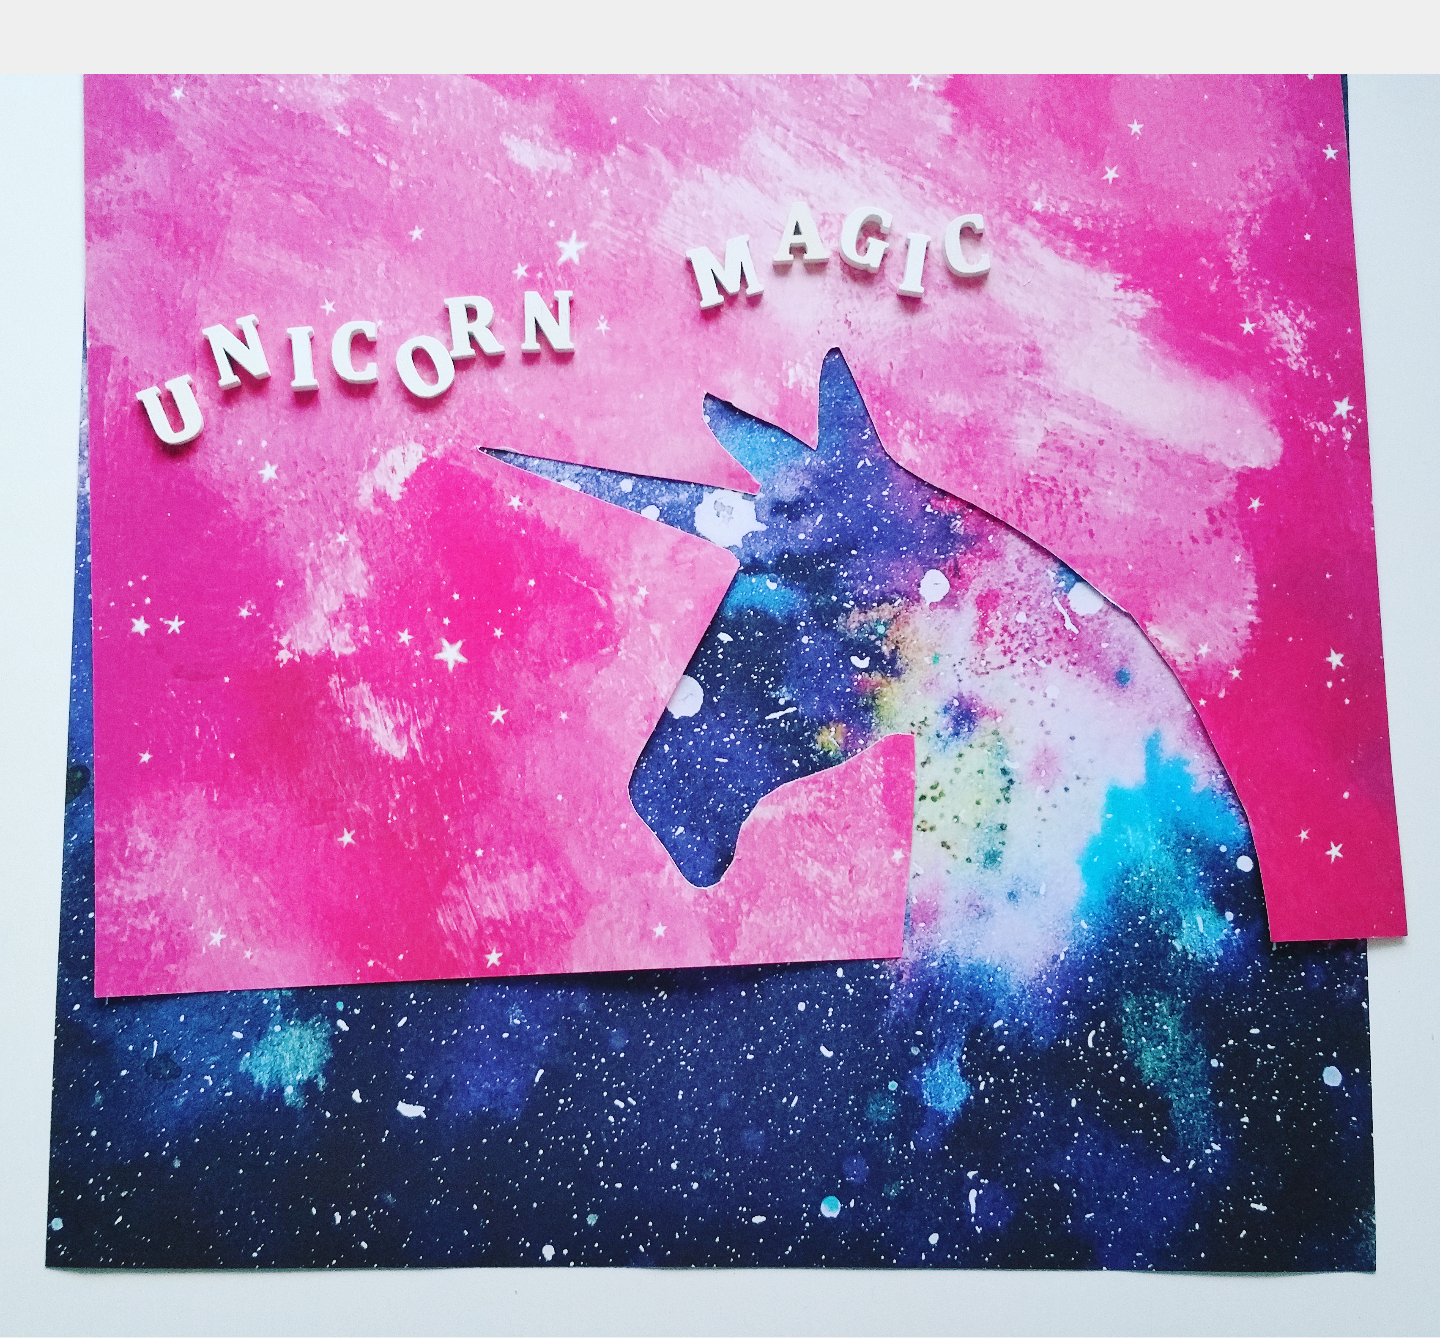
I then created my background. I decided to use colours linking to the kit but with a slightly more pastel tone so it wouldn't take over.
The spread actually covers four pages as I've used a method from the
Lorraine Bell 'Plan.Journal.Play' workshop. An extra page is attached to the right hand spread so that the back and front can be worked on.
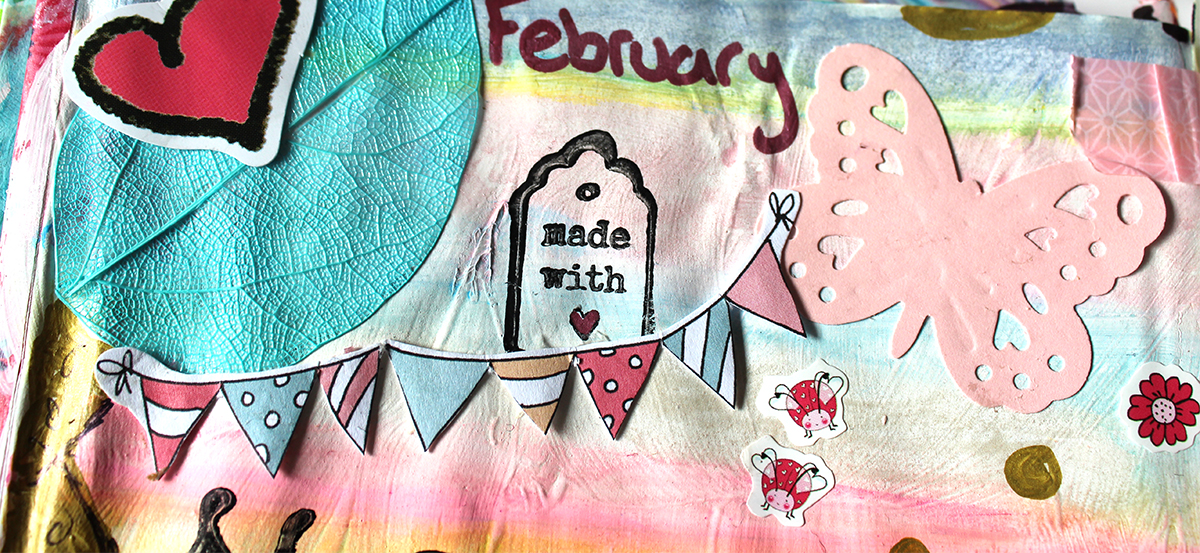
There was no real rules or plan with this spread. I've been building it over a few weeks and allowing it to develop in it's own time. I gradually added bits of ephemera, paint pens, oil pastels, stamps and washi. I could see that it was fast becoming a page of gratitude and love.
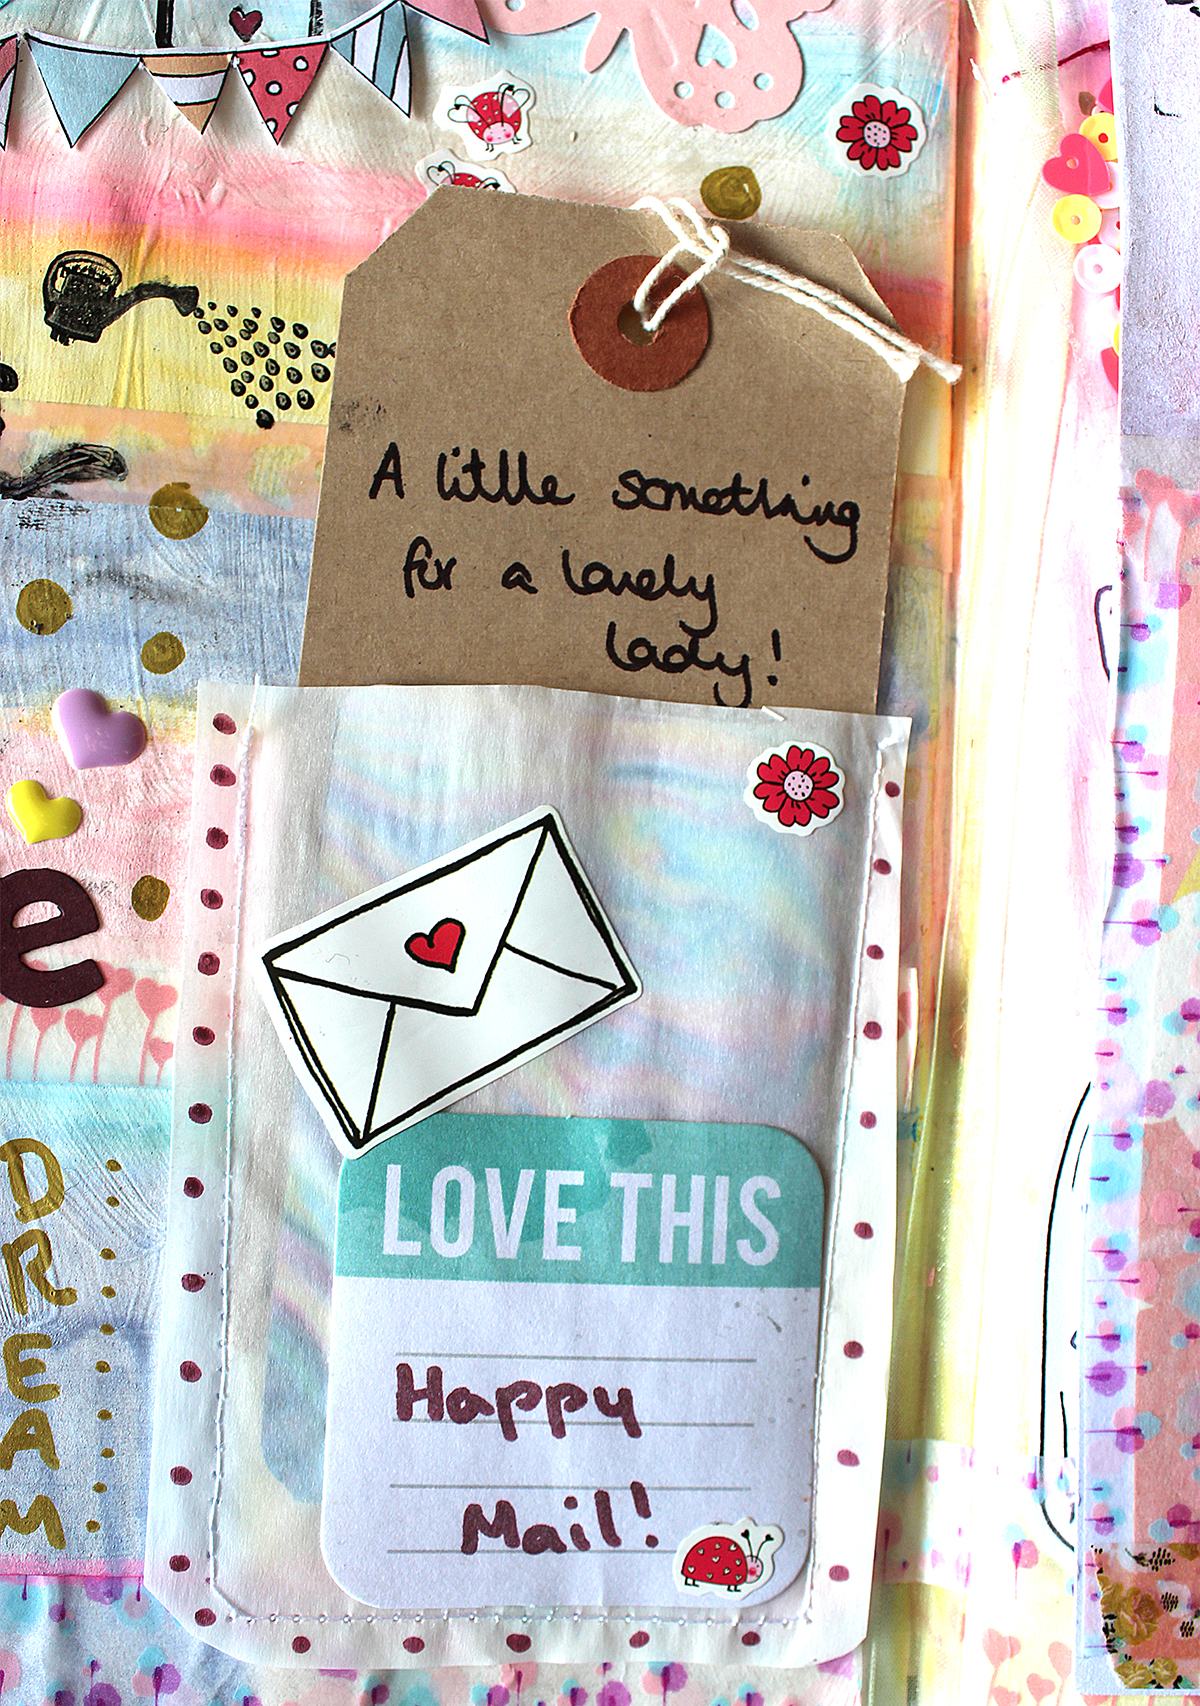
I decided to create a sewn pocket from tracing paper and this would hold a tag given to me by Jeni Bristow. It has some lovely words written on it. Also as it came in happy mail it made sense going with the kit theme.
I then realised I quite like making pockets but can't always be bothered to set up the sewing machine! I like a quick fix. So I decided to create some more pockets with the 12x12 scrapbook paper. I measured the journal cards and drew out a rectangle bigger than them on the scrapbook paper. I then drew another rectangle at half the height but about an inch wider. This section was folded back on itself and the folds (left and right) were attached to the taller card with double sided sticky tape. I didn't want to tape the bottom as it effect the height of the contents so I decided to carefully staple along the bottom. Not everyone will like this look but for my art journal it works well. Adds another texture!
The pockets now hold the kits journal cards! I have one on this spread and one on a previous spread I'm still working on. Once the pocket was attached to the page I realised I wanted to create some sort of drawing to fill the rest of the space. I love jar imagery in art journal work, so decided to use the small jar ephemera. This was blank so I decided to draw a flower and doodle on the rest of the page.
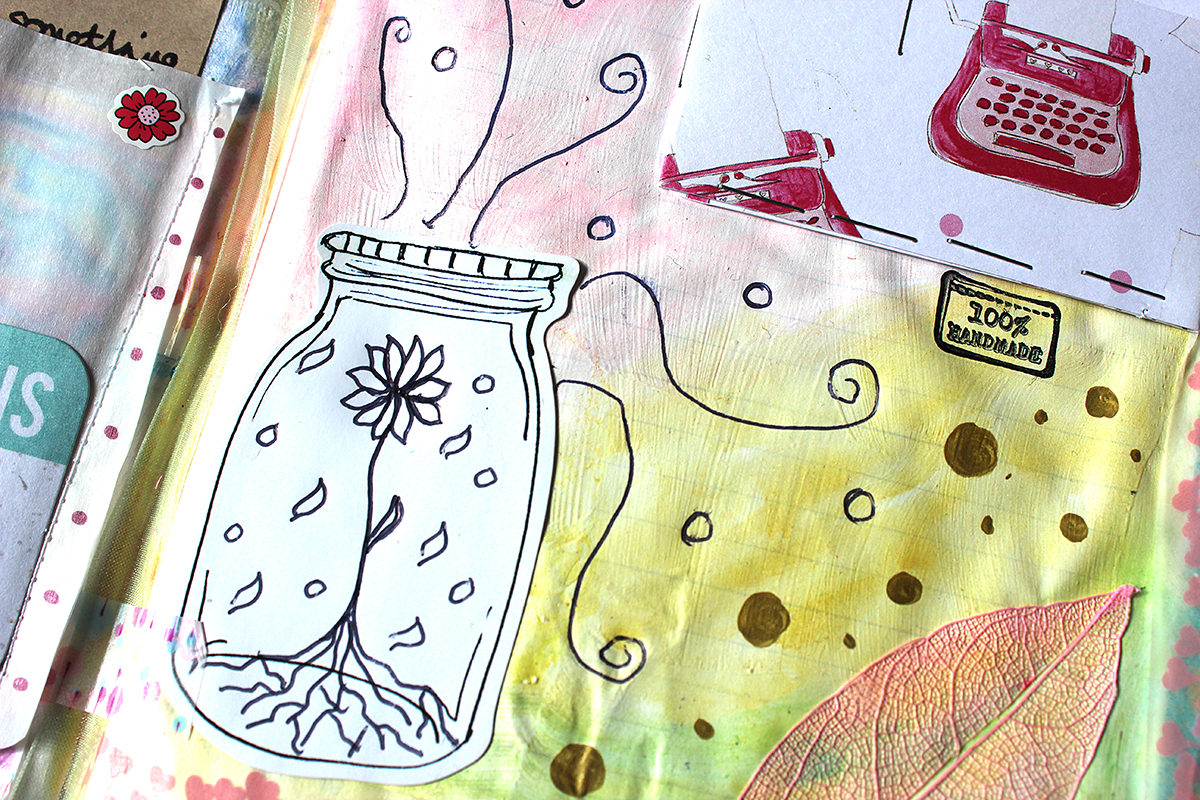
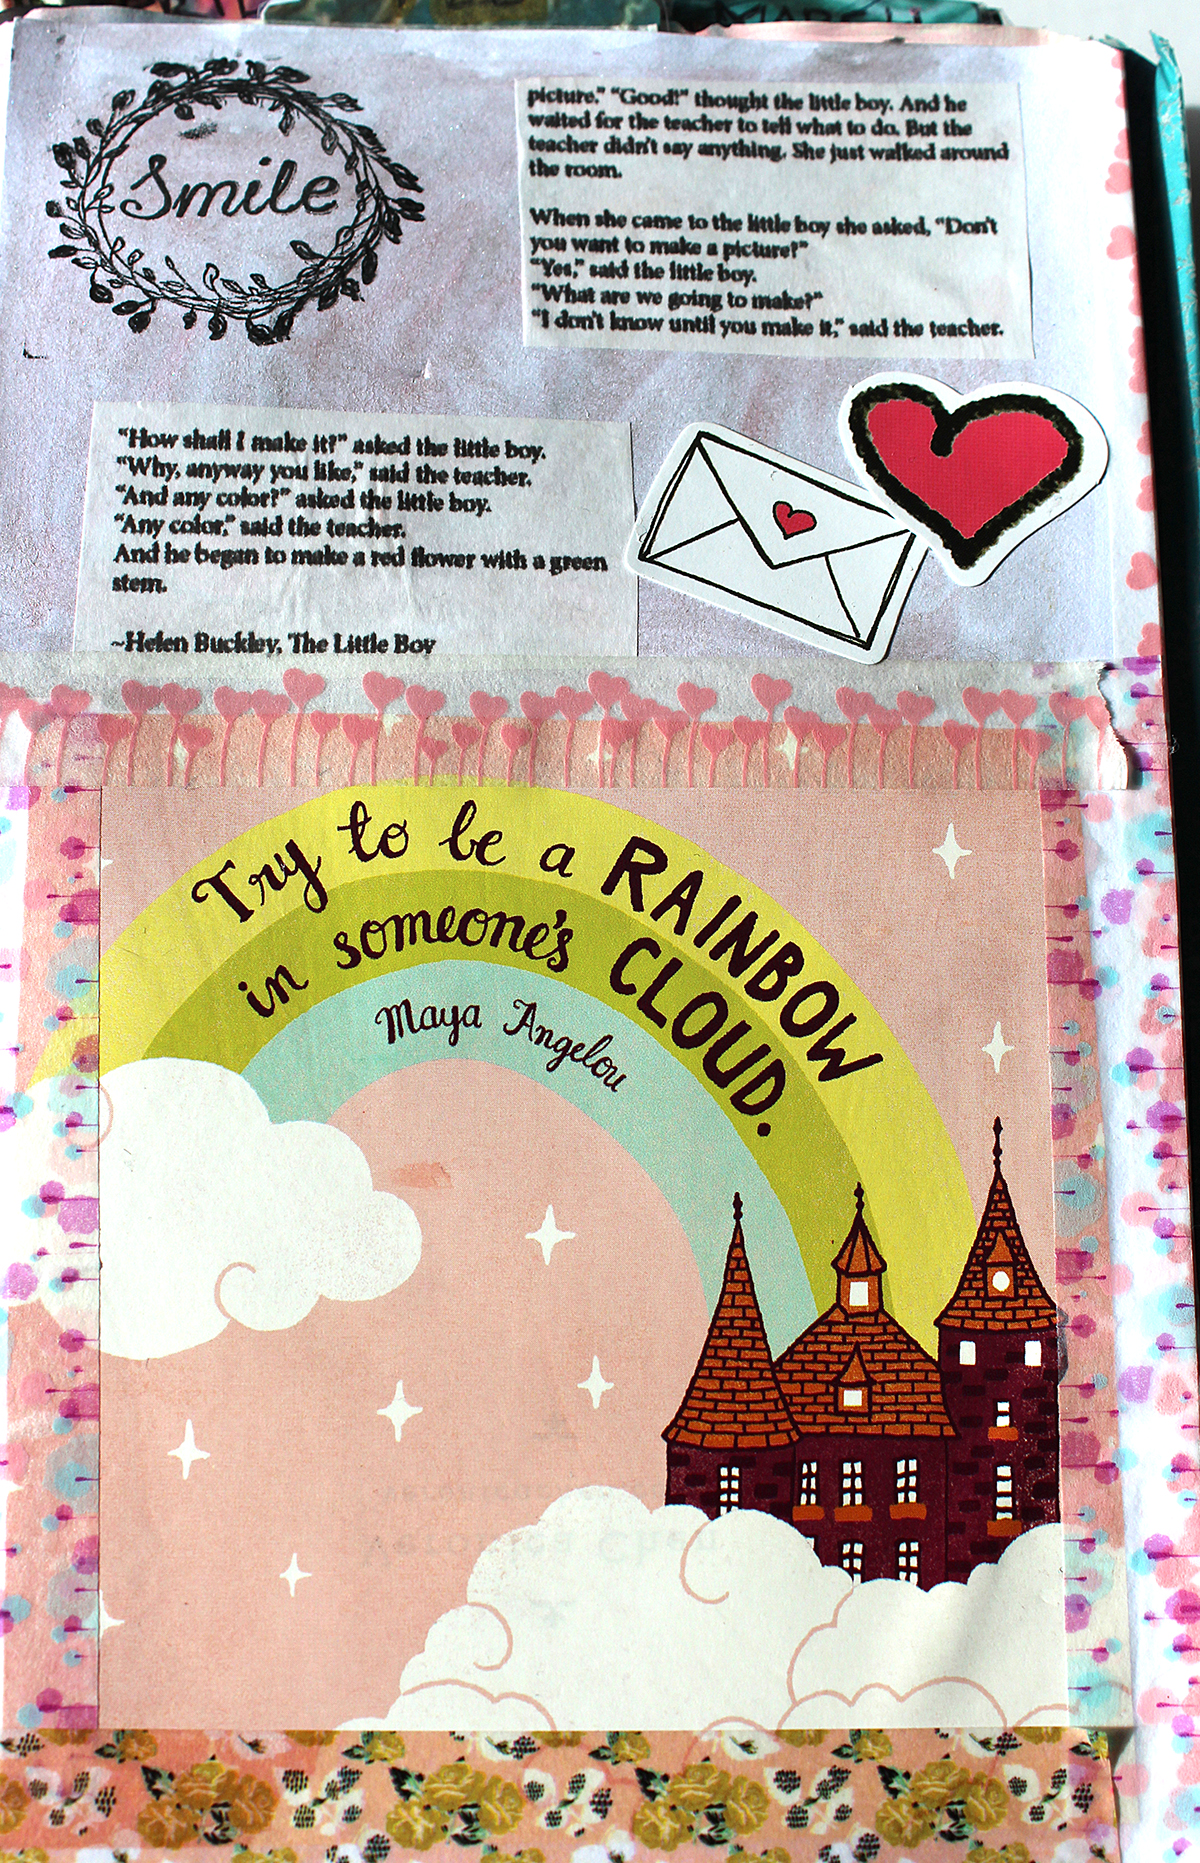
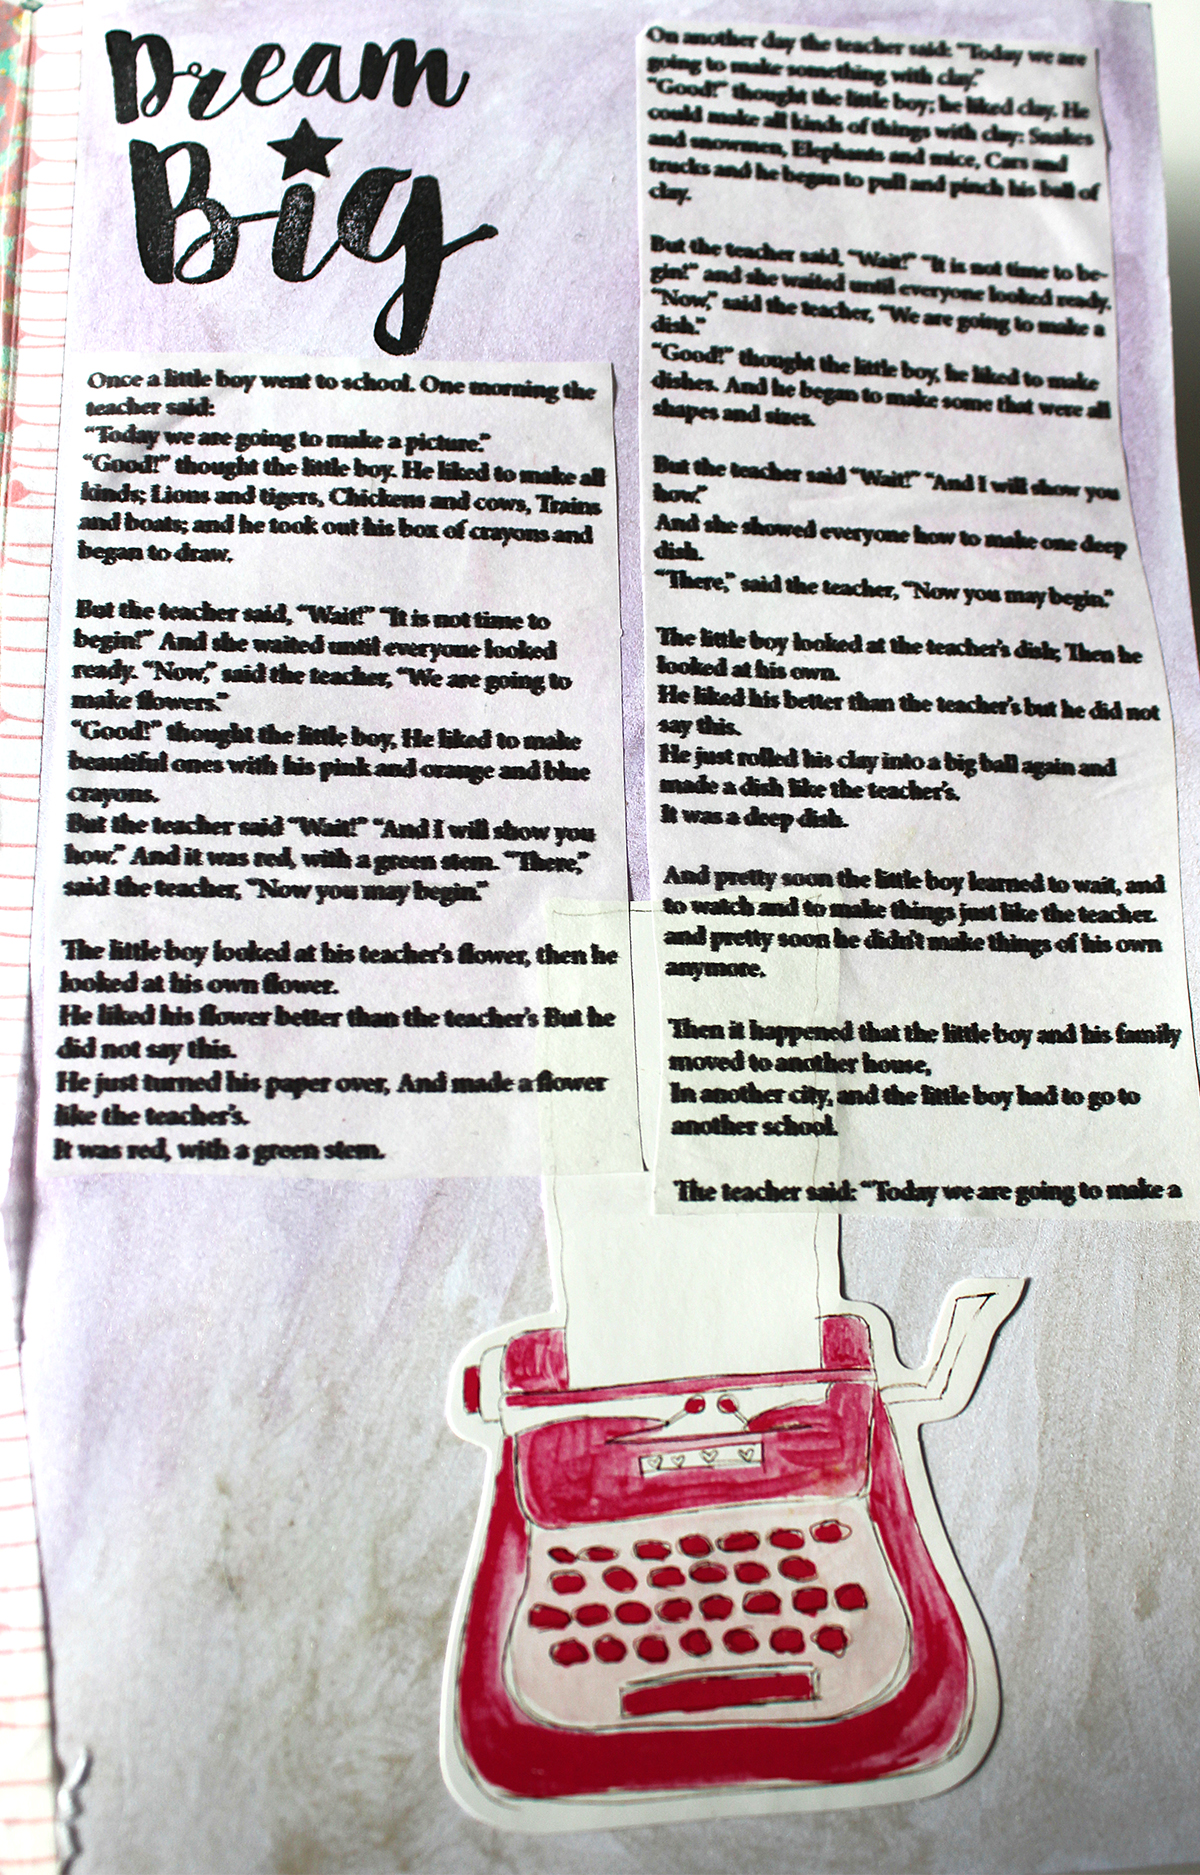
That left the fold out page. At the beginning of the process I had stuck a type writer to one side and a quote (from my calendar) on the other side. My intention was to use these pages to write. However I couldn't think at all of what to write.
My Mum then shared a poem on Facebook named 'The Little Boy' by Helen Buckley. It's about innocence and youth with creativity and how we can be taught to conform until we forget how to let go. For me it was a reminded to be who I want to be, believe in myself and be strong. It also links to my art journal work. A lot of the time I over think things and try to find purpose with a page instead of going with it. My art journal for me is a place to play and escape every day life, there aren't any rules and no judgement.
Apart from the sticky notes, I have used everything in the box. Only this week (on a different planner spread) have I worked out how to use sticky notes in my Bullet Journal. That's mainly the reason they weren't used at the time. As sticky notes go, if I'd been using the method I'm now using they would have been very useful due to their size and writing space.
So that's everything in this months box!
Thank you for reading,
Kelly xxx