If you have a planner addict, journal junkie or stationery lover in your life and you have no idea what to get them for Christmas, don't panic! Mr B (aka Jonathan / Jon) is here to help!
I gave him free run of the stock room and asked him to choose what he thought, from his perspective would make good presents. This video is entirely his thoughts / his words. I had no imput into this at all, he even filmed and edited it on his own. I have to say that Mr B is actually a really good shopper and gift giver and as one of those aforementioned persons, I would be pretty chuffed with his choices!
So no more unwanted presnts, just get your significant other to watch this video and you are sorted!
Products mentioned
Stocking Fillers:
Washi Tape: http://www.mrsbrimbles.co.uk/product-category/washi-tape/
Stickers: http://www.mrsbrimbles.co.uk/product-category/stickers/
Project Life Cards / kits: http://www.mrsbrimbles.co.uk/product-category/p/
Carpe Diem range: http://www.mrsbrimbles.co.uk/product-tag/carpe-diem/
High End Stationery
Emma Bridgwater Sticky Notes: http://www.mrsbrimbles.co.uk/product/emma-bridgewater-rose-bee-sticky-notes/
Rifle Paper Co List Pad: http://www.mrsbrimbles.co.uk/product-category/rifle-paper-co/
Kate Spade Pen: http://www.mrsbrimbles.co.uk/?s=kate+spade+pen
Ban.do Stickers: http://www.mrsbrimbles.co.uk/product/ban-do-sticker-booklet-700-stickers/
Ban.do Sticky Note Set: http://www.mrsbrimbles.co.uk/product/ban-do-sticky-note-set-thumbs-up/
Planners
All the planners mentioned: http://www.mrsbrimbles.co.uk/product-category/planners/
A Brimbles Box either a one off: http://www.mrsbrimbles.co.uk/product/august-big-brimbles-box-single-box-stationery-only/ or a rolling subscription: http://www.mrsbrimbles.co.uk/product/brimbles-box-stationery/
And if you are really stuck we can put together a collection for you, just let us know how much you would like to spend and we will do the rest! http://www.mrsbrimbles.co.uk/product/gift-box-you-choose-the-value/

Showing posts with label Planners. Show all posts
Showing posts with label Planners. Show all posts
Wednesday, 9 December 2015
Friday, 6 November 2015
Planner Decorating!
Now that Halloween is over I felt it was time for a planner change over so I thought I would do that and share with you what I went for. Obviously it had to be 'pimped' a bit too, I could just leave those pockets empty now could I! I also wanted to share with you my page decoration for the week.
Products Used
Planner: Websters Pages Color Crush Planner in Yellow with matching folio
Planner Inserts: Websters Pages week on two pages
Washi Tape: Amy Tangerine strips booklet (orange flower and yellow spot) from my shop. Orange stipe from Websters pages. Orange dot unknown.
Pen: Target $1 spot
Paperclips: Fox made by Craftin Chaos on Etsy. Wooden paper clips "Autumn" from my shop. Pumpkin clip made from the Apple Cider tin pins in my shop.
Stickers: Fraggle Rock stickers made for me by a friend. The other stickers used are the Apple Cider stickers available in my shop
Note Cards: My pretty week
Dashboard: Made by me but no longer available.
**None of the links are affiliate links although some of the links are for my own online shop**


Wednesday, 14 October 2015
Setting up my planner for Halloween
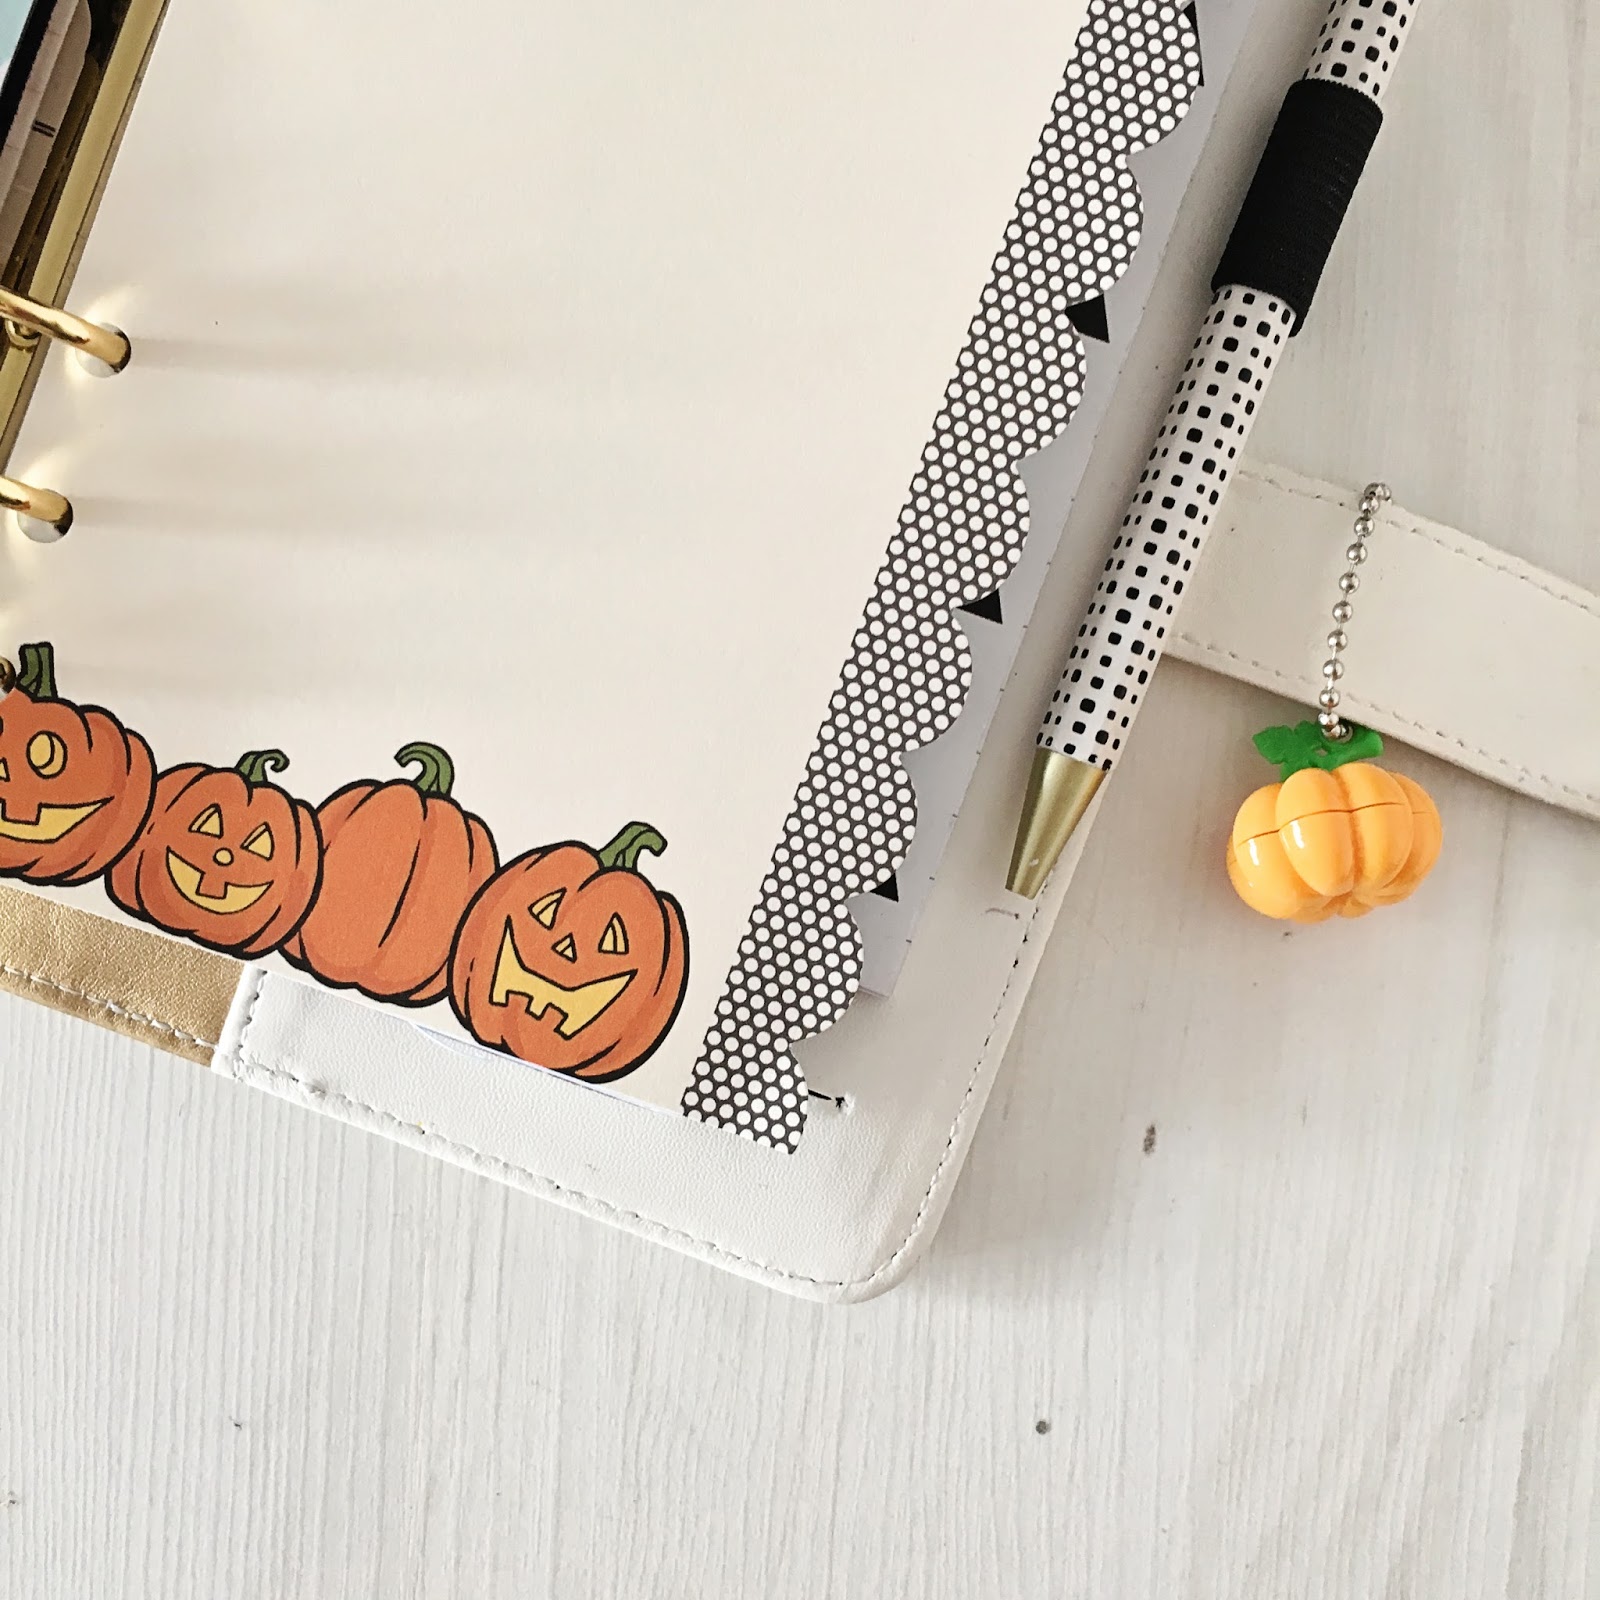
I have been seeing all of these gorgeous photos in the planner community accross various social media sites and I was starting to get a little jealous that I didn't have one so I thought it was about time I did. I decided to swap into my white Color Crush planner even though most of the planners I have been seeing have been orange or black. I thought I would be a little different. I haven't had a good play / crafty planner session for ages so it was really nice to play and have some fun and whilst I was doing that I thought I would record what I was doing so that you can see too!
Most of the items that I used for this were either from the October Brimbles Box or were raided from my shop stock (one of the perks of having such things in stock is that you can raid them he he!).
So if you didn't watch the video or just like to look at photos, let me tell you what I did. First let me say that this is actually quite a lot for me to do in one go. Usually I switch and things just seem to get added organically over time. It is unusual for me to just switch and go the whole hog with decoration. Most of it isn't needed I just like it! It felt kinda good to go whole hog but I probably can't add any more as time goes on!
I took the pumpkin charm off of the pen that came with the box and added it to my strap to replace the charm that came with the planner. I think the little pop of orange looks cute there!


I decided to decorate the inside. I used one of the 'reject' dashboards from the Box, the ghostie one. I thought he looked pretty cool! I made a washi on the go card from a Halloween Project Life card and I also added a couple of other cards and stickers just to look pretty.

I stuffed some Project Life cards into the pockets and used paper clips to clip in some bits of ephemera. They serve no purpose other than to look awesome! The bunny clip was made exclusively for the box by Craftin Chaos and I love it. The other paper clips I made out of the Halloween badge flair buttons.

I 'modified' the WP logo a little by adding a pumpkin puffy sticker!


And I also made co-ordinating dividers cut down from the Halloween divider pack.


You remember that lovely shaker dashboard that the talented Geraldine made for me? Well I just had to add that in too didn't I!


All in all I am totally loving this eye candy and hope you do too!
Monday, 12 October 2015
Creating Goodies for your planner

Hi guys! Stef here from the Noveltea Corner, and today I'm back on the Mrs. Brimbles blog to share some ideas and tips for using the items in your Stationary boxes to create fabulous goodies for your planners! I've also got a video for you if you'd like to see some close-ups of the different items, too!

With the September box I was able to create 2 fancy dashboards, a planner pocket, 6 fancy paperclips and a page marker and still have tons of paper, stickers and washi tape left over to create lots of other goodies. I also love that the papers are double sided and so you can create some really fun looks in your planner using both sides - perfect for those of us who love paper projects, right?


Planner pockets are super simple to put together. For this one I simply trimmed the paper to the height and width I was after and folded the bottom portion of the paper up. A bit of double sided tape on the right-hand side, trimmed with a bit of washi, and some binder holes punched later and I've got a quick and easy planner pocket that can hold paper clips, notes, Project Life cards or anything else I can think of!
The fun little flair badges included in the kit had some adhesive foam on the back which I removed. Then I just used some hot glue, a paperclip and backed the whole thing with a 1" circle of black paper to keep it all neat.

Usually I'm a pretty simple dashboard/divider kind of gal. I find some pretty paper, cut it out and laminate it.
This time, however, I wanted to make them a little more special. So, out came my stamps and ink pads. I've had this quote stamp for ages and have never had the perfect project to use it on. I think it makes a wonderful dashboard quote - a great reminder to see every time I open my planner. Because I loved the pink woodgrain on the paper, I didn't want to detract too much from it, so I used some pink ink (love some tone-on-tone stamping), Onyx Black Versafine ink and some gold ink and I think it came out really nice.

Continuing along my 'special' dashboard decorating style, I used the cut-apart sheets - I know, I struggled with the idea of cutting them apart, too! - and created this fun, red/yellow/black themed divider.

I turned on of the cut-aparts into a page divider, too, adding washi tape along the edge - both for reinforcement and decoration, as well as a word sticker.
Top Tips
* Tiny word stickers are perfect for adding detail to projects like this. Pick words that speak to you and the style of the decorations you're creating.
* Use paper punches (in whatever shapes you have) to create tabs. They're quick and easy and add a fun detail to your work. Consider using the reverse side of the patterned paper you've chosen, or a contrasting colour!
* If you choose to laminate dashboards/dividers for your planner, try to use laminating pouches that are a little thicker. I used 125 micron pouches to make sure they were a little more sturdy.
* Don't be afraid to try something new! These colours are not the colours I usually have in my planner, but once I started playing with them, I fell in love.
* Use extra items from your stash - don't let those goodies sit there and go unused. (This is hard for me, too, trust me! I have so many fun things I hoard because they're gorgeous, but they should be used and enjoyed!)
If you've made it all this way, and you'd like to see a close up of the goodies I created, here's the video as promised:
Don't forget to share your tips for using up the wonderful supplies in your Brimbles Boxes in the comments. You can also stop by my blog, or my Instagram page, for other planner DIY tips and tricks!
Until next time, friends, happy planning!

Friday, 9 October 2015
The Blogger Planner Review / Show & Tell
In the Summer I was approached by 'The Bloggers Planner' if I would like to review their planner. Of course I said yes other wise there would be no post that you are reading, that stands to reason huh! I must publicly apologise for taking so long to get this review done and posted, it's not for lack of planning it is more of an abundance of posts to get up and out, you know the feeling, too many post ideas so little time to get it done and up! lol Blogger problems huh! So please do accept my apologies for that and I hope you enjoy have a look at the planner...
Here are their links if you would like to find out more about their range:
Web: http://www.thebloggersplanner.com
Twitter: https://twitter.com/blog_planner
Instagram: https://instagram.com/blog_planner/
In a nutshell, if it a very beautiful /aesthetically pleasing but it is not for me I am afraid. Why? Well I don't like a bound planner like this, I like mine either spiral bound or ring bound so that it can lay flat and I can add things in and out and secondly I like my week all on the same page!
What do you think of the planner? If it wasn't for those two things it would definitely be for me!


PLEASE NOTE: I was given this / these product(s) in exchange for my honest review and opinion, the fact that I was given these does not alter my opinion in anyway. This review is my own personal opionion on the product / company, given in good faith and has not be sponsored or endorsed. None of the links are affiliate links. Unless otherwise stated, all photography is my own
Monday, 5 October 2015
Making Personal Dividers
Hello there, friends!
It's Margie, and it's my turn to share what I have created using my September Brimbles Personal Ring Planner Box!
I was inspired by all the pretty colors in the October Afternoon "Girl Talk" Vintage Paper Pack to create new dashboard and 5 dividers for my personal ring planner...

For my dashboard, I used the Dear Lizzy "Documentary" Stamp Set -

To create the look of the typewriter, I paper-pieced the different parts of the stamp by stamping it on different patterned papers, cutting it out and then piecing it together with adhesive. I also used the 'hello' stamp from the stamp set and an October Afternoon "Girl Talk" Vintage Badge to embellish one of my punched flowers; and I just love how my dashboard greets me every time I open my planner :)
I also added in Mrs. Brimble's "The Mix Tape of My Life" laminated dashboard as a second dashboard...

I don't currently have a laminator and really love that this laminated dashboard was included in my box! I love being able to add in some sticky notes to my planner; and this allowed me to do so without having to worry about getting sticky residue on my dashboard and dividers, until I can get them laminated! Sticky notes work very well on laminated dashboards and are so durable and long lasting too... Also, this mixtape image just brings back so many memories from my childhood, I was a lucky girl to be able to grow up in the '80s :)
For my dividers, I used the project life and 2x2 sized cutouts in the paperback as my main focus...


It was so easy to find matching cardstock colors, as well as adding in the washi tape that came in the box...


I'm always afraid of cutting down my pretty papers and patterns, but once I get going I am motivated to use it all! Never be afraid to try something new or add in new elements!

Mrs. Brimbles boxes always comes with a special note from Anna herself, which is such a sweet personal touch that makes me feel like she's a dear friend of mine for ages!
I love the typewriter watercolor that she had done for her card this month, so much so, that I had to borrow fellow designer Geraldine's idea and framed it so I can add it to my craft room's window shelf! I decided to use a black distressed frame and add some of the badees to it, and I simply adore how it turned out!

And here is a peek at my precious leftover scraps!

I will be incorporating these little bits into my monthly/weekly pages... and I have special plans for the October Afternoon "Saturday Morning" sticker sheet that came too - reminds me of my Saturday cartoon mornings with great big bowls of cereal, lol!
But, I will share those projects another time ;)
I hope something here inspires you to get creative today!
Thank you for letting me share my projects.
Margie
Instagram/Twitter: @TheBumbleGirl
My Book Blog: Bumbles and Fairy-Tales
My Cardmaking Blog: Oh Bumble is Me... Margie
Thursday, 1 October 2015
Mix Tape Planner Crafting!
Hello everyone! It's Zinia here to share with you some little projects I did using supplies from the September Personal Planner Brimbles box.
First I have to say I got really excited when I opened my box. Anna really nailed it last month. The box was so full of awesome goodies I had a hard time deciding where to start.

From the first moment I saw it, I knew this dashboard will get in one of my planners right away! I decided to put it in my Color Crush planner which is my creative planner where I keep all the info about my design teams and other crafty projects.

To embellish it a bit, I added some of the word stickers by Studio Calico that came in my box.


I made sure that both sides looked nice and then I just popped it in my planner to serve as eye candy.
These were only a couple of ideas on how you could use your Brimbles box goodies. Of course the possibilities are endless but I hope you got inspired to go and make use of your supplies.
Until next time, happy planning :D
Zinia
@abstractinspiration
First I have to say I got really excited when I opened my box. Anna really nailed it last month. The box was so full of awesome goodies I had a hard time deciding where to start.
To embellish it a bit, I added some of the word stickers by Studio Calico that came in my box.
On the opposite side, I filled my pockets with some of the 2x2 cut outs from the October Afternoon paper pack. I also stuck one of the flair buttons cause it just looked too cute.
For the rest of the cut-outs, I took an old credit card page protector and I cut it to fit a personal size planner. Then I just got some thread and stitched the edges. I also stitched around the middle of the page to create some more pockets.
These were only a couple of ideas on how you could use your Brimbles box goodies. Of course the possibilities are endless but I hope you got inspired to go and make use of your supplies.
Until next time, happy planning :D
Zinia
@abstractinspiration
Subscribe to:
Posts (Atom)