Friday, 7 July 2017

Image Transfers (Art Journal)


How is it August already?!  I've used the collage sheets from Anna's Patreon to make my journal page this month.  Anna has created a really helpful You Tube video explaining how these work and what you get in this month's bundle.  There are some gorgeous pages this month.  I was drawn to the flower paintings and so decided to use them in my page.  Sometimes I like to use acrylic or watercolour paint over the top of the collage sheets, and sometimes (like this month!) I'm not really sure where my page is going to go - because of this I like to use an image transfer technique to add the image to my journal.  This means that any work I do on top is in my journal, so on mixed media or watercolour paper rather than on the printer paper I print them on.  It also 'feels' like it's part of the page if that makes sense.


I start by printing my collage sheets - it's best to do this on a laser printer if you can (images printed on ink jet printers tend to run when you add water - although if you use a packing tape image transfer technique you're safe to print however you can).    Remember that your image will be added to your journal in a mirror image here, so if you're printing anything with words just tell your printer to print a mirror image at the first stage.


Apply a generous coat of matte medium to your journal page (you want an even coat so I just use my fingers) and then add the page (printed side down) to your journal.  Don't get any matte medium on the reverse of the page.  Leave this to dry completely (don't use a heat gun because it can bubble the matte medium and make it brittle when dry).

Once it is all dry, start to rip around the edges so that you have a rough edge.  Spray the image with a thin layer of water, I just do a little at a time.  Start to rub the image with your finger quite quickly - you will notice that you start to roll away the top layer of the paper and that your image remains.  Do the whole page and leave to dry.  You might find that some of your image rubs away too - I don't worry about this as I quite like the texture it adds - if you don't like it you just need to be ultra careful with your rubbing.


Once dry you might notice a white layer on the page - this is because there is some paper pulp remaining - just wet your finger and rub again or do as I do and rub with a baby wipe.  You might need to do this a couple of times.


Eventually your image will be completely transferred - but you're fingers are likely to be quite sore and smooth!

I added black paint around the edges (I do this with my fingers as well because I like the smokey look it gives) and drew in some of the flowers I had lost - I felt like this embedded the images onto my page further and my art became mixed with Anna's.


I added some Tim Holtz clippings (I'm a big fan of found poetry lately).  The page really reminded me of a magical garden at night so the journaling reads: 'She could believe the little starts by the light of the moon.  I dream of stars that glitter.  Stars adorn the sky, never meant to last.'


Don't forget to check out Anna's Patreon and you can find more of my art here, or on my blog, or on Instagram.

Thursday, 6 July 2017

Amazon Fire Tablet Review

If you are here for a high tech in depth review then this is not it lol! This is not the sort of review that I would normally do but I was approached by the people who do the PR for Filofax and they asked if I would review one of their tablet cases. I declined as I don't have a tablet and as they handle the PR for Amazon also they kindly sent me an Amazon Fire Tablet to review. This is my review!


PLEASE NOTE: I was given this / these product(s) in exchange for my honest review and opinion, the fact that I was given these does not alter my opinion in anyway. This review is my own personal opionion on the product / company, given in good faith and has not be sponsored or endorsed. None of the links are affiliate links. Unless otherwise stated, all photography is my own.

Wednesday, 5 July 2017

Mixed Media Pussy Cat Process / How To

Today I am sharing with you a 'how to'. I created a mixed media piece on Daler Rowley Artist Board and have the video tutorial to share with you below:


I am also sharing with you a photo step by step. This is more or less the same piece just in a different colour palette. They are not 100% identical but they are very similar. The spread created in my art journal was the concept art or test run if you will to the finished piece.


Materials used


  • Acrylic Paint - Deco Art and Dylusions
  • Liquitex Gel Mat Medium
  • Windsor & Newton Modelling Paste
  • Origami Paper (I think from Flying Tiger 2016)
  • Various Brushes and Palette Knife
  • Posca Paint Pen in white
  • Uniball black pen
  • Stencil (unknown)
  • Crayola Portfolio Oil Pastels
  • Dylusions Journal
  • Tim Holtz Distress Stain

The Process

Firstly I ripped up my sheet of origami paper and adhered it to the top of the page with matt medium


I then adhered a second piece to the bottom left to give the spread a bit of balance.


I used my lightest paint first and just randomly painted on to the page.


This particular paint is fairly translucent which was intentional. I wanted to add some colour to the page but I also still wanted to see the pattern on the paper poking through.


I then repeated this process of adding paint randomly with a couple of different colours.


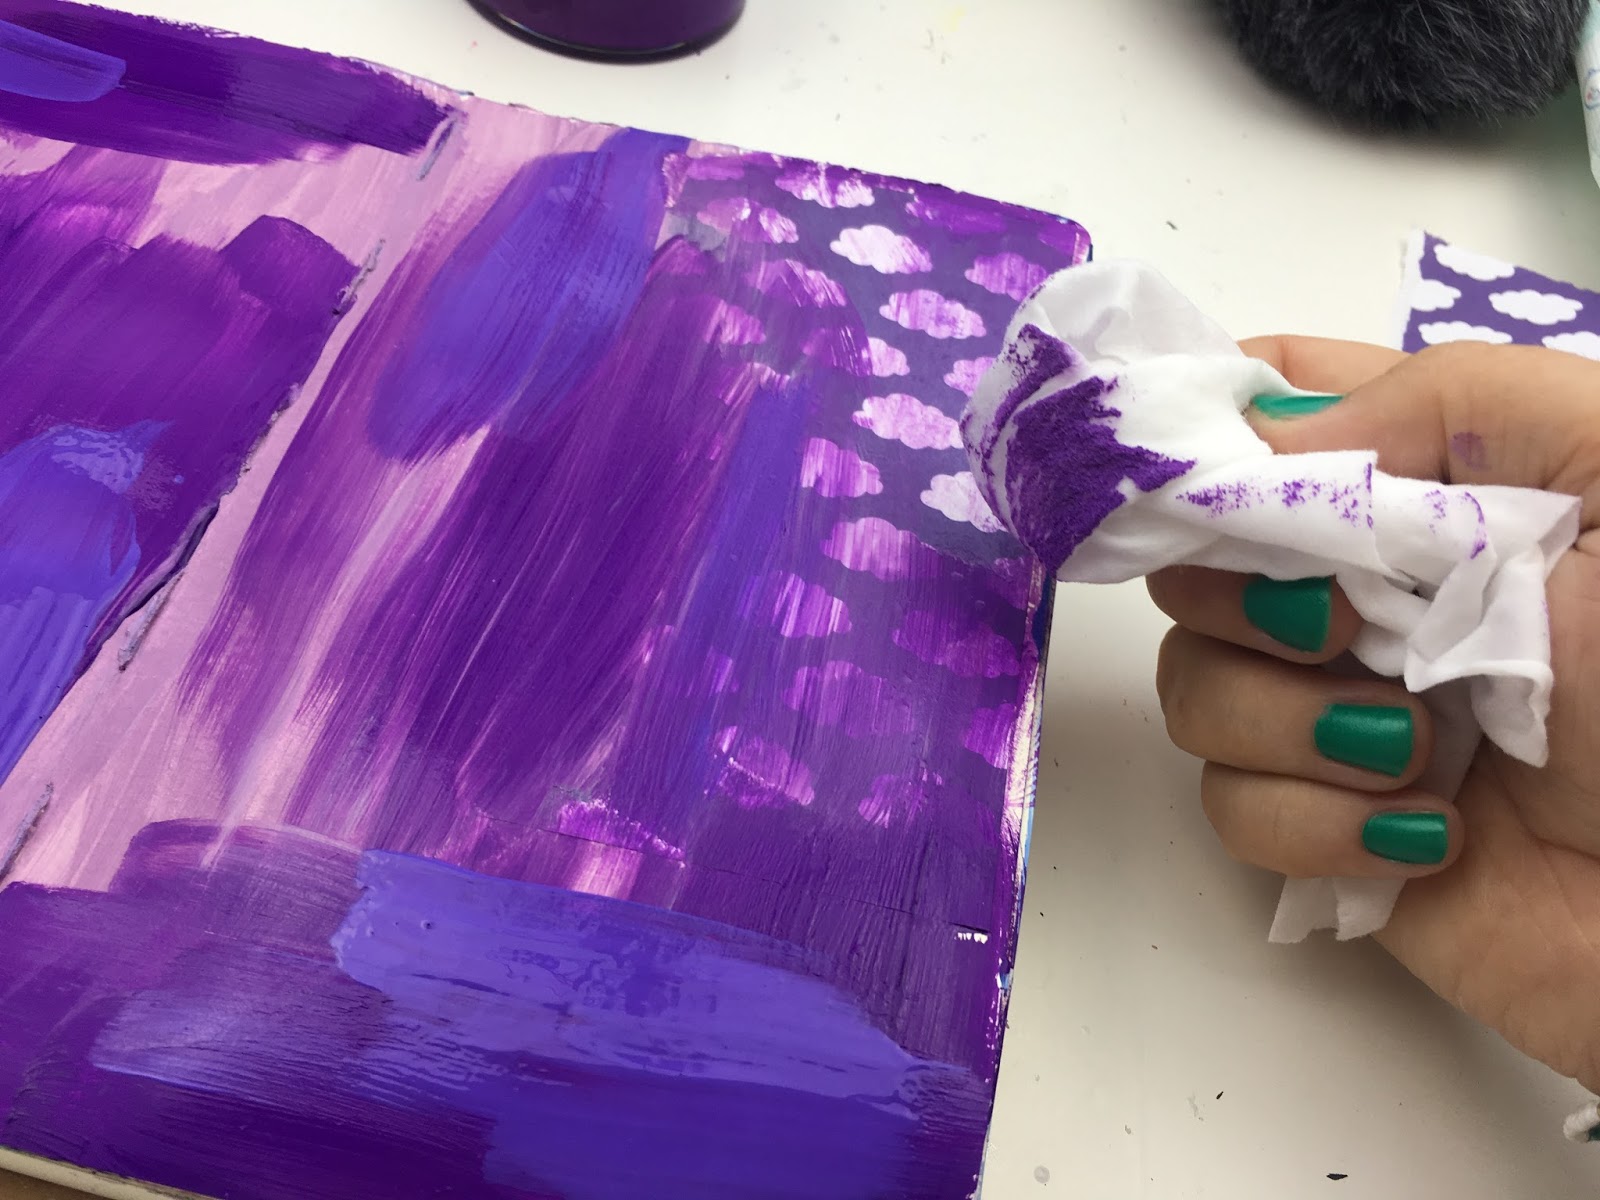
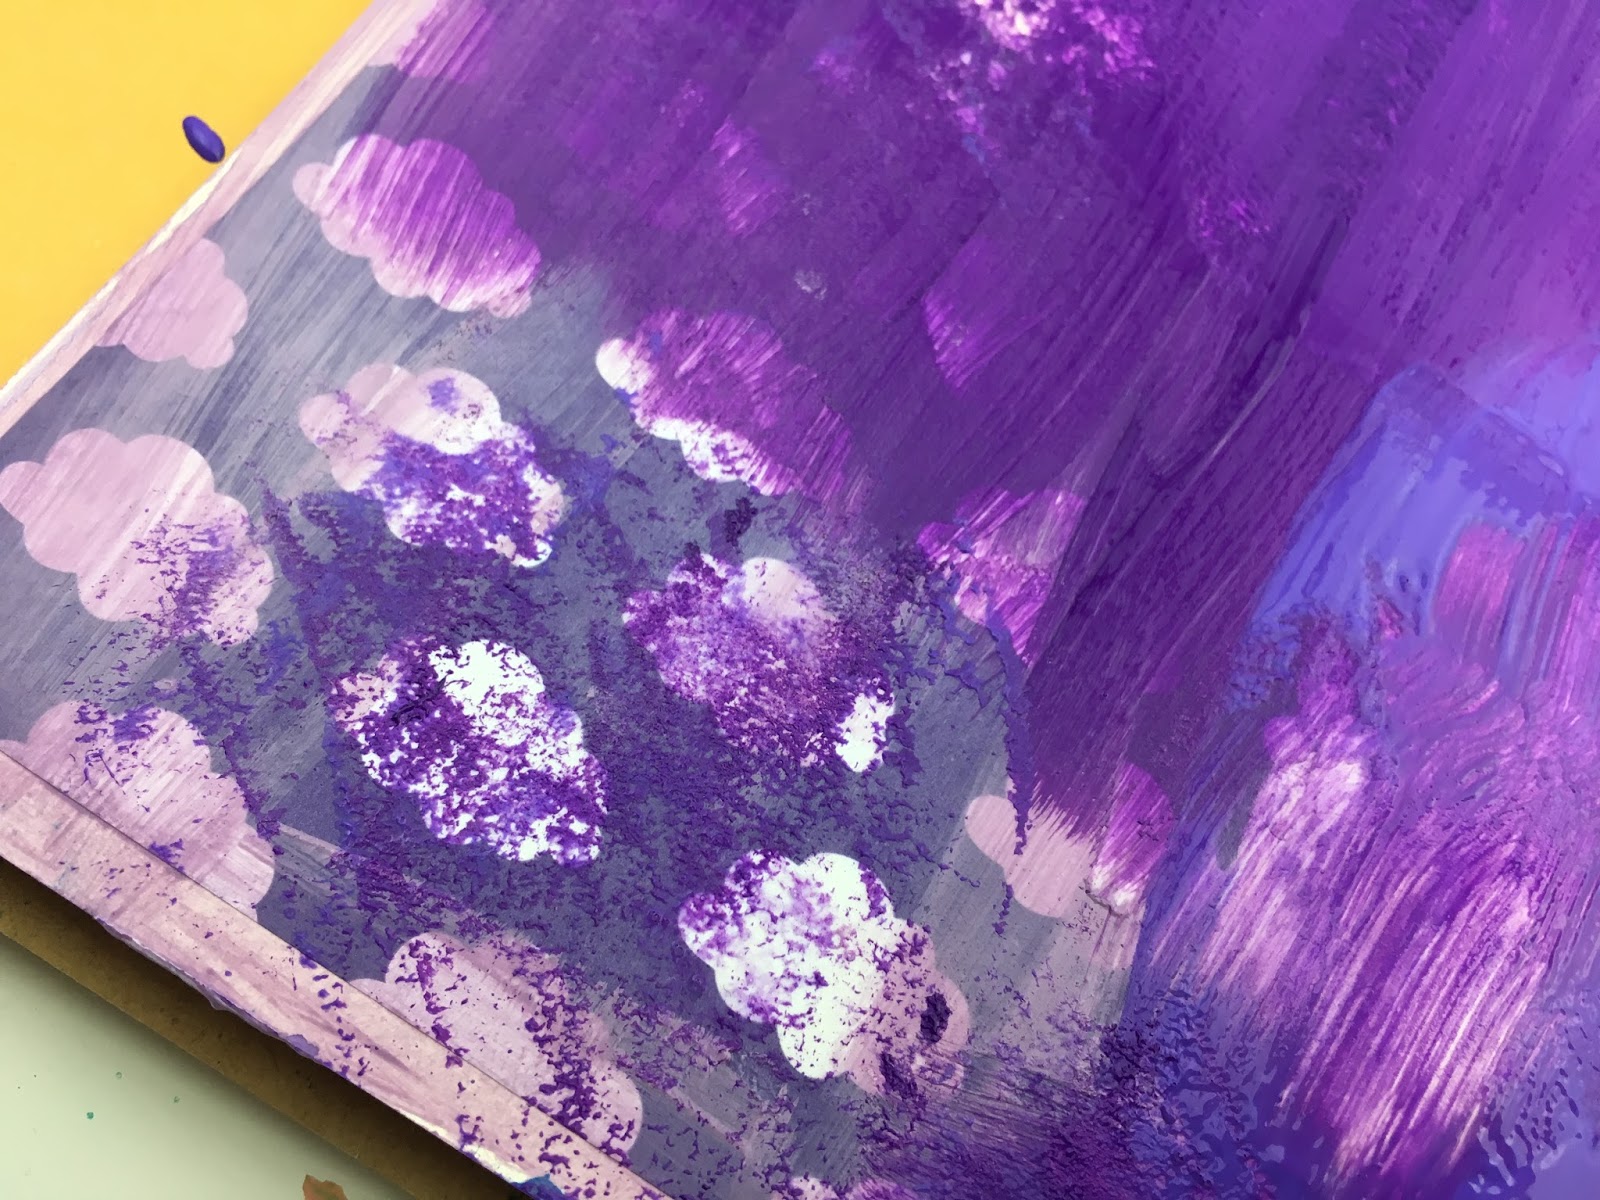
I enjoyed the process, it is very therapeutic randomly adding paint to a page and letting yourself go. I was a bit too enthusiastic though and covered up the paper more than I wanted to. To rectify this I used a baby wipe and gently removed some of the paint.


With the wet paint still on my baby wipe I went over the page randomly removing paint from one section and then gently dabbing and scraping it onto another which gives some interesting textural results.


Then it was time to mix up my modelling paste. I used the palest colour that I first used on my page.


I applied it to the page using a palette knife over my stencil.


I always leave my stencil sitting in place for a small time, about a minute just to let it set a little before removing it. I just like to make sure it's all there.


Modelling paste, depending on it's thickness can take a little while to dry so you have to be patient. It's worth it though!


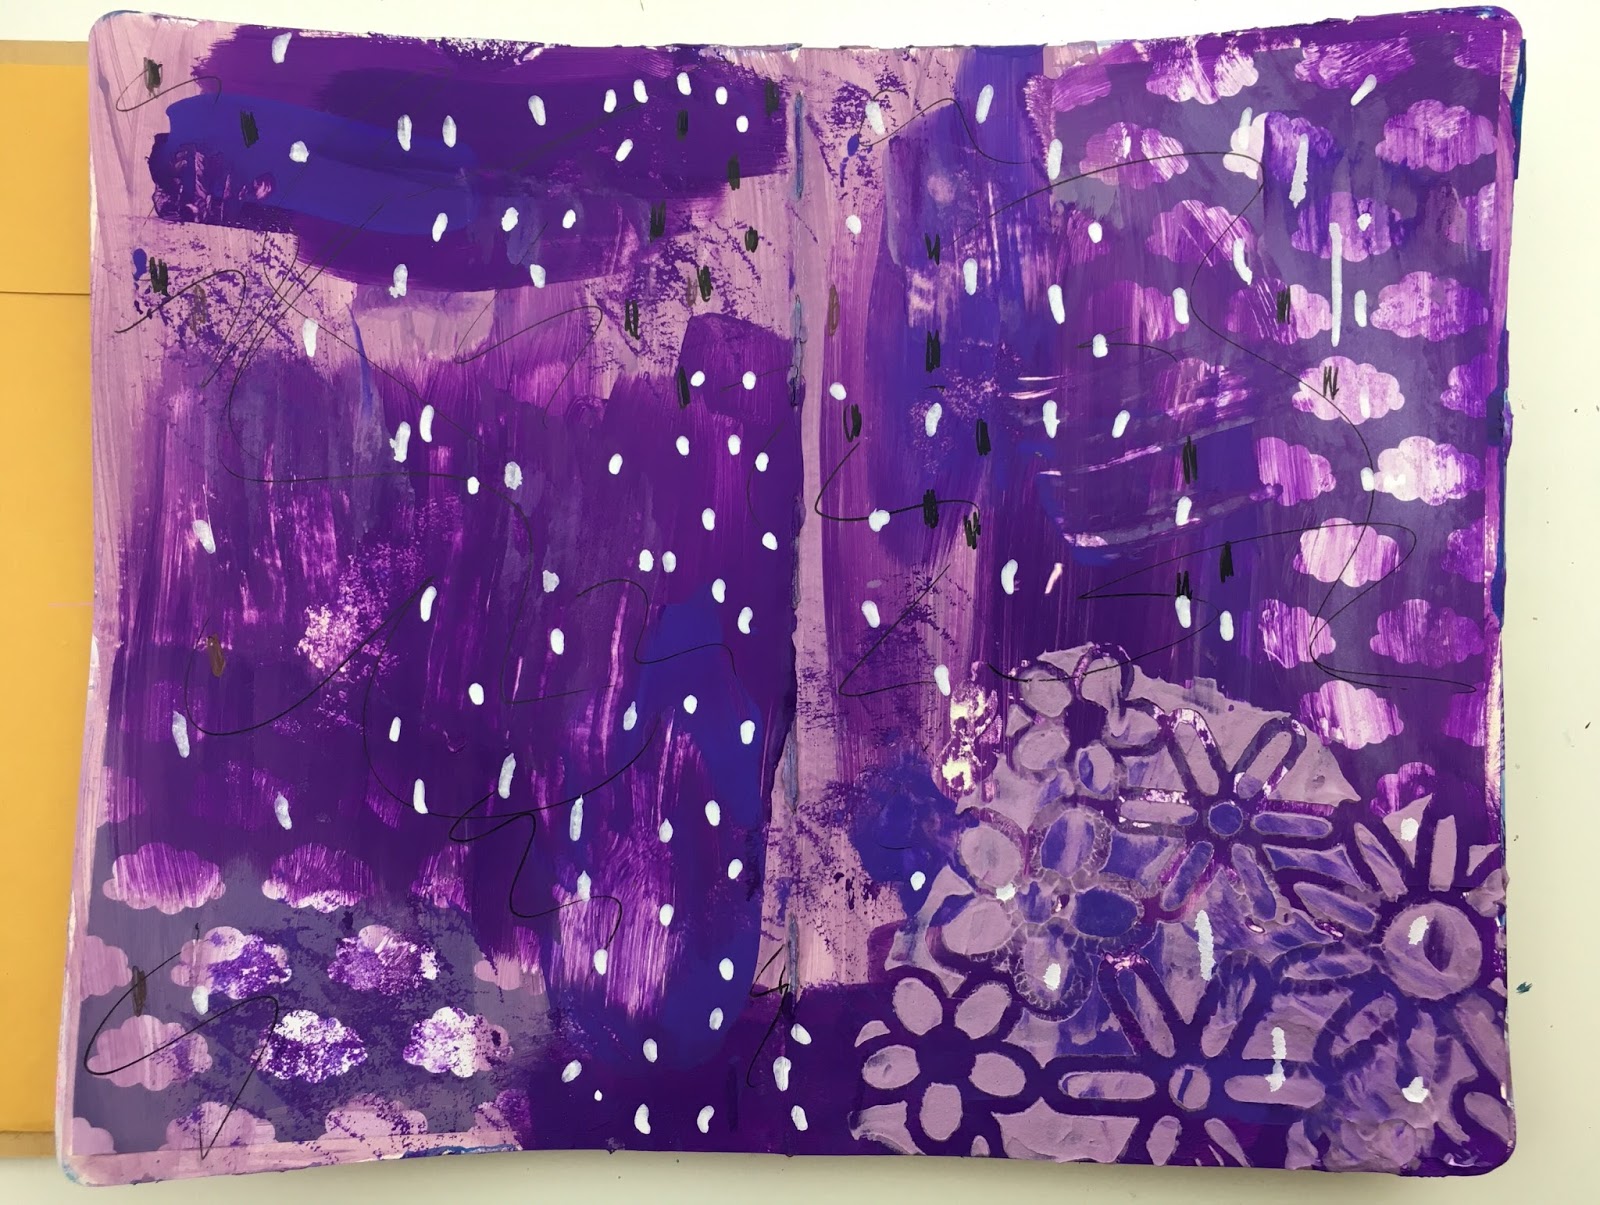
Once everything was dry I then used a black pen to go in add some little doodles. I like doing this as I think it gives the background more visual interest.


I then used a white Posca paint pen to add even more details.


I actually thought I was done for the background when I glance at my desk and saw my distress stains and the violet screamed out to be used. I dabbed it on (squeezed the bottle really hard) making it all juicy, then tipped my page up to allow the ink to run down all nicely.


Here is how my background looks before I paint my cat on! Lots of yummy goodness. I made sure to keep a photograph of it so that I can print it out and use later for collage!


Next it was time to actually start painting my cat. So on goes the white paint.


I actually used a couple of coats to make sure it was as opaque as I wanted.


I gave my cat two light coats. I didn't want him to be stark white, I wanted some of that beautiful purple to show through. Once it was dry I pencilled on my face.


I coloured the elements in with my Posca paint pens - super quick and easy and fast drying too.


Here he is ready for his last 'application' of artyness.


The very last stage is to add some shading with oil pastels. I love to get in there with my fingers and smudge the colour around. I add shadows and grunge this way.


And there we have him, all finished! I am really happy with him. I really hope you enjoyed my little 'how to'. At some stage I may add a quote or some journalling to the right page but for now I am happy and calling him done. If you decide to give it a go yourself please do tag me in your photos on social media (I am everywhere as @mrsbrimbles) as I would genuinely love to see yours.


This blog post was created as my application for the Colour Arte design team (wish me luck 'eh!). Unfortunately I do not currently own any of the Colour Arte products although I have heard impeccable things about them so I created this with the products that I do have. 

Please check out the Colour Arte website to see their range of art supplies and for more art tutorials and inspiration.


Monday, 3 July 2017

Kelly's Art Journal Spreads


So we are now into July, how did that happen?? Earlier this year, Anna announced that the Brimbles HQ would be having a few changes. The boxes have stopped (definitely not an easy thing to say goodbye to, it was the first box I subbed to and it completely changed my planning life!). The sticker subscription still exists. As well as that, we also have the brand new creative Patreon. 

What is it? It's an area where you will get to see Anna's arty side. She will inspire you with her work and invite you to create with her. She will teach you techniques and open your mind to the world of creativity. At the beginning of the month, Anna will post a chatty vlog...these should come with enabler alerts as I've already started looking for a book she talks about in this first vlog! Mid-month, Anna will post her art tutorial vlog and these will come with printable collage sheets. You are then invited to share your creations with us in the happy place.

Ok great! So what's this post about? Well, with the changes Anna brought in some new teams. There is the sticker sub team and the creative team. I am extremely lucky to be on the creative team. With this, I have been scheduled to post first! eeek! I have watched the first two videos and have taken the lessons and inspiration given by Anna to create three different art spreads. All of these use the collage papers created by Anna.

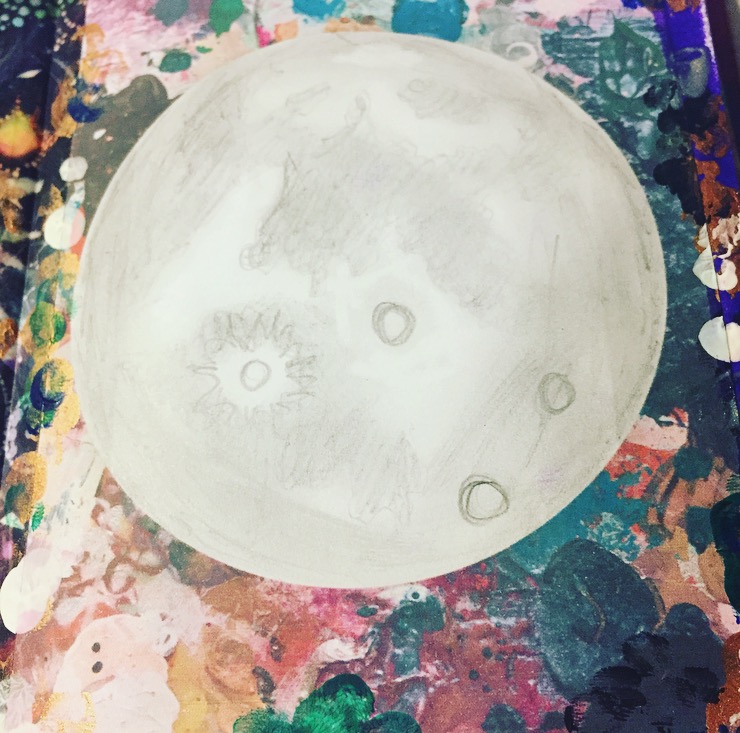
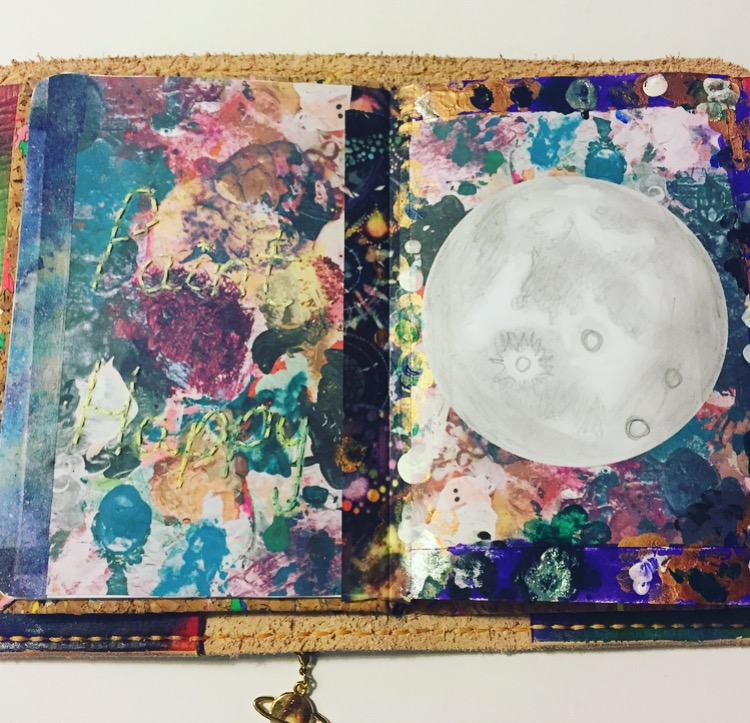
Spread number one - Mixed Media, the one where I just went for it. I loved creating this spread, Anna's artwork threw so many ideas into my head. As soon as I saw the abstract painting I knew I had to use it. I wanted to keep it simple and after a bit of brainstorming, I decided to stitch words into the paper. This took longer than I expected, all I wrote was 'paint happy'! I stitched by hand and I looped each stitch three times so it was thick and legible. I used white thread thinking it would stand out but it needed a little help, so I used a mixture of white and yellow chalk pens to really pull it out. On the second page I used what originally started as what looks like a journal card. There was the abstract painting border and a white circle in the middle. Again after a little brainstorm, I decided to draw the moon. There's something about the colours used that made me think of astrology so it fitted really well. I then finished it off with some washi tape and acrylic paint.
  FullSizeRender (20)

FullSizeRender (22)

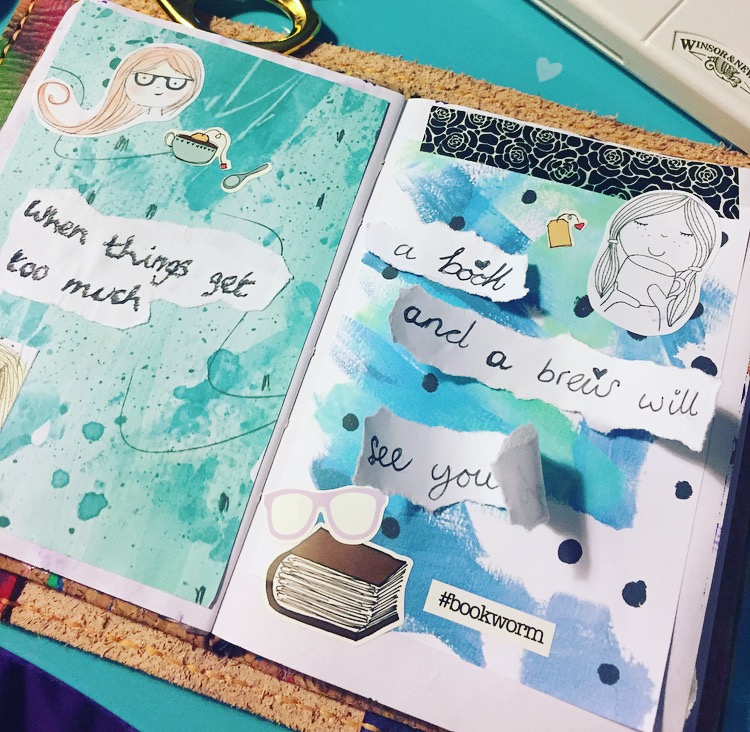
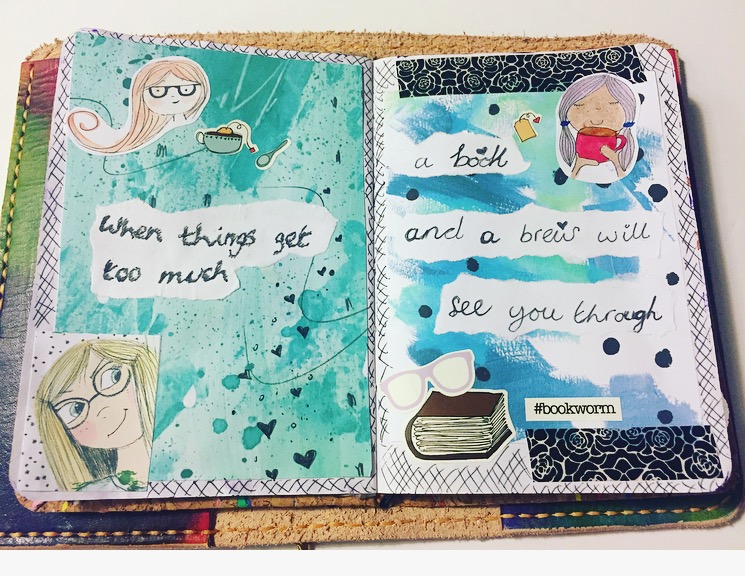
Spread number two - collage and layer In this spread I decided to work with Anna's sketches and mixed media artwork. I love the aqua tones she has used, it HAD to be featured. I find them very calming and instantly thought of relaxing with a cup of tea and a book.

FullSizeRender (23)

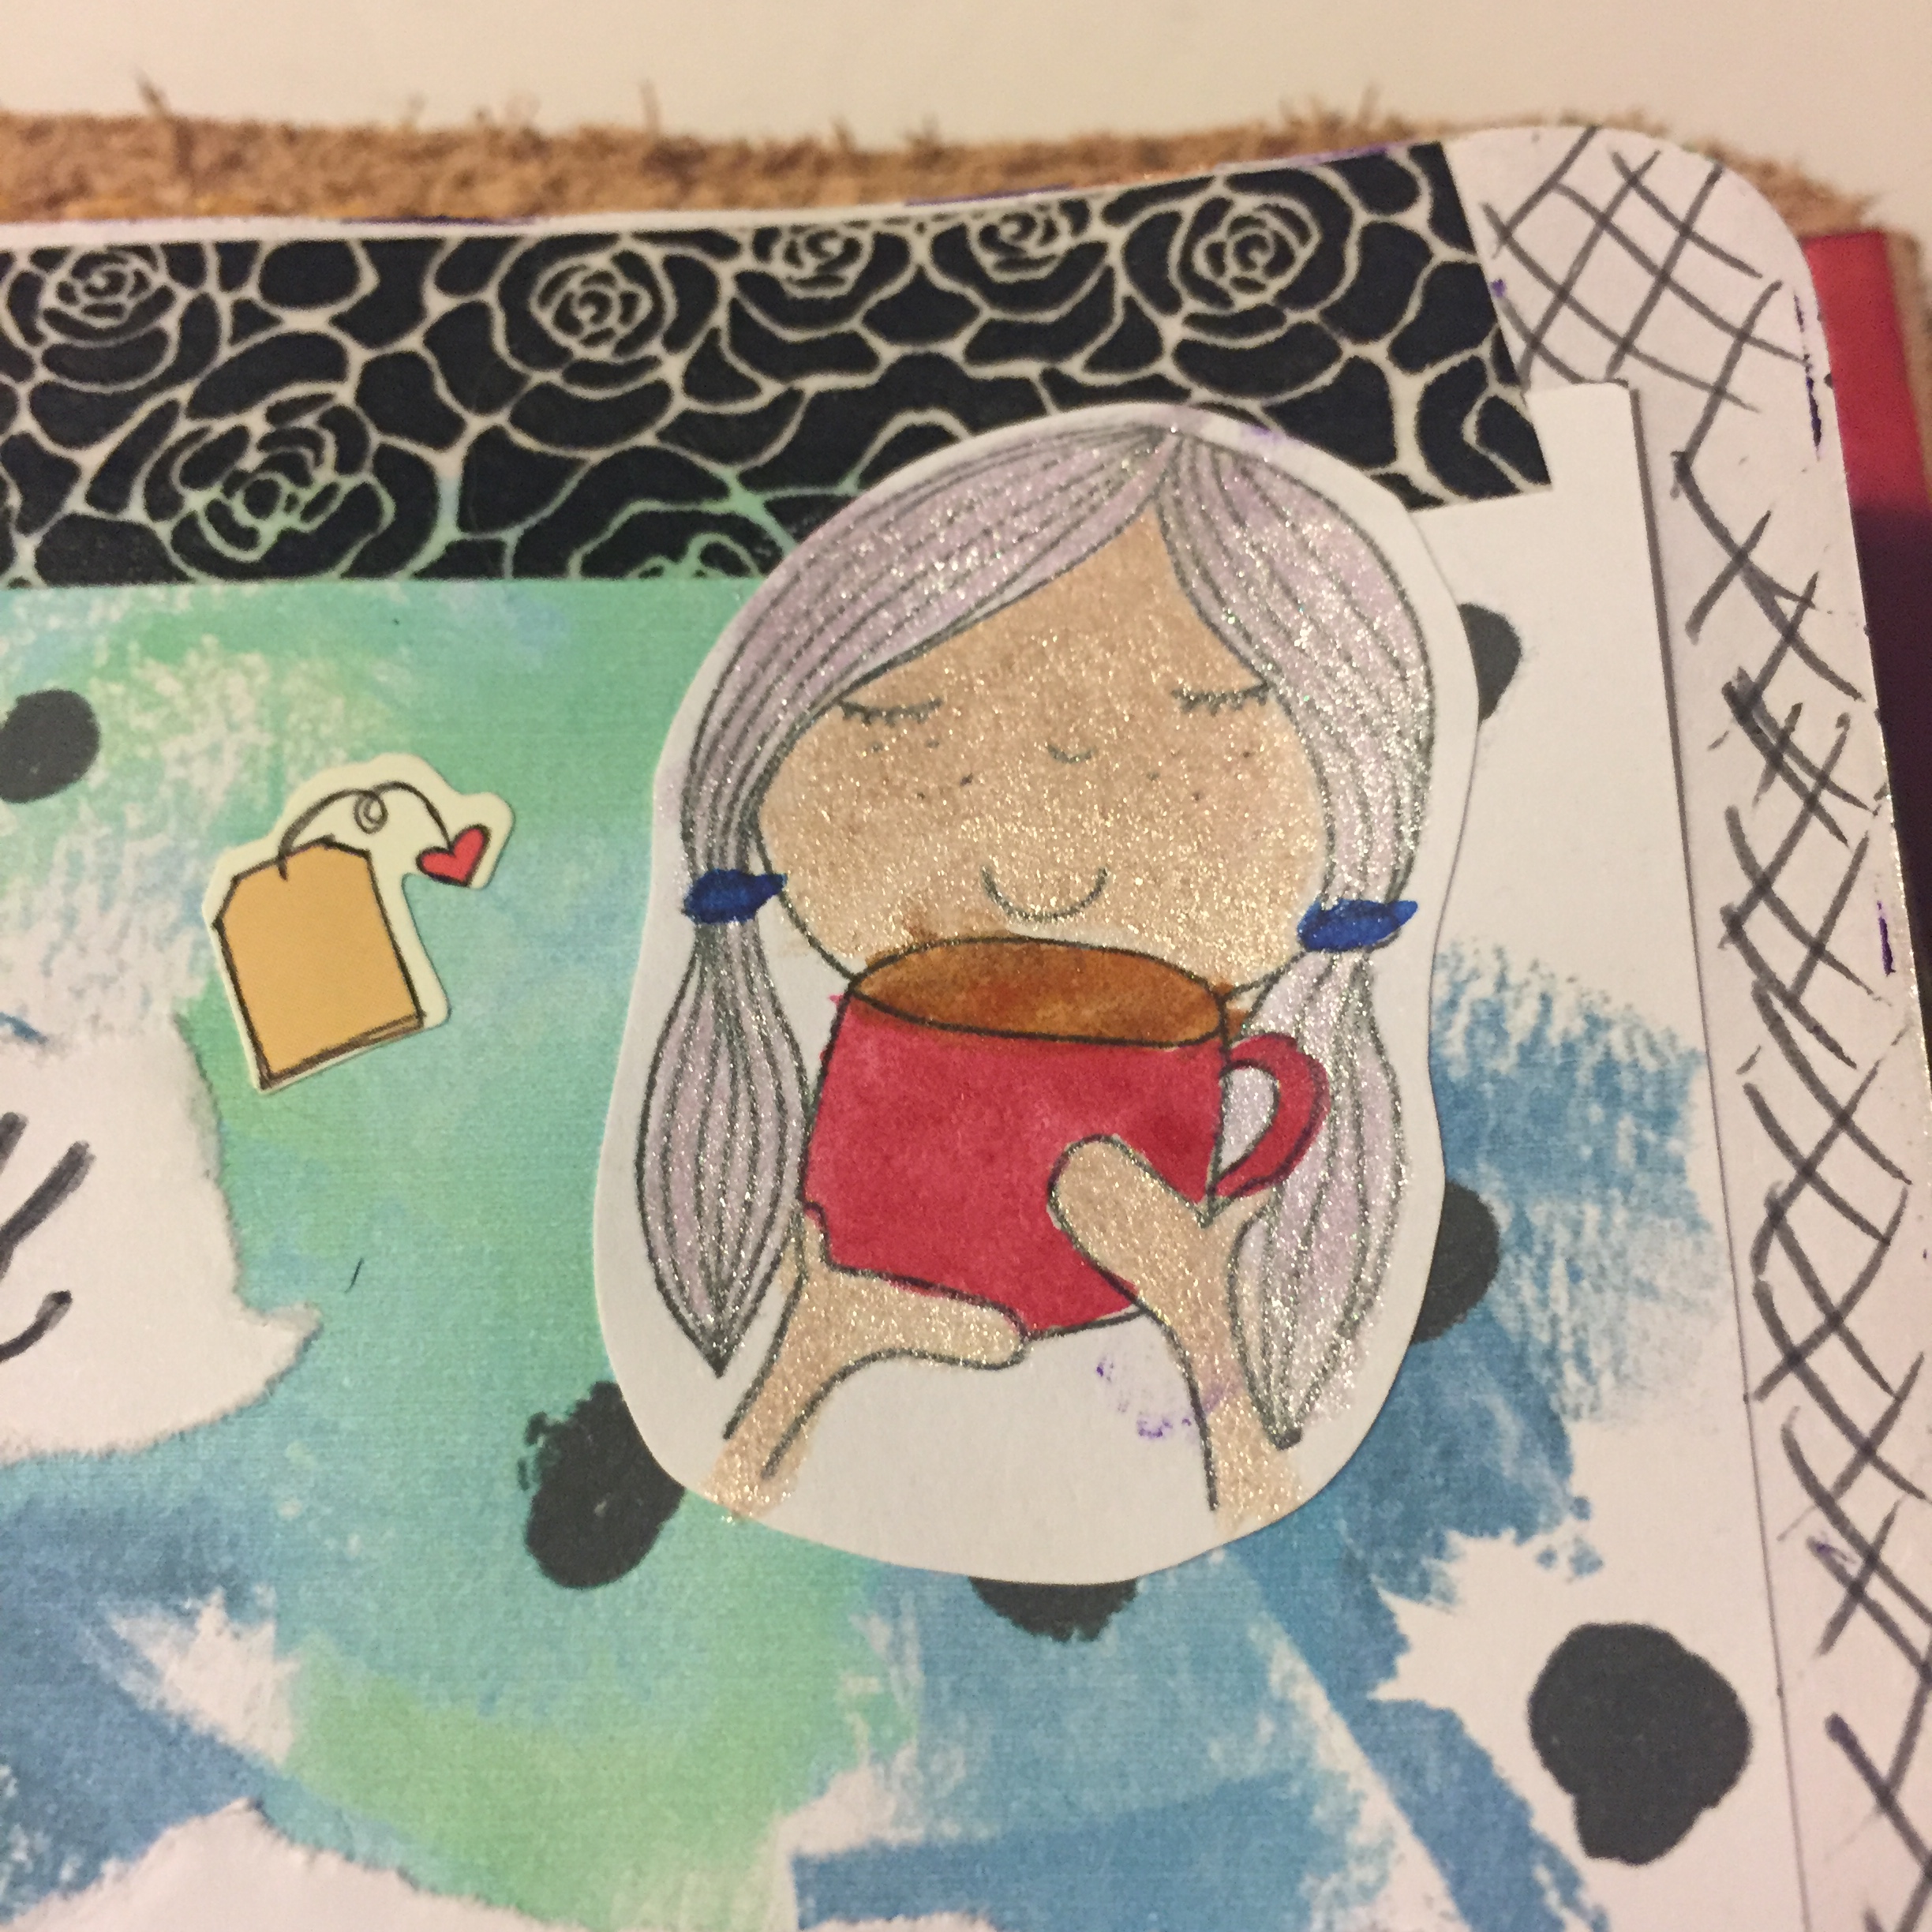
I have used a mixture of pre-coloured sketches as well as black and white (which I have painted). I then added a few of Anna's tea and book stickers to get the effect I wanted.

FullSizeRender (19) IMG_4729.JPG

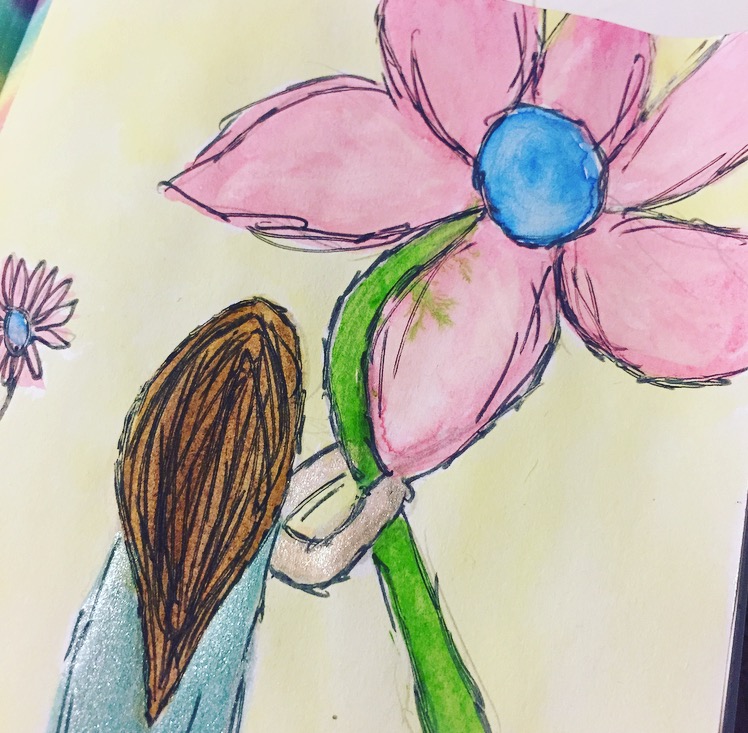
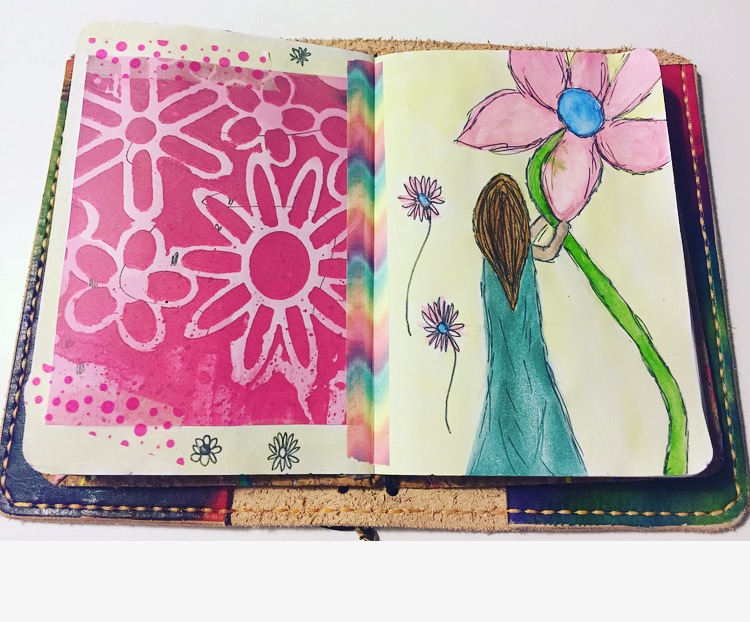
Spread number three - my sketchy page This was inspired by the pink floral artwork and sketchy technique. My style is quite floaty, mystical and I love flowers. I really enjoyed painting this page and experimenting with colour. I'm rubbish with faces so I painted my subject facing away. I then used a pen over the artwork once dry to get the sketchy effect.

FullSizeRender (17)

FullSizeRender (18)

So that's my three creations using Anna's work. I would love to see what you come up with :) Thank you for stopping by, Kelly xx

 You can also find me here: Instagram Youtube cropped-img_3595

Sunday, 2 July 2017

Gemma's Plan With Me!


July's Sticker Subscription was defiantly full of fun and bright colours.


Heres the unboxing:


I had so many ideas when it came to this box. Firstly i knew i wanted to do a planner spread, i loved how bright and fun these stickers where. I decided to film a plan with me.


I love how this came out. There was enough stickers to do a full spread which i love and i still had room to make it a white space layout as i do not like the no white space look.I also loved the amount of washi tape strips that came in it too.

When i see the decorative stickers, i loved how cute they where. i instantly thought of my 5 year old daughter Mia, shes been learning her words and writing and spelling at school and i thought they would be great for her to make herself some flashcards.


She loved making these and had so much fun putting the stickers on the cards and trying to figure out how to spell what they are. 

Then i wanted to do some journaling, with it being only 30days until my wedding im started to journal every day on how im getting on with the last few wedding plans. i decided to use some of the stickers i had left on the sheets to do a page to do this. everything on this page is from the sticker sheets APART from the love hearts with the G & S on which are from hobbycraft, and the washi tape round the very edge is a tape runner from wilkos.


Saturday, 1 July 2017

Summer Photo Challenge

I thought it might be fun to do a daily  photo challenge as we haven't done one for a while and so why not make it Summer themed! Fancy taking part either for a prize or just for fun? Read on...

REMEMBER as with all of my daily photo challenges I have designed the prompts to be interpreted in a way that suits you, loosely based on the things that I love: Planners (and planner decoration), Stationery, Journals, Art, Books, food, the season etc. You interpret them however you like but most importantly have fun with it. They are just prompts to help you. Take them literally if you like or be imaginative. For example 'Zesty' could be could be vibrant stickers, yellow paint, a zesty looking planner or even a fruit salad. Share your life or share your planner or journal. Use them as photo prompts or use them as journalling prompts. Anything goes! It's totally for fun so just share a photo every day. You don't have to enter to win the prize, you can just play along with the prompts for fun, entirely up to you, the more the merrier! 


If you want to play along for fun then start posting your photos now. Remember to use the hashtag: #brimblessummerlovin so that we can find your photos and see what you are up to. You can post anywhere on social media but if you want to be in with a chance of winning the prize it needs to be on instagram or in the Mrs Brimbles Happy Place group on Facebook (or both of course). If you are playing along with win the prize please do make sure that you read all guidelines on how to enter and the rules below oh and if you want to be in with winning the prize you will need to register on the giveaway widget below too! 

So for the prompts...


Please do feel free to share the above photo on any of your social media feeds your blog etc or print out to put into your planner or journal. Do with it what you will!

What is the prize? £20 store credit for www.mrsbrimbles.co.uk/shop


The Rules for the challenge (if you want a chance to win the prize - no need if you are playing along for fun!)


I know, so boring that there needs to be rules but there does so that everyone is clear on what they need to do and to keep it fair to everyone participating! By submitting an entry to this giveaway you agree to the following Terms & Conditions: 


  • You must post all 31 photos on instagram or in the Mrs Brimbles Happy Place on Facebook using #brimblessummerlovin 
  • You need to be following me on instagram: @mrsbrimbles and / or a member of the facebook group if you are posting in there. Please do not tag me in your photos as I will get lots of notifications. I will see your photos on the hashtag!
  • The prompts are just that, prompts, interpret them as you will, or if you are stuck for inspiration just post a photo anyway! If it is easier you can do a different prompt on that day as long as by the end of the challenge you have done all 31. Do two on one day if you need to, don't worry about missing days as long as you post all 31. Have a break, come back again. You just need to post 31 photos in the time frame given.
  • You have until 7am GMT on 5th August 2017 to register for the giveaway on the widget below AND to complete the photo challenge on instagram.
  • If you haven't registered on the widget you won't be elligible to win the prize so you will just be doing the challenge for fun which is totally fine with me if it is with you. You can register at any time from now.
  • You DO NOT have to post everyday but you do have to post all 31 photos by 7am GMT on 5th August 2017. You DO NOT have to post in numerical order, you can post any prompt on any day and any number of photos on any day.
  • Once the competition has closed a winner will be drawn by random using the giveaway widget, and emailed. I will ask you to confirm / prove that you have posted all 31 photos in the time frame 1st July - 5th August 2017, if not another winner will be chosen. The winners name will appear on the giveaway widget once closed.
  • The winner will be emailed by me to arrange receipt of the prize. 
  • Your email address will be added to my newsletter database - I will not sell this to anyone else nor will I constantly be spamming you and you can unsubscribe at any time! 
  • Open internationally
  • You must be over eighteen years of age or have parental / guardian permission.
  • The prizes stated above are the only prize(s) - no cash alternative.
  • One winner will be chosen at random and notified by email. Winner(s) will be announced on this page on the rafflecopter widget after the closing date.
  • If the winner(s) do not respond to my email within 48 hours a new winner(s) will be chosen


Friday, 30 June 2017

Changes in the Planner World over the past few year and what is next...

I have been making videos on YouTube for over 4 years now (yikes!) and have been a part of the planner community before that. As with anything trends change all the time.

I thought I would do a little vlog discussing what the changes I have seen over the years are. I thought it would also be quite fun to predict what the future holds for us planner peeps so please do join in the discussion either here or in the Mrs Brimbles Happy Place on Facebook.